How to Fix Peeling Drywall Tape for Good

Five Signs of Ceiling Damage You Should Not Ignore
4 octubre, 2026
Ceiling Repair in St Catharines Done Right
8 octubre, 2026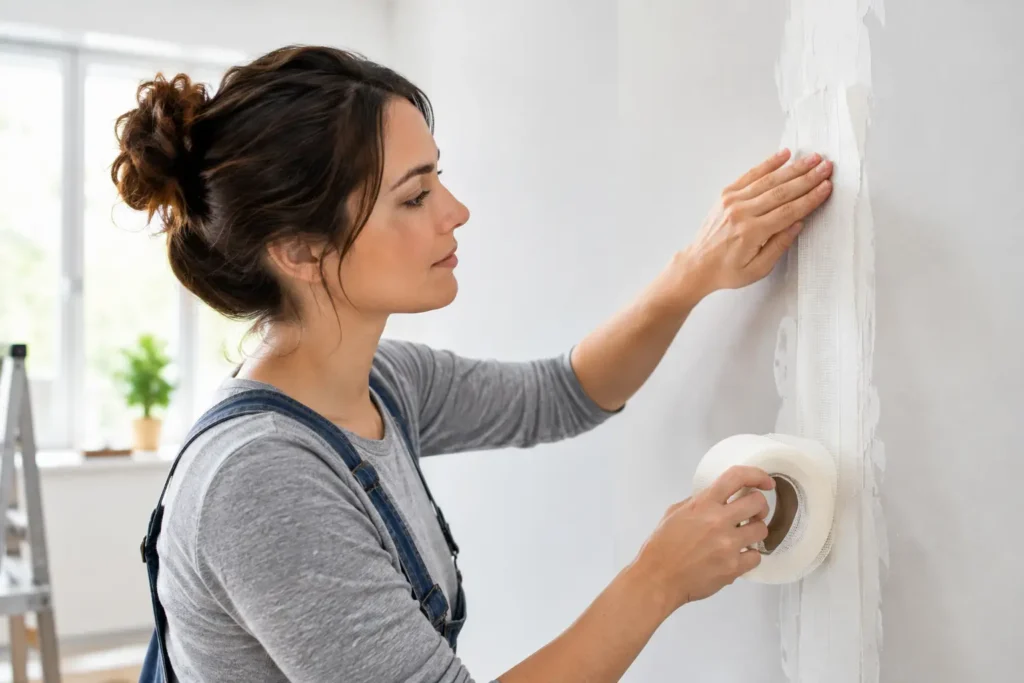
A lifted strip of drywall tape can make an otherwise clean room look unfinished fast. The good news is that you can often fix peeling drywall tape without replacing an entire wall. The key is not simply pressing it back down. A lasting repair starts by finding out why the tape released in the first place, then rebuilding the seam with the right materials and enough drying time.
Peeling tape is common around ceiling joints, inside corners, bathroom walls, and areas that have seen settling or moisture. It may start as a small bubble, a loose edge, or a visible crack under paint. Left alone, that small defect usually spreads, catches light, and becomes harder to blend.
Why drywall tape starts peeling
Drywall tape is meant to reinforce joints between panels. It works only when it is fully embedded in joint compound and bonded to a solid, dry surface. When that bond fails, the cause is usually one of a few practical issues.
Moisture is the first thing to rule out. A roof leak, plumbing leak, condensation, or high humidity can soften joint compound and release tape. This is especially likely when the damage is near a window, exterior wall, bathroom, kitchen, or ceiling below a bathroom. If the area feels damp, looks stained, or continues to peel after a previous repair, solve the moisture problem before touching the drywall.
Poor original installation is another frequent cause. Tape may have been applied with too little compound beneath it, placed over dusty drywall, or coated before the first layer had dried. Sometimes a seam was not properly fastened, allowing drywall panels to move and crack the joint compound over time.
Normal movement can also play a role. Houses settle, framing expands and contracts, and busy doors can vibrate nearby walls. A minor crack at a flat seam may be a straightforward repair. Repeated cracking at the same location, however, can point to panel movement or a framing issue that should be addressed before refinishing.
Check the damage before you fix peeling drywall tape
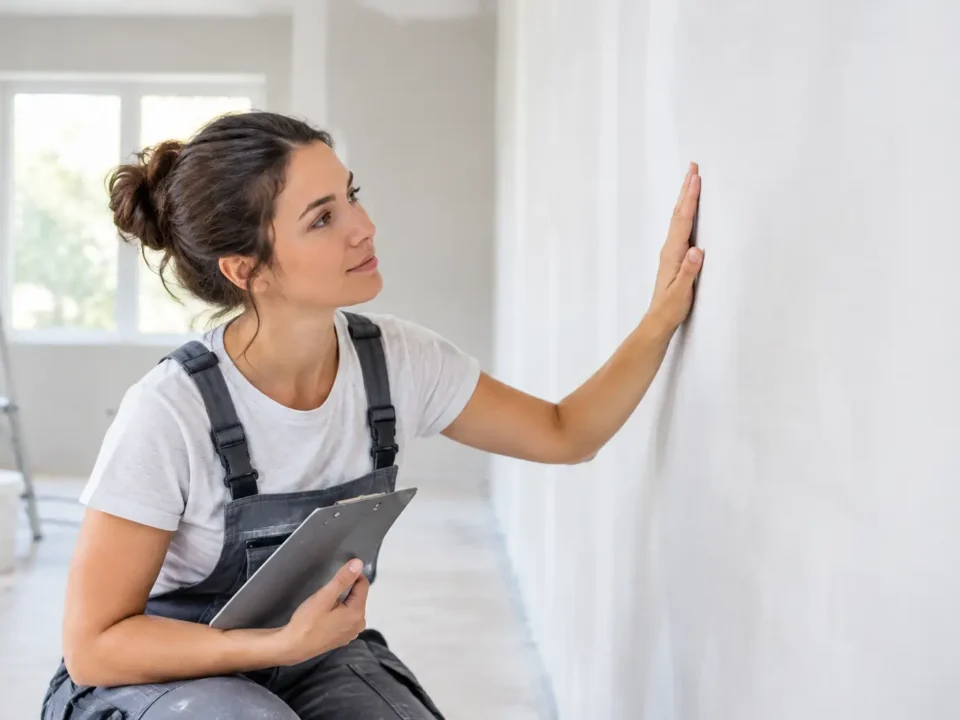
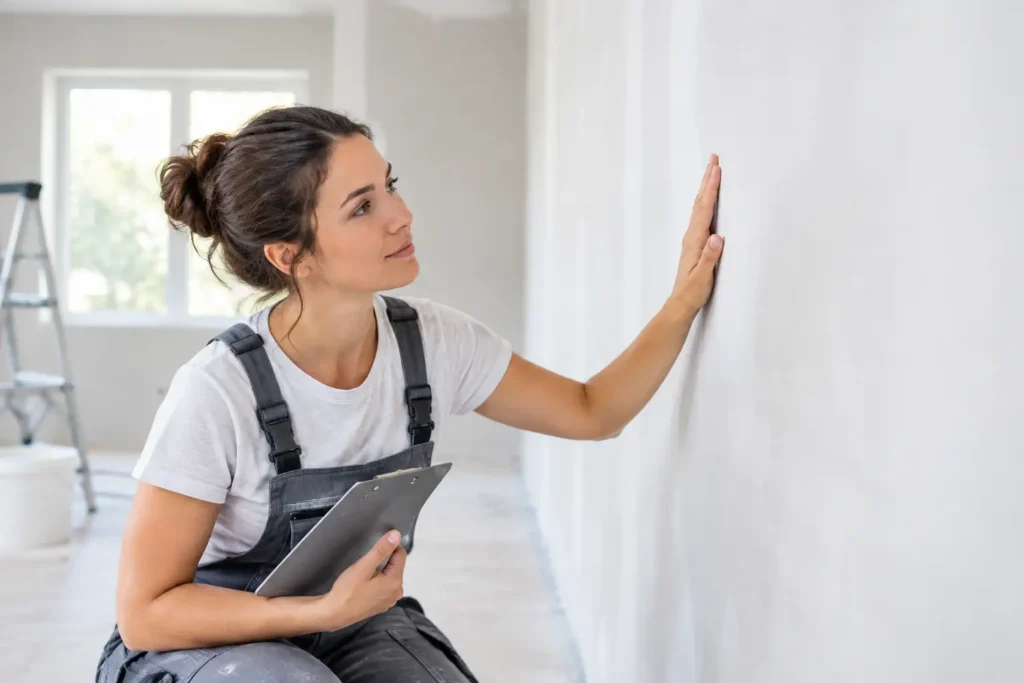
Start by looking closely at the affected seam. Gently press near the loose tape. If only a small edge is lifted and the surrounding compound is hard, dry, and well bonded, a localized repair may be enough. If tape pulls away easily for several inches, remove the loose section rather than trying to glue it back through paint.
Look for yellow or brown stains, soft drywall, mold, sagging, or a musty odor. Those signs suggest water damage, not a cosmetic failure. Repairing the tape before correcting the source will waste time and may hide a bigger problem.
Also check whether the drywall itself is secure. Loose screws or nails can create a raised bump or crack along the joint. Drive new drywall screws into solid framing on both sides of the seam if needed, setting each screw slightly below the surface without breaking the paper face. This stabilizes the panels before new tape and compound go on.
For a clean repair, gather a utility knife, drywall knife, sanding sponge, joint compound, replacement tape, primer, and matching paint. Paper tape is an excellent choice for flat seams and inside corners when properly embedded. Fiberglass mesh tape is convenient and resists mold, but it should generally be covered with setting-type compound because regular premixed compound can be more prone to cracking over mesh.
How to fix peeling drywall tape step by step
Remove every loose edge
Use a sharp utility knife to cut away peeling tape and any compound that has separated from the wall. Do not stop at the visibly lifted edge if the tape underneath is loose. Continue until you reach material that is firmly attached.
Scrape the area smooth with a drywall knife. The goal is not to dig a deep trench. You want a clean, stable surface without ridges, crumbling compound, or paint flakes that could weaken the new repair.
If the wall was affected by moisture, allow it to dry completely first. Replace damaged drywall if the gypsum core is soft, swollen, or deteriorating. Fresh tape cannot create a durable finish over compromised board.
Stabilize the seam and apply fresh compound
If the joint has cracked because the boards are moving, add screws before taping. Place them into framing, not just drywall, and keep them far enough from the seam to avoid damaging its edge.
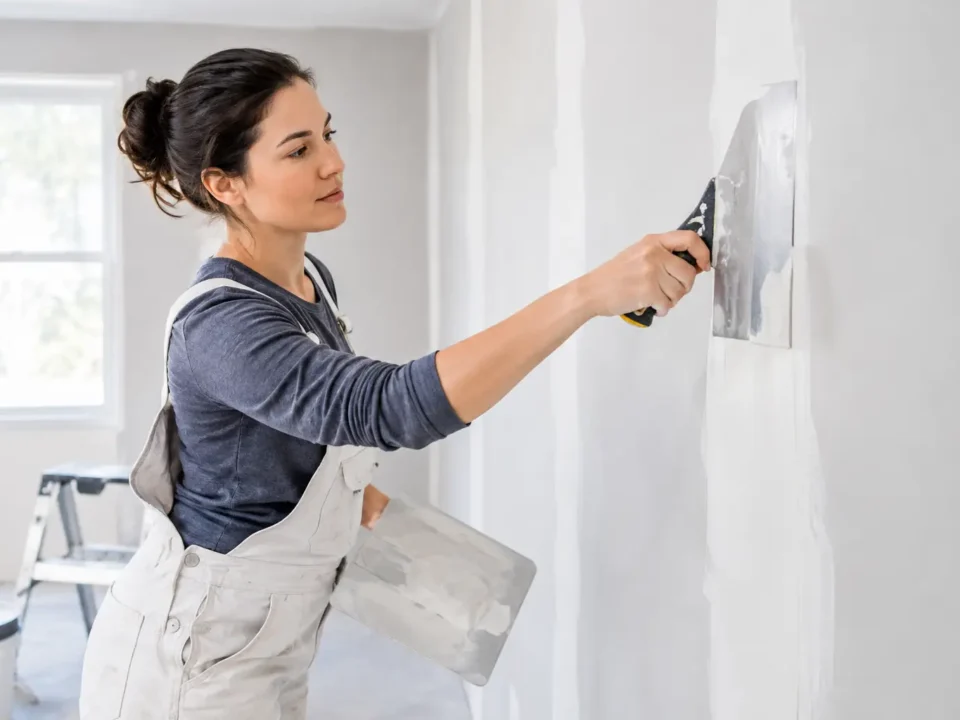
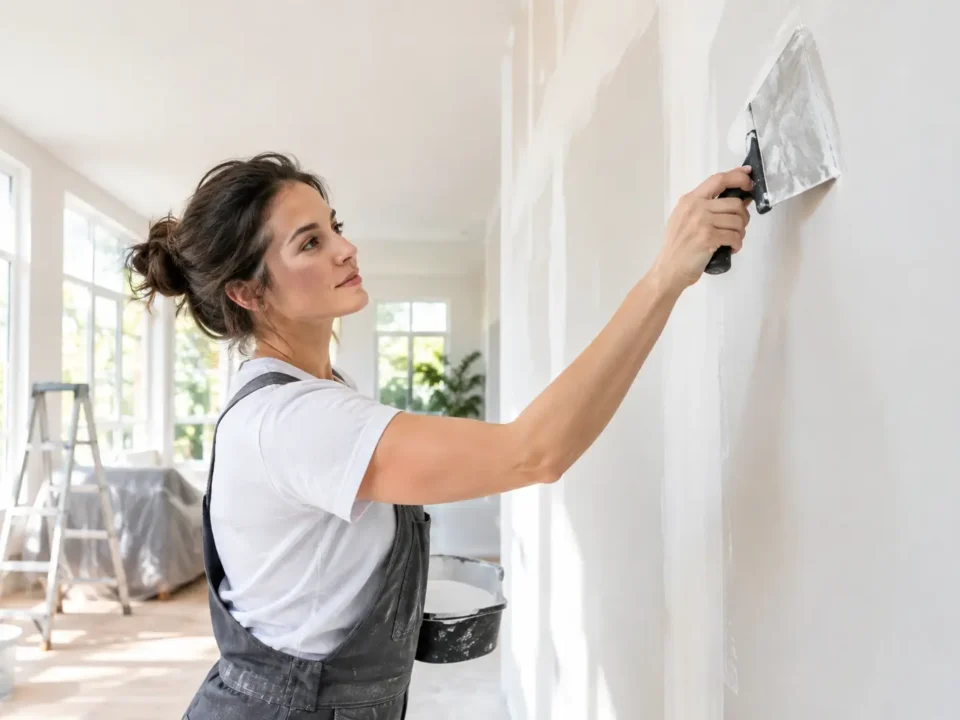
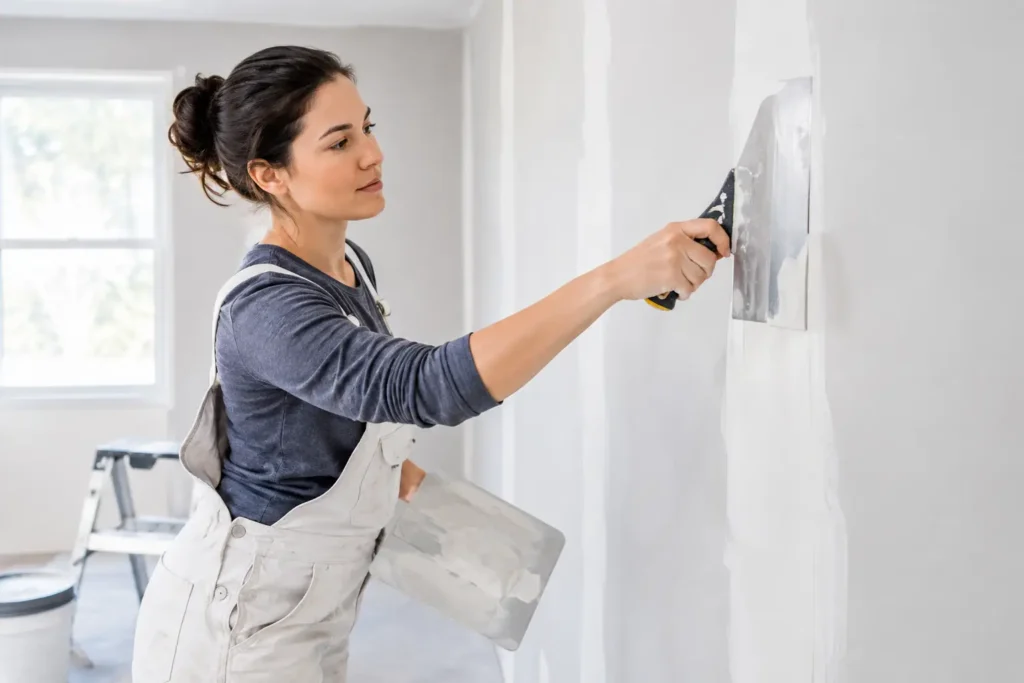
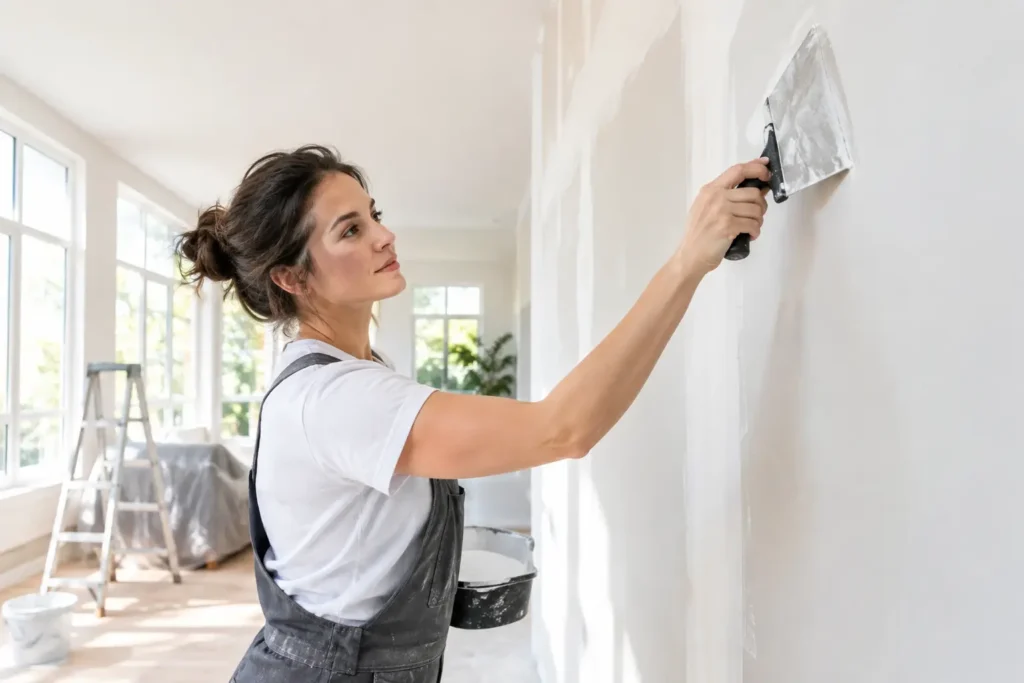
Apply a thin, even bed of joint compound over the joint with a 4- or 6-inch drywall knife. Press new paper tape into the wet compound, starting at one end and working toward the other. Hold the knife at a slight angle and draw it along the tape to remove air pockets and excess mud.
The tape should lie flat with enough compound behind it to bond, but not so much that it floats or wrinkles. If you see bubbles, lift that section while the compound is wet, add a little more mud, and reset the tape. A bubble that dries in place usually needs to be cut out and repaired later.
For an inside corner, crease paper tape down the center before installing it. Apply compound to both sides of the corner, press in the tape, then smooth one side at a time. Corner repairs take patience because too much pressure can pull the tape out of alignment.
Build thin coats, not one heavy patch
Let the taped seam dry fully. Drying time depends on product, temperature, humidity, and coat thickness. Rushing this step is one of the easiest ways to create future cracks, blisters, and sanding problems.
Once dry, apply a wider second coat with an 8- or 10-inch knife. Feather the edges beyond the taped seam so the repair gradually disappears into the wall. Keep the center covered but avoid leaving thick buildup.
After the second coat dries, inspect it with light coming across the wall. Apply a final, wider skim coat if the seam still has a visible ridge or shallow low spot. On a smooth wall or ceiling, the finish must be broad enough to disappear under paint, especially near windows and overhead lighting.
Sand lightly between coats only as needed. Use a fine-grit sanding sponge and avoid cutting into the paper tape. Wipe away dust before the final coat and before priming. A clean surface makes a noticeable difference in adhesion and paint appearance.
Prime before painting the repaired area
Joint compound is porous, so painting directly over it can leave a dull patch known as flashing. Apply a quality drywall primer to the repaired section after the final sanding. Primer seals the compound and reveals any remaining imperfections before the finish paint goes on.
If the wall has a textured finish, match the texture before priming. A smooth patch on an orange-peel or knockdown wall can be more visible than the original peeling tape. Texture matching is one of those details where a small repair can become surprisingly technical.
For ceiling repairs, take extra care with lighting. Even a well-taped seam can show if it has not been feathered wide enough. This is where a professional level 4 or level 5 finish can make the difference between a repair that merely holds and one that disappears.
When a professional drywall repair is the smarter choice
A small, dry section of lifting tape is often manageable for a careful homeowner. Larger failures are different. Call a drywall finishing professional when tape is peeling across a long ceiling joint, cracks return after repairs, there is evidence of water damage, or the wall needs to look flawless under bright or angled light.
Commercial spaces, renovated open-concept rooms, and high-visibility ceilings also demand more than a quick patch. The repair has to blend with the surrounding finish, stay stable, and be ready for paint without visible seams. That takes proper surface preparation, controlled coat thickness, and experienced sanding.
For homeowners and property managers in Niagara Region, St. Catharines, or Hamilton, TH Taping can assess the cause of a failed joint and provide a clean, durable repair. Whether the issue is a small damaged seam or a larger ceiling and wall finishing project, the goal is the same: a smooth surface that looks right from every angle.
A peeling seam is rarely fixed by covering it up. Remove what has failed, correct what caused it, and rebuild the joint in thin, fully dried layers. The result is not just a better-looking wall today, but a repair that stays quiet and smooth after the paint dries.