
Ceiling Repair in St Catharines Done Right

How to Fix Peeling Drywall Tape for Good
6 octubre, 2026
Best Ceiling Options for Dated Interiors
10 octubre, 2026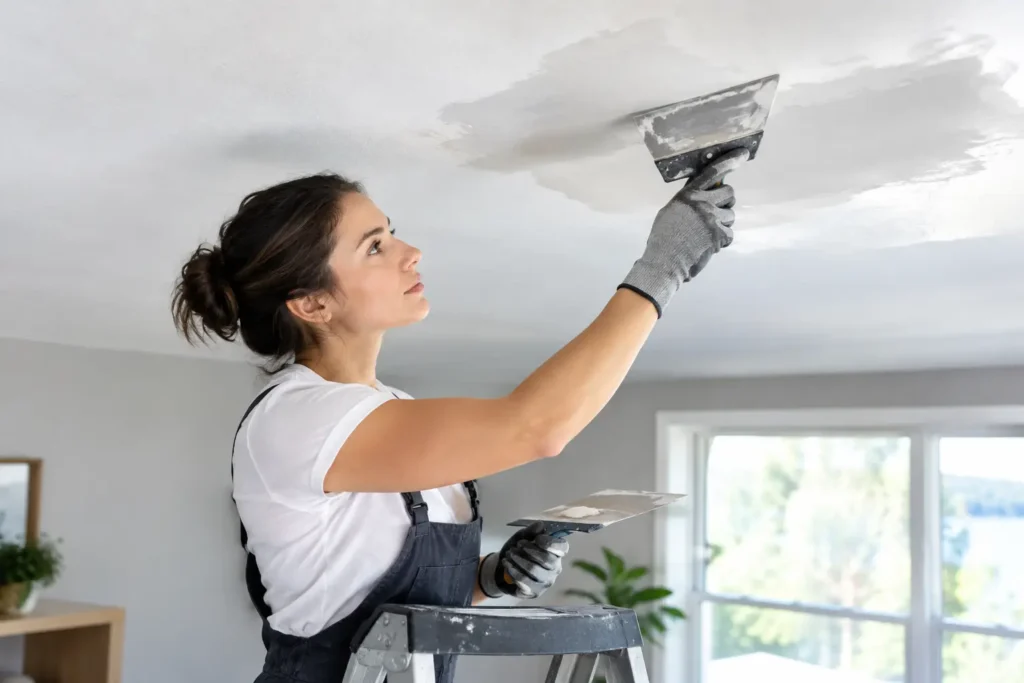
A brown ring spreading across the ceiling, a crack that keeps returning, or drywall beginning to sag is more than a cosmetic issue. Ceiling repair in St Catharines often starts with a visible flaw, but a lasting repair depends on finding out what caused it before anyone applies mud, tape, or paint.
A ceiling is one of the most noticeable surfaces in a room. Light hits it from multiple angles, especially near windows and pot lights, so rushed patches and uneven joints show up quickly. Whether the damage came from a leak, a renovation, an old popcorn texture, or normal settling, the goal is not simply to cover it. The goal is to restore a smooth, stable surface that belongs with the rest of the room.
When Ceiling Repair in St Catharines Should Not Wait
Some ceiling issues can wait for a planned renovation. Others need quick attention to prevent the repair from becoming larger and more expensive.
Water damage is the clearest example. A fresh stain, bubbling paint, soft drywall, or an active drip should be treated as a source problem first and a drywall problem second. The roof, plumbing line, bathroom above, appliance connection, or condensation issue needs to be fixed and fully dried before new material is installed. Repairing a damp ceiling may make it look better for a short time, but the stain, mold risk, and weakened board can return.
Sagging drywall needs prompt assessment as well. Ceiling board may sag when it has absorbed water, when fasteners have failed, or when the original installation was not properly supported. A small area may be repairable, while widespread sagging can call for removal and replacement. Trying to hold up compromised board with extra compound is not a real solution.
Cracks are more dependent on the details. A fine hairline crack near a seam can result from normal seasonal movement. A long, recurring crack, especially one paired with a visible dip or loose tape, usually needs the joint opened, secured, retaped, and refinished properly. Simply filling the crack often produces a temporary result.
Why Ceiling Patches Are Harder Than Wall Patches
A wall patch may be hidden by furniture, art, or a shadowed corner. A ceiling patch has nowhere to hide. Even when the drywall itself is repaired correctly, the final finish has to blend into a broad, highly visible plane.
This is where professional taping and finishing make the difference. The repaired area needs to be flat, feathered beyond the patch, and sanded without creating high spots. Joint compound must be applied in controlled coats, with enough drying time between them. If a seam is not properly reinforced or the edges are not feathered wide enough, light will reveal the repair after painting.
Texture adds another layer of difficulty. Smooth ceilings demand a near-flawless finish because every imperfection is visible. Popcorn ceilings require a careful decision: match the existing texture, repair a limited section, or remove the texture and create a clean smooth ceiling throughout the room. Matching an older sprayed texture can be possible, but it may not be the best visual choice when the ceiling already looks dated or uneven.
For premium renovations, Level 5 finishing may be worth considering. It provides an extra skim coat that helps create a consistent surface under critical lighting and quality paint. Level 4 is suitable for many standard painted ceilings, but the right level depends on lighting, paint sheen, room use, and expectations for the final appearance.
What a Proper Ceiling Repair Involves
A reliable repair follows a sequence. Skipping steps is usually what leads to visible seams, stains bleeding through, or cracks coming back.
First, the damaged area is inspected. This includes checking whether the drywall is dry, firm, and structurally sound. If water was involved, the source must be resolved before the finish work begins. Wet or mold-affected materials may need to be removed rather than patched over.
Next, loose tape, damaged drywall, soft material, and unstable edges are cut back. New drywall is fitted where needed and secured to proper framing or backing. A sound patch begins with a solid substrate. Compound cannot correct a board that moves.
The joints are then taped and built out with successive coats of compound. Each coat serves a purpose: embedding the tape, filling the joint, and feathering the repair into the surrounding ceiling. Sanding is controlled to keep the surface even while avoiding damage to the surrounding paper face.
The final stage is surface preparation for painting. Depending on the repair, this may include spot priming water stains with the appropriate stain-blocking primer, checking the ceiling under direct light, and preparing the entire surface if blending is required. A perfect drywall finish can still look inconsistent if new paint is applied only to a small section of a faded ceiling. In many rooms, repainting the full ceiling is the cleanest way to achieve an even result.
Repair, Replace, or Remove the Texture?
The best option depends on the condition of the ceiling and the scope of the project. A localized hole from plumbing access, a small crack, or damaged tape in one area can often be repaired without replacing the whole ceiling. This is usually the practical choice when the surrounding material is dry, flat, and in good condition.
Replacement makes more sense when water damage is extensive, multiple areas are sagging, or old drywall has deteriorated beyond a dependable patch. It can also be the better path during a major renovation, when lighting, insulation, wiring, or framing changes are already planned.
Popcorn ceiling removal is a separate improvement that can be combined with repair work. Removing the texture and refinishing the surface creates a cleaner, more current look, but it involves more preparation than a simple patch. The ceiling must be protected, scraped or treated as appropriate, repaired, skimmed, sanded, and finished smoothly. Older textured ceilings should be assessed before disturbance, particularly in homes where the material may predate modern safety standards.
Common Shortcuts That Create Bigger Problems
The fastest-looking repair is not always the fastest completed repair. Painting over a stain without addressing moisture allows discoloration to return. Filling a crack without tape may leave a line that reopens with movement. Applying compound over loose drywall tape hides the issue briefly but does not reattach the failing joint.
Another common mistake is sanding aggressively to make a repair disappear. Excessive sanding can expose drywall paper, create a hollow spot, and weaken the edge of the patch. The finish should be built gradually with thin coats, not forced into shape with sanding alone.
Using the wrong materials can also affect the result. Setting compound, lightweight topping compound, paper tape, mesh tape, primers, and drywall thicknesses each have appropriate uses. The best choice depends on the repair area, existing ceiling type, and whether movement or moisture was part of the original problem.
A Better Result Starts With a Clear Scope
Before scheduling work, take a close look at the ceiling from different angles and note whether the issue is changing. Photos are useful, especially for intermittent leaks or damage in a rental or commercial property. If water is present, document the source and have it addressed quickly.
A clear scope should identify what will be repaired, whether damaged board needs replacement, what finish level is expected, and whether painting is included. This helps avoid an uneven result where the patch is repaired but the surrounding ceiling still looks worn, textured, or mismatched.
For homeowners, property managers, and contractors in the Niagara region, TH Taping handles both smaller drywall patches and larger ceiling finishing projects with the same focus on clean, durable surfaces. The right repair should look quiet when the work is done – no visible seam, no recurring stain, and no patch that catches your eye every time you enter the room.
If your ceiling has changed from a small flaw into a concern, address the cause first, then choose a repair that gives the room a finish worth keeping.