Drywall Finishing Standards for Smooth Walls

Best Drywall Finish for Bright Rooms Explained
22 octubre, 2026
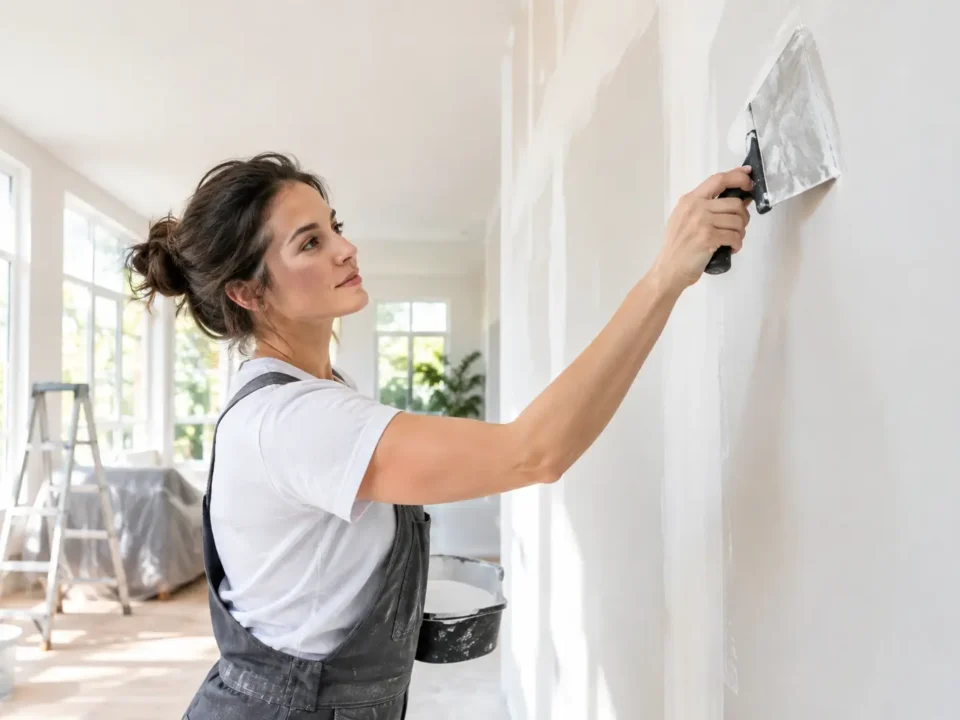
A wall can look perfectly flat during framing and still show every joint, fastener, and repair after the paint dries. That is why drywall finishing standards matter. They define how much taping, mudding, sanding, and surface preparation a wall or ceiling needs before its final finish goes on.
For homeowners, builders, and property managers, the right finish level prevents expensive surprises. For contractors, it creates a clear expectation before the first coat of compound is applied. The goal is not to pay for the highest level everywhere. It is to match the finish to the room, lighting, wall covering, and paint sheen.
What drywall finishing standards actually mean
Drywall finishing standards are commonly organized into six levels, from Level 0 through Level 5. Each level describes the condition of the installed drywall and the amount of finishing work completed on joints, corners, screws, and the overall surface.
The levels are not simply a quality scale where Level 5 is always “better.” A utility room behind shelving does not need the same finish as a foyer wall painted in a dark satin color and hit by afternoon sunlight. Choosing the proper level keeps the project efficient while protecting the final appearance.
A professional finisher should discuss the intended wall covering and lighting before quoting the work. Smooth walls are built in stages, and the specification needs to be clear before paint, tile, wallpaper, cabinets, or trim are installed.
Drywall finishing standards: Levels 0 through 5
Level 0: Installed drywall, no finishing
Level 0 means the drywall panels are hung, but there is no tape, joint compound, corner bead finishing, or sanding. This level is appropriate when the wall will be covered by another material, when the project is still in an early construction phase, or when the final finish has not been selected.
It is not a paint-ready surface. Leaving the scope at Level 0 without a clear next step can create confusion, especially on fast-moving renovation projects.
Level 1: Basic fire and service-area finish
At Level 1, joints are taped in joint compound, and excess material is removed. Fastener heads and accessories may receive a basic coat as needed. The surface is not sanded for appearance.
This is commonly used above ceilings, in mechanical rooms, garages, or other concealed spaces where appearance is not a priority. It is functional, but it will show tool marks and joint lines under paint.
Level 2: A base for tile or other coverings
Level 2 includes tape embedded in compound and a thin coat over joints, angles, fasteners, and accessories. The purpose is to cover the drywall system well enough for a heavier finish material, not to create a smooth painted wall.
It can work behind ceramic tile, in some utility areas, or under certain wall coverings. Whether it is appropriate depends on the product being installed. Tile layout, waterproofing requirements, and substrate flatness are separate issues that still need to be addressed.
Level 3: Prepared for texture or heavy wallcovering
Level 3 receives an additional coat of compound over joints and fasteners. The surface is smoother, but it is generally intended for medium to heavy textures or heavy-duty wallcoverings that hide minor imperfections.
A Level 3 finish should not be assumed paint-ready for smooth, light-colored walls. Flat paint may conceal more than satin or semi-gloss, but it does not erase every ridge, shadow, or sanding mark. If the plan is smooth paint, Level 4 is usually the practical starting point.
Level 4: The standard for most painted interiors
Level 4 is the finish most residential and commercial interiors need. Joints, fasteners, and accessories receive multiple coats of compound, with sanding between stages as required to create a consistent surface for standard paint finishes and typical lighting.
A proper Level 4 finish is clean, smooth, and ready for primer and paint. It is a strong choice for bedrooms, hallways, living areas, offices, and most ceilings. It also works well after a popcorn ceiling removal when the ceiling will be refinished and painted with a standard low-sheen product.
Still, Level 4 has limits. Direct side lighting, large windows, dark paint, high-gloss paint, and smooth ceilings can reveal slight variations that are not obvious in ordinary room light. This is where many projects need a more detailed conversation before the final coat is applied.
Level 5: The premium finish for demanding surfaces
Level 5 includes the Level 4 process plus a skim coat or equivalent material applied across the entire surface. This extra step helps create a more uniform face and reduces the visual contrast between joint compound and drywall paper.
Level 5 is the best choice for surfaces exposed to critical lighting, including walls beside tall windows, open-concept spaces with strong directional light, and ceilings with close-mounted fixtures. It is also recommended for dark colors, glossy paints, and premium interiors where the walls are meant to look exceptionally clean from every angle.
It requires more labor and material, so it is not always necessary across an entire property. A smart approach may be Level 5 on a feature wall, main ceiling, stairwell, or sunlit room, with Level 4 in lower-risk areas.
Lighting and paint decide more than most people expect
A drywall finish is judged by what the eye sees, not just by how it feels to the hand. Raking light is the biggest challenge. This happens when light travels across a wall or ceiling at a low angle, casting small shadows from even minor surface changes.
Large windows, recessed lights placed close to walls, pendant lights, and under-cabinet lighting can all create raking light. The same wall that looks excellent at noon may reveal joints at night when the lights are on.
Paint sheen raises the stakes. Flat paint is more forgiving because it diffuses light. Eggshell, satin, semi-gloss, and gloss reflect light more directly, making imperfections easier to see. Dark colors can do the same. Before finishing begins, decide on the paint color and sheen whenever possible. That decision can affect whether Level 4 is appropriate or Level 5 is worth the investment.
Why primer and proper dry time still matter
Even excellent taping can be undermined by rushed painting. Joint compound needs adequate dry time between coats, especially in humid conditions or after water-related repairs. Applying paint over damp compound can lead to uneven appearance, adhesion issues, or visible patches later.
Primer is also part of the finishing system. Drywall paper and dried compound absorb paint differently. A quality drywall primer helps equalize the surface so the topcoat develops a more consistent color and sheen. Skipping it can make joints look different from the surrounding board, even when the taping work was done correctly.
Common mistakes that lead to visible wall defects
The most frustrating drywall problems often begin before the final sanding. One common mistake is specifying a general “smooth finish” without identifying the level required. Another is installing high-sheen paint in a room with harsh directional lighting but budgeting only for a basic painted-wall finish.
Poor repairs are another source of problems. A patch may look fine after one coat of compound, yet shrink, flash through paint, or show a raised edge once the room is fully lit. Proper repairs need the damaged area stabilized, taped where needed, feathered over a wide area, sanded carefully, primed, and blended into the surrounding surface.
Over-sanding also causes trouble. Sanding too aggressively can fuzz drywall paper or create shallow depressions around joints. The goal is not to sand the wall flat by force. It is to build smooth, gradual transitions with correctly applied compound.
Choosing the right level for your project
Start with the room’s purpose and finish plan. For a concealed mechanical space, Level 1 may be enough. Tile areas and surfaces receiving substantial wallcovering may suit Level 2 or Level 3, depending on the finish material. Most painted rooms need Level 4.
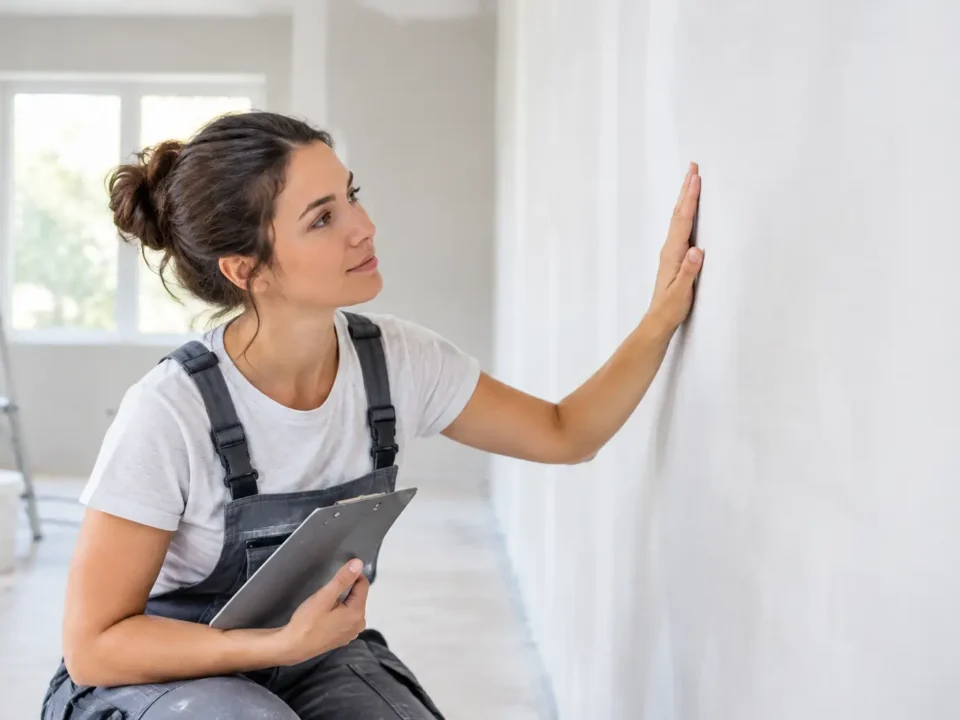
Choose Level 5 when appearance is especially demanding: smooth ceilings, large walls with sunlight, dark or reflective paint, luxury renovations, and high-visibility commercial interiors. If you are unsure, inspect the space at different times of day and consider where fixtures will be installed. The lighting plan often gives the clearest answer.
For projects in Niagara, St. Catharines, or Hamilton, TH Taping can assess new drywall, ceiling refinishing, patches, and repair areas before painting begins. A clear quote should identify the expected finish level and any conditions that may affect the final result.
A smooth wall is not just the result of more mud. It comes from choosing the right drywall finish level early, preparing the surface carefully, and setting expectations that match the room people will actually see.