Drywall Primer vs Sealer: Which Do You Need?

Drywall Repair Versus Resurfacing Explained
30 septiembre, 2026
Five Signs of Ceiling Damage You Should Not Ignore
4 octubre, 2026
Fresh drywall can look smooth under work lights and still show every seam, patch, and roller mark after the first coat of paint. The difference often comes down to one overlooked step: choosing the right coating before paint. In the drywall primer vs sealer decision, the right answer depends on whether you are dealing with new drywall, repairs, stains, uneven surfaces, or a high-end finish.
Primer and sealer are often discussed as if they are the same product. Sometimes one product can perform both jobs. But they solve different problems, and using the wrong one can lead to flashing, uneven sheen, poor paint adhesion, or stains that return through a newly painted wall.
What Drywall Primer Does
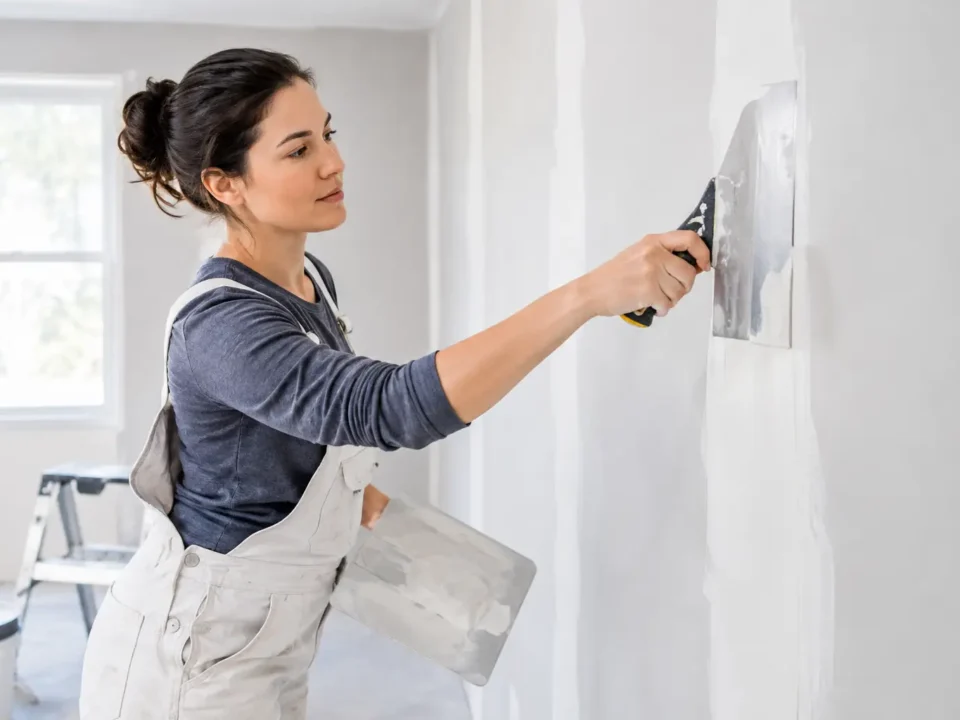
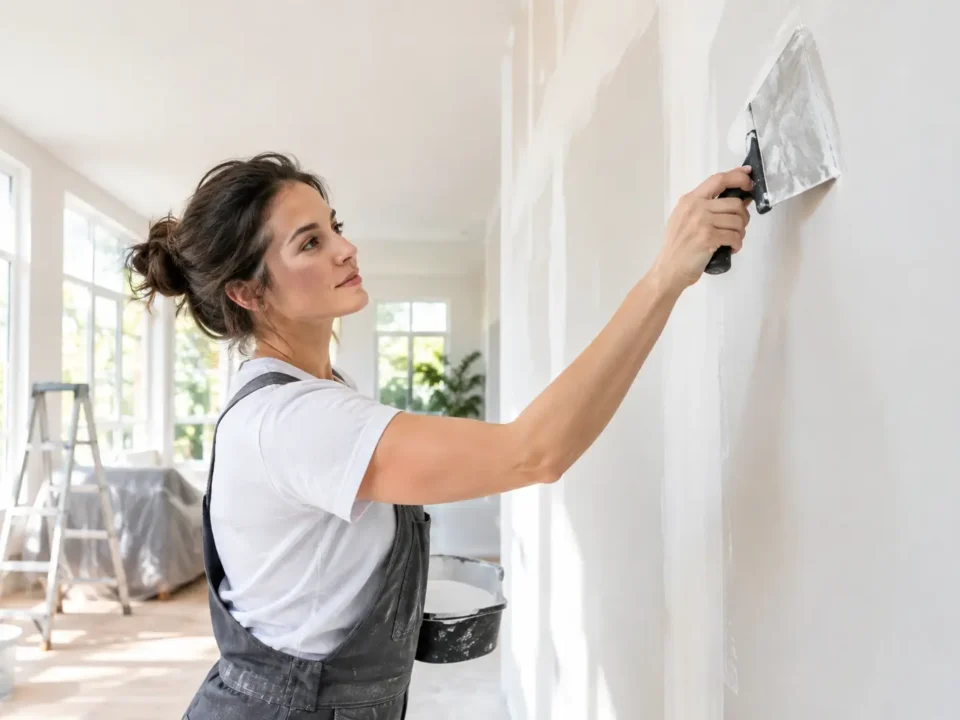
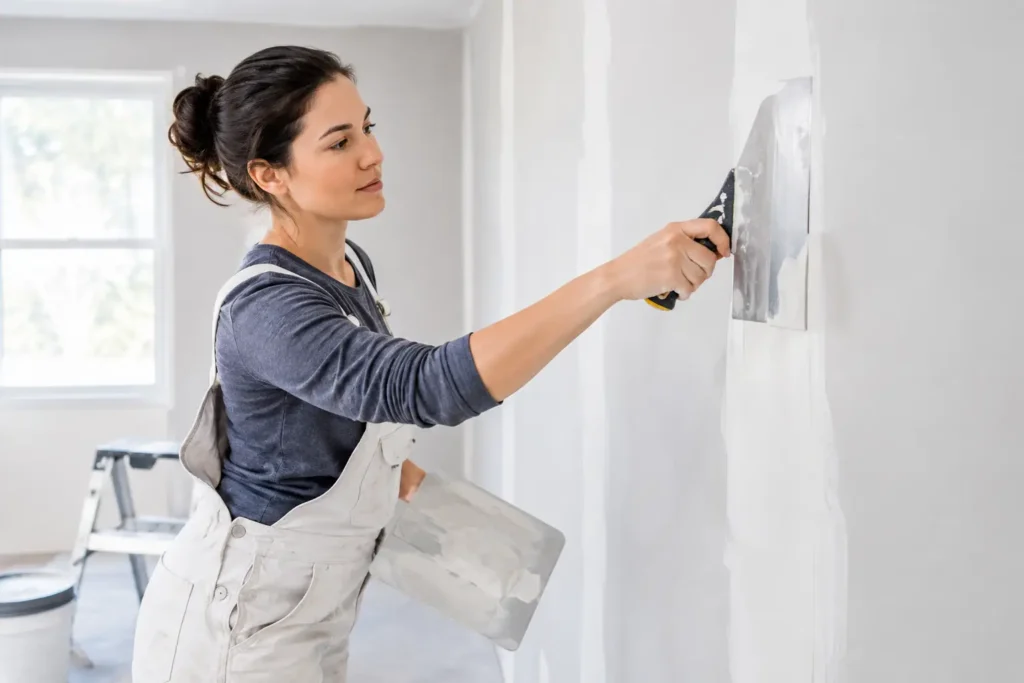
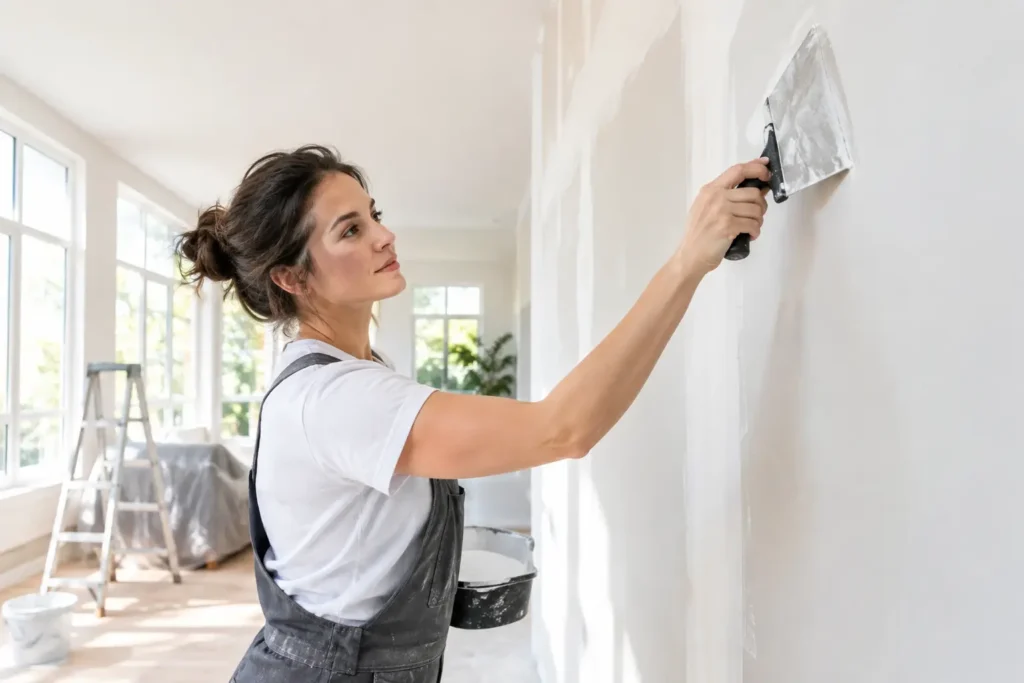
Drywall primer is designed to prepare a new or repaired drywall surface for paint. Drywall compound, joint tape areas, paper facing, and patches all absorb paint differently. Without primer, the finish coat can soak into some areas more than others, creating dull spots or visible bands around seams and repairs.
A quality drywall primer creates a more uniform surface so your paint applies evenly. It also improves paint coverage, which can reduce the number of finish coats needed. For new drywall, a PVA drywall primer is often the practical choice because it is made to penetrate and bond to porous drywall and joint compound.
Think of primer as the transition layer between the finished drywall work and the decorative paint system. It helps the paint look consistent, but it is not necessarily intended to block difficult stains or odors.
When primer is the right choice
Use drywall primer when the surface is new, clean, dry, and properly finished. It is also the standard starting point after routine drywall repairs, skim coating, or patching, provided there are no water marks, smoke stains, grease, or other contaminants underneath.
For a Level 4 finish, primer is especially useful because it helps reveal small imperfections before the final paint is applied. A professional can inspect the primed surface under proper lighting, touch up minor flaws, and create a cleaner final result.
What a Sealer Does
A sealer is used to lock down a problem that could interfere with the paint finish. Depending on the product, it may block stains, control odors, seal porous or damaged surfaces, or prevent contaminants from bleeding into the paint.
For example, a brown water stain on a ceiling may look covered after ordinary primer and paint. Then, days or weeks later, the discoloration can reappear. That happens because the stain was not sealed. A stain-blocking sealer creates a barrier between the damaged area and the new coating.
Sealers are also useful after smoke damage, nicotine staining, crayon marks, grease, wood tannins, or certain old wallpaper adhesives. The right sealer needs to match the issue. Water-based products may be appropriate for light stains and general prep, while shellac- or oil-based stain blockers are often better for stubborn water, smoke, and nicotine damage. These products can have stronger odors and require more careful ventilation and cleanup.
When sealer is the right choice
Choose a sealer when there is a known stain, odor, or contamination concern. It is also a smart step when repaired drywall has been exposed to moisture. Before any sealer goes on, though, the source of the problem must be fixed. Sealing over an active roof leak, plumbing leak, or condensation issue only hides the evidence temporarily.
A sealer can also be needed when an older surface is chalky, unusually porous, or inconsistent after repairs. In those cases, it helps stabilize the surface before paint. The product label matters here. Not every sealer is made to act as a drywall primer, and not every primer is a reliable stain blocker.
Drywall Primer vs Sealer for New Drywall
For clean, newly installed drywall, primer is usually the first and most appropriate choice. The walls do not need stain blocking. They need even absorption and a dependable base for paint.
A common mistake is applying finish paint directly to drywall because the paint can claims to include primer. Paint-and-primer products can work well on previously painted walls in good condition, but fresh drywall is a different surface. It contains porous joint compound and exposed paper facing, both of which benefit from a dedicated drywall primer.
Skipping this step can make a wall look uneven even when the taping and finishing work was done correctly. Flat paint may hide some variation, but eggshell, satin, and semi-gloss finishes tend to reveal more. Strong daylight, large windows, and overhead fixtures can make those inconsistencies even more visible.
When You May Need Both
Some projects require both a sealer and a primer, especially after damage or extensive repair work. A ceiling with an old water stain is a good example. First, confirm the leak has been repaired and the drywall is fully dry. Next, use a stain-blocking sealer only on the affected area or across the full ceiling if staining is widespread. Then apply the appropriate primer if needed to create an even, paint-ready surface.
The order depends on the products being used. Many stain-blocking sealers can also serve as a primer, while others are intended only for spot treatment. Reading the manufacturer directions prevents compatibility problems and unnecessary coats.
After a large patch, skim coat, or popcorn ceiling removal, a full prime coat is usually better than spot-priming alone. Spot priming can leave visible differences in texture or sheen, often called flashing. A consistent coat across the entire wall or ceiling gives the finish paint a more uniform foundation.
The Finish Level Changes the Decision
The smoother and more reflective the final look, the more critical surface preparation becomes. A Level 5 drywall finish is often selected for spaces with large windows, dramatic lighting, dark paint colors, or smooth ceilings. It includes a skim coat over the finished surface to minimize texture differences and reduce the chance of visible imperfections.
Even with a Level 5 finish, primer still matters. Primer does not replace skilled drywall finishing, and skilled finishing does not eliminate the need for proper priming. They work together. One creates a refined surface; the other helps the paint display that surface evenly.
This is also why rushing paint preparation can undermine an otherwise excellent drywall job. A wall may be structurally sound and neatly taped, yet still look unfinished if the coating system is not suited to the surface.
Practical Application Tips
The wall or ceiling should be dry, dust-free, and properly sanded before primer or sealer is applied. Sanding dust left on drywall can interfere with adhesion and create rough areas under paint. Wipe or vacuum surfaces carefully, then allow any damp cleaning to dry completely.
Use the right roller nap for the texture you want. A shorter nap generally helps maintain a smoother finish on smooth drywall, while a thicker nap may be needed for textured surfaces. Keep a wet edge while rolling and avoid stretching the coating too thin. Thin, uneven application can create the very flashing you are trying to prevent.
Allow the coating to dry according to product directions before painting. Drying time can change with humidity, temperature, and ventilation. In basements, bathrooms, and recently repaired areas, giving the surface adequate time is especially important.
If the project includes a noticeable stain, repeated cracking, soft drywall, or a large area of damage, paint preparation should not be treated as a cosmetic shortcut. The drywall itself may need repair before any coating can do its job.
A clean paint finish starts well before the paint can is opened. Whether your project needs primer, sealer, or both, the goal is the same: a stable, even surface that lets the final color look the way it should. For repairs, smooth ceilings, or professional drywall finishing in Niagara Region, TH Taping is here to help create a surface worth painting.