
New Construction Drywall Finishing Done Right

How to Blend Drywall Patch Invisibly Before You Paint
28 julio, 2026
Wall Surface Prep for Painters Done Right
1 agosto, 2026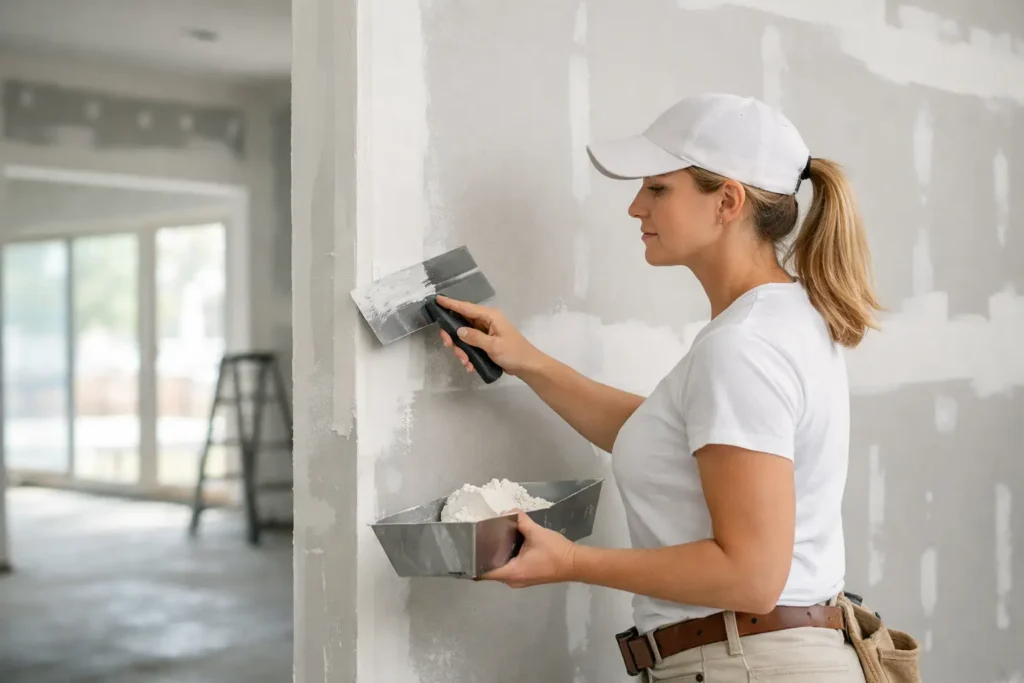
A new wall can look finished the moment the drywall goes up, but that is when the detail work really begins. New construction drywall finishing determines whether paint looks clean and even or exposes every joint, fastener, corner, and ceiling seam once the lights are on.
For homeowners, builders, and property managers, the goal is not simply to cover joints with compound. It is to create a continuous surface that stays visually clean from one room to the next. That takes the right finish level, patient sanding, controlled drying conditions, and an experienced eye before the painter arrives.
What New Construction Drywall Finishing Includes
Drywall finishing is the process of treating seams, screws, corners, and surface imperfections after drywall boards have been installed. Paper or fiberglass tape is embedded in joint compound, then additional coats are applied, dried, sanded, and inspected until the wall reads as one flat plane.
On a new build, the work typically includes taping all joints, coating fasteners, finishing inside and outside corners, addressing bead lines, and preparing walls and ceilings for primer and paint. It also includes correcting common installation issues that cannot be ignored just because the framing is new. A protruding screw, uneven board edge, loose corner bead, or poorly supported seam can show through even an expensive paint job.
The best time to address these details is before trim, flooring, and final fixtures complicate access. Clean sequencing protects the rest of the project and avoids costly touch-ups later.
Why the Finish Level Matters Before Paint
Not every room needs the same drywall finish. The right level depends on lighting, wall texture, paint sheen, and how closely people will see the surface.
A level 4 finish is the standard choice for many new residential and commercial interiors. Joints and fasteners receive multiple coats of compound, then surfaces are sanded smooth for flat paint or light textures. When the boards are installed correctly and lighting is typical, level 4 provides a clean, dependable result.
A level 5 finish is the premium option for areas where flaws are more likely to show. It includes the preparation of level 4 plus a thin skim coat or equivalent treatment across the entire surface. That additional step helps create a more uniform appearance under smooth paint, darker colors, satin or semi-gloss sheens, and strong directional light.
It depends on the room. A utility area with a textured finish may not need level 5. A foyer with large windows, a smooth ceiling, and dark paint often benefits from it. The same is true for open-concept spaces where recessed lighting washes across long walls and makes minor imperfections visible.
The Details That Separate a Clean Finish From a Rough One
Drywall finishing is judged by what is hard to notice. A well-finished wall does not pull attention toward a seam, corner, or patch. It lets the paint color, trim, and room design do the work.
Flat joints and properly feathered edges
Joint compound must extend far enough beyond each seam to hide the slight recess and taper of the drywall board. If the finish is too narrow, the joint can appear as a raised stripe under paint. If it is applied unevenly, sanding alone will not fix the profile without risking paper damage or creating more waves.
Straight, durable corners
Outside corners take daily abuse from furniture, traffic, and normal use. Corner bead needs to be secure, straight, and fully covered so it does not crack or reveal a hard edge after painting. Inside corners require clean tape adhesion and consistent lines, especially where walls meet ceilings.
Smooth ceilings under real lighting
Ceilings deserve close attention because they are often viewed under recessed lights, pendants, or sunlight from nearby windows. A ceiling may look acceptable in low light but reveal ridges, sanding marks, or joint shadows once the room is fully illuminated. This is one reason a final inspection should happen with lighting conditions in mind, not only under work lights.
Controlled sanding and cleanup
Sanding is necessary, but aggressive sanding can leave scratches, expose tape, or damage the drywall paper. Professional finishing balances smoothness with surface integrity. Proper dust control also matters on active job sites, particularly before painters, cabinet installers, and flooring crews move in.
Common New-Build Problems That Should Be Fixed Early
New construction moves fast, and drywall can be affected by framing movement, moisture, scheduling pressure, and trades working in the same space. Finding issues before primer is far easier than correcting them after final paint.
Look for visible fastener heads, cracked tape, raised seams, chipped corners, loose bead, gaps at board edges, and uneven transitions near doors or windows. Also check walls beside stair openings, bulkheads, HVAC runs, and large windows. These areas often have complicated framing or changing light that makes finishing defects more noticeable.
Humidity and temperature can affect dry times and compound performance. Rushing coats before they have dried fully can lead to soft spots, shrinkage, or cracks that show up later. In cooler conditions or buildings without stable climate control, the schedule may need adjustment. That is not a delay for its own sake – it protects the final result.
Preparing for Paint and Final Inspection
Before a painter primes the space, the drywall finish should be reviewed room by room. This is the last practical point to catch defects without turning a small repair into a larger repainting job.
Use angled light to inspect walls, especially in rooms with large windows or rows of recessed fixtures. Walk the space from different directions. Check ceilings from the doorway and from beneath the main light source. Small issues can be repaired efficiently at this stage, while major concerns may point to a finish level that does not match the planned paint and lighting.
Primer is not a cure for poor drywall work. It can help reveal flaws, and it creates a consistent base for paint, but it will not hide a poorly feathered seam or an uneven corner. High-sheen paint can make those defects more obvious, not less.
For builders and contractors, clear communication between the drywall finisher and painter prevents mismatched expectations. Confirm the intended finish level, paint sheen, texture plan, and inspection standard before the final coats begin.
Choosing a Drywall Finishing Team for a New Project
The lowest quote is not always the lowest final cost. Incomplete prep, rushed sanding, and weak repairs can create delays for painting, trim installation, occupancy, or final walkthroughs. A qualified drywall finishing team should be comfortable discussing level 4 versus level 5, identifying surface risks early, and handling both broad finishing work and the smaller corrections that keep a project moving.
For projects in Niagara Region, St. Catharines, and Hamilton, TH Taping provides drywall taping and finishing for new homes, commercial interiors, and detailed touch-up work. The focus is straightforward: smooth, durable walls and ceilings that are ready for paint and built to look right under real lighting.
A good finish is not measured only when the crew leaves. It is measured when morning sun reaches the wall, recessed lights come on at night, and the room still looks clean from every angle. Before paint is scheduled, make sure the surface has been given the attention that final result deserves.






