
How to Blend Drywall Patch Invisibly Before You Paint

Smooth Ceilings Versus Textured Ceilings
26 julio, 2026
New Construction Drywall Finishing Done Right
31 julio, 2026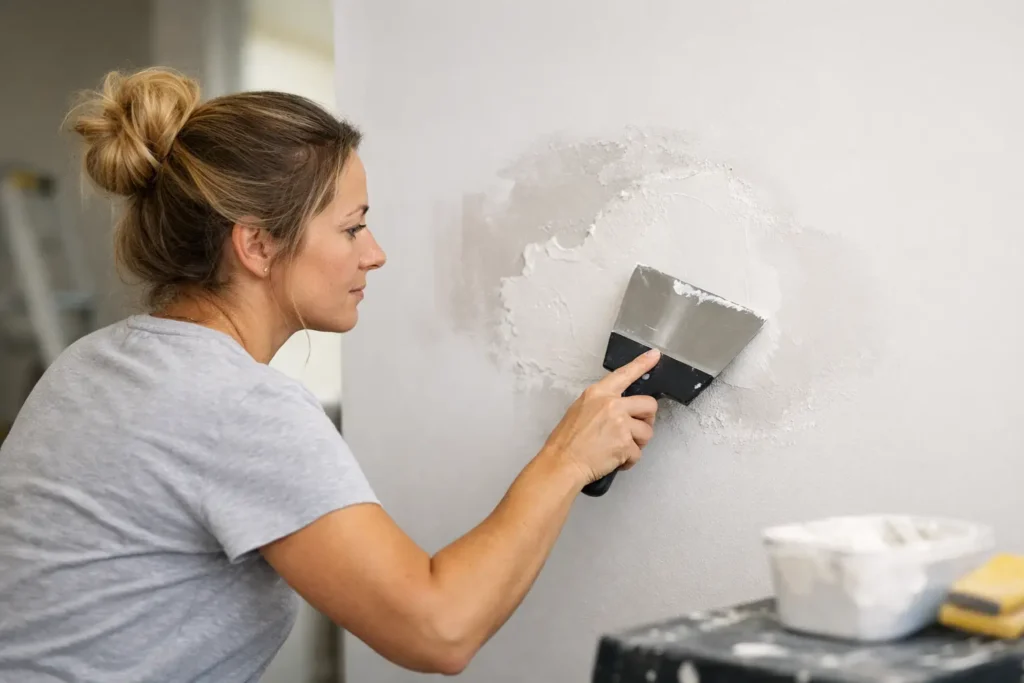
A drywall patch can look perfectly flat under a work light and still reveal itself the moment daylight hits the wall. The edge flashes through paint, the texture changes, or a faint raised rectangle appears around the repair. Learning how to blend drywall patch invisibly is less about hiding the hole and more about rebuilding the wall’s uninterrupted surface.
For a result that holds up in normal light, the patch must be secure, the joints must be properly taped, and the joint compound must taper far beyond the repair itself. Rushing any of those steps usually creates the shadows, ridges, and paint differences homeowners notice later.
Start With a Solid, Flush Patch
An invisible repair begins behind the finished surface. If the drywall piece sits proud of the surrounding wall, no amount of sanding will make it disappear. If it sits too deep, it will require excessive compound and may still look like a shallow dip under side lighting.
Cut away loose or broken drywall until you reach firm material. For a larger opening, install backing strips inside the wall opening, then fasten the replacement drywall piece so its face is flush with the existing board. Use enough screws to keep the patch from shifting, but set the screw heads slightly below the paper surface without tearing it.
Small dents and nail holes do not need a drywall insert. They can usually be filled directly. Cracks, damaged corners, holes, and cutouts around plumbing or electrical work require a different approach, because movement at the joint can cause the repair to crack again.
How to Blend Drywall Patch Invisibly With Tape
Joint tape is what turns separate pieces of drywall into one continuous wall plane. Skipping tape might seem faster on a small repair, but compound alone has little strength across a joint. As the wall expands, contracts, or experiences minor vibration, an untaped seam is likely to reappear.
Paper tape is often the best choice for flat seams because it creates a thin, strong joint. Apply an even bed of joint compound, press the tape into place, and remove excess mud with a taping knife. The tape should sit flat with no bubbles, wrinkles, or dry areas underneath.
Mesh tape is convenient for certain patches, especially when paired with setting-type compound, but it can leave a slightly thicker build-up. That is not automatically a problem. It simply means the surrounding compound must be feathered wider to prevent a visible hump.
For outside corners, use the appropriate corner bead rather than trying to shape a crisp corner with compound alone. A clean, durable corner needs a straight edge beneath the finish coats.
Feather Wider Than You Think
The most common reason a drywall patch remains visible is a feathered area that is too narrow. Compound piled tightly around a repair creates an obvious raised spot. The goal is not to make the patch area thick. The goal is to gradually transition from the repair back to the original wall.
Start with a smaller knife to embed tape and fill low areas. Then move to a wider knife for the next coats. A 10-inch or 12-inch knife gives enough reach to soften the transition around most wall patches. For a larger repair or a wall with strong natural light, the final coat may need to extend 18 inches or more beyond the seam.
Apply compound in thin coats. Hold the knife at a shallow angle, keep consistent pressure, and avoid leaving heavy edges. A slight low spot after the first coat is better than a thick ridge that needs aggressive sanding later. Let each coat dry fully before adding the next one.
The final coat should cover a broad area with very little material at the outer edges. Think of it as a gradual fade, not a mound around the patch. This is where professional drywall finishing makes the difference between a repair that is merely acceptable and a wall that looks untouched.
Use the Right Compound for the Stage
Setting-type compound, often called hot mud, is useful for the first coat because it hardens quickly and is durable. It works well for filling deeper voids and setting tape on many repairs. However, it can be harder to sand, especially when mixed too thick or left with tool marks.
Ready-mixed all-purpose or lightweight finishing compound is usually easier to spread and sand for later coats. It gives you more working time to refine the feathered edge. For most repairs, using a stronger compound for the base and a smoother finishing compound for the final coat is a practical balance.
Sand for Flatness, Not Just Smoothness
A surface can feel smooth to the hand and still look uneven once painted. Sanding should remove ridges, knife lines, and high edges while preserving the broad, gentle taper created with compound.
Use a sanding block or pole sander with fine-grit paper, typically 150 to 220 grit for the final pass. A sanding sponge can help on small areas, but it is easy to create uneven pressure and rounded dips with one. Keep the sanding tool moving over a wider area instead of concentrating only on the center of the patch.
After sanding, run your hand across the wall and inspect it from the side. A bright work light placed close to the wall will reveal flaws that overhead lighting hides. Look for raised edges, pinholes, shallow depressions, and tape lines. If you can see a hard outline before primer, paint will not make it disappear.
Do not oversand. Sanding into the face paper of the drywall weakens the surface and can create a fuzzy texture that absorbs primer differently. If you expose paper, seal it before applying more compound or primer.
Match the Wall Texture Before Painting
Even a perfectly feathered patch will stand out if its texture does not match the rest of the wall. Smooth walls are unforgiving because every change in sheen and flatness is visible. Orange peel, knockdown, and textured finishes require an additional matching step.
For a smooth wall, make the final skim coat broad and consistent, then sand carefully. For light orange peel, test your texture method on scrap cardboard first. Spray texture, thinned joint compound, or a texture roller may work depending on the existing finish, but the size and density of the pattern must match the surrounding wall.
Knockdown texture requires timing. The texture is sprayed or rolled on, allowed to set briefly, then lightly flattened with a wide knife. If it is knocked down too soon, it smears. If it dries too long, the pattern remains too sharp. This is one of those jobs where a small test area can prevent a large mismatch.
If the wall has a heavy or custom texture, professional matching is often the smarter choice. A repair can be structurally sound and still look unfinished if the texture pattern changes abruptly at the patch boundary.
Prime the Repair Before Final Paint
Skipping primer is a frequent cause of flashing, which is when the patched area reflects light differently from the surrounding paint. Joint compound is porous and absorbs paint differently than the painted drywall around it. A wall may look uniform while wet, then dry with a dull or noticeable patch.
Apply a quality drywall primer or a dedicated spot primer over the entire repaired and feathered area. Once it dries, inspect the wall again under side lighting. Primer often reveals small imperfections that were difficult to see on bare compound. Fill pinholes or light ridges, sand lightly, and reprime if needed.
For the final coat, use the same paint color and sheen already on the wall. Color matching matters, but sheen is just as important. A satin patch applied to an eggshell wall, for example, can stand out even when the color is correct.
Touching up only the repaired area may work with fresh paint and flat finishes. On older walls, dark colors, or paints with any sheen, it is usually better to repaint from corner to corner. That creates a consistent finish across the full wall and avoids a visible paint halo around the repair.
Know When a Patch Needs a Finisher
A minor nail hole or small dent is a reasonable DIY repair. Larger holes, ceiling patches, recurring cracks, water damage, and repairs under strong window light demand more precision. Level 4 and Level 5 finishes are especially sensitive because smooth, premium surfaces show every imperfection.
For homeowners, property managers, and contractors in Niagara Region, St. Catharines, or Hamilton, TH Taping can handle small repairs as well as full drywall finishing work. The right repair is not just filled and painted. It is flat, properly tapered, texture-matched, primed, and ready to disappear into the room.
Take your time with each coat, inspect the wall in realistic lighting, and do not let paint become the fix for a surface problem. When the drywall finish is right, the repair stops being the first thing you see and becomes something you never notice again.






