
How to Prepare Ceiling for Painting Right

Why Are Drywall Seams Showing?
30 junio, 2026
Drywall Taping Versus Skim Coating
2 julio, 2026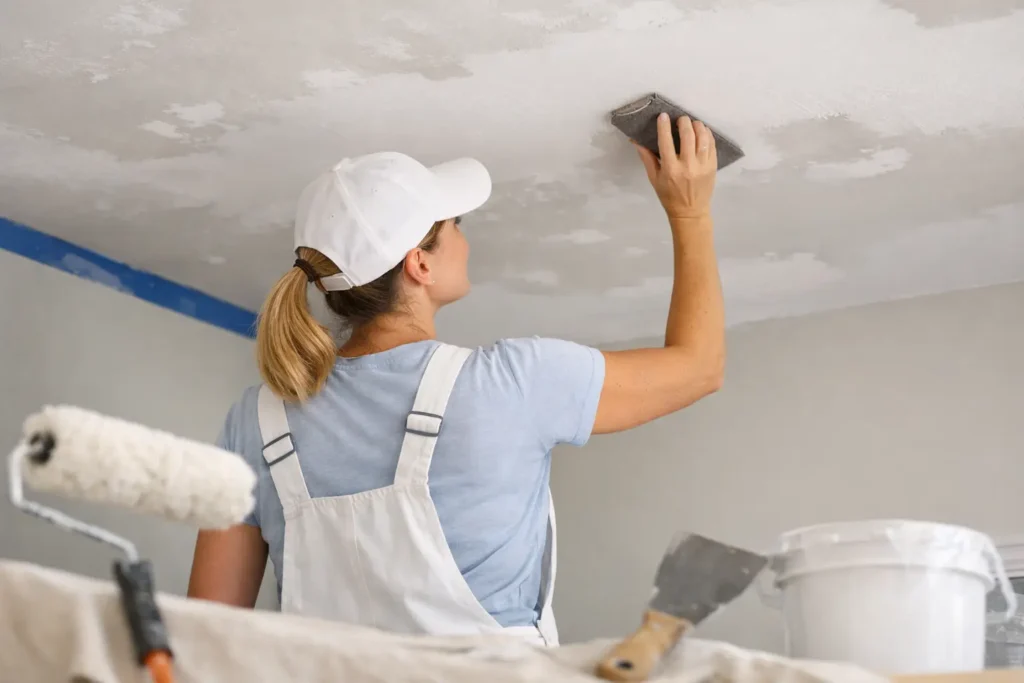
A ceiling can make a fresh paint job look clean and high-end, or it can expose every seam, patch, stain, and rough spot in the room. That is why knowing how to prepare ceiling for painting matters just as much as the paint you choose. If the surface is not repaired, cleaned, and sealed properly first, even premium paint will highlight defects instead of hiding them.
For homeowners, property managers, and contractors, ceiling prep is usually where the real result is decided. A smooth finish comes from patient surface work, not from trying to cover problems with extra coats. Whether you are repainting a bedroom ceiling or getting a damaged area ready after repairs, the process needs to be methodical.
Why ceiling prep affects the final finish
Ceilings are unforgiving. Light from windows, recessed fixtures, and hallways tends to rake across the surface and reveal flaws that looked minor before paint. Joint lines, nail pops, patch edges, water stains, and leftover texture all become more visible once a new coat dries.
This is especially true when the goal is a flat, modern ceiling. Smooth ceilings demand better prep than heavily textured ones because there is less surface variation to disguise defects. If you are aiming for a clean, updated look, the prep work has to be precise.
How to prepare ceiling for painting step by step
The first step is to clear the room as much as possible and protect what stays. Remove light fixtures if practical, cover floors, and use plastic over furniture. Ceiling prep creates more dust and debris than many people expect, especially if sanding, patching, or scraping is involved.
After protection is in place, inspect the entire ceiling closely. Do not just stand in the center of the room and look up. Move around the perimeter and check the surface from different angles. Side lighting helps reveal ridges, dents, and uneven repairs. Mark problem areas with painter’s tape so nothing gets missed once the work starts.
Check for stains, cracks, and loose material
Not every ceiling needs the same level of prep. A ceiling in decent shape may only need cleaning and primer. A ceiling with stains, peeling paint, old popcorn texture, or drywall damage needs more extensive work.
Water stains are a common issue. If the source of moisture has not been fixed, painting is a temporary cover at best. The stain will likely return, and the new finish can fail. Cracks also need a closer look. Hairline cosmetic cracks may be repaired with proper compound and sanding, but recurring cracks can point to movement or poor previous finishing.
Loose tape, flaking paint, and soft drywall should always be addressed before any primer goes on. Paint adheres only as well as the surface under it.
Clean before you patch
Dust, grease, and residue interfere with repairs and primer adhesion. In kitchens, smoke film and cooking residue are common. In other areas, ceilings often collect fine dust around vents and corners.
A dry microfiber mop or vacuum with a brush attachment works well for loose dust. If there is visible grime, wipe the surface with a mild cleaning solution and let it dry fully. The key is not soaking the drywall. Too much water can soften paper facing or create more problems than it solves.
Repairing the surface the right way
Once the ceiling is clean and dry, repairs come next. Small holes, dents, and minor seams can usually be filled with joint compound. The goal is not just to fill the damaged spot, but to feather the repair wide enough that it disappears after sanding and paint.
This is where many paint jobs go wrong. A patch may look fine when wet, but if the edges are not blended out smoothly, the repair shows through the final coat. On ceilings, even slight build-up can catch light and stand out.
For larger repairs or repeated problem areas, more than one coat of compound is often necessary. Each coat should dry completely before the next one is applied. Rushing this stage usually creates shrinkage, flashing, or visible edge lines later.
Sanding for a smooth, paint-ready ceiling
After repairs dry, sand the patched areas until the transitions feel even. In some rooms, especially where previous work was inconsistent, the whole ceiling may need a light sanding to remove roller stipple, rough texture, or leftover debris.
Use steady pressure and check often. Over-sanding can damage drywall paper, while under-sanding leaves ridges that become obvious once painted. A pole sander helps on broad areas, but detailed hand sanding is often needed around patches and corners.
Dust control matters here. Sanding dust left on the ceiling can ruin primer adhesion and leave a gritty finish. Vacuum thoroughly and wipe down the surface again before moving on.
When primer is not optional
A lot of people treat primer like a shortcut they can skip. On ceilings, that choice often shows up fast. Primer helps seal repaired areas, block stains, even out porosity, and create a more uniform surface for paint.
If you patched any drywall, sanded through paint, or cleaned off residue, primer should be part of the process. The same applies to ceilings with water stains, smoke discoloration, or major color changes. Stain-blocking primer is the better choice where bleeding is a concern.
Without primer, patched spots may absorb paint differently from the surrounding surface. That leads to flashing, where certain areas look duller or shinier even when the color matches. On a ceiling, that inconsistency is easy to spot.
How to tell if the ceiling needs more prep before paint
Primer is also a useful checkpoint. Once it dries, step back and inspect the ceiling again under normal and side lighting. This is often when hidden flaws become visible.
If joints, patch edges, or rough sections still show, it is better to correct them now than hope the finish coat covers them. Sometimes one more skim, light sanding, and spot-prime cycle is what separates an average result from a ceiling that looks professionally finished.
That extra round can feel tedious, but ceilings reward patience. Paint is a finish coat, not a repair material.
Special situations that change the prep process
Some ceilings need more than standard patch, sand, and prime work. Popcorn ceilings are one example. If the texture is being removed, the prep becomes more labor-intensive because scraping often exposes uneven drywall finishing underneath. In those cases, skim coating may be needed before paint.
Older ceilings can also have multiple paint layers, previous patch attempts, or stains that keep coming through. If the surface is severely uneven, a Level 5-style skim finish may be the right path when a premium smooth result is the goal. It takes more work up front, but it creates the kind of uniform surface that modern ceilings need.
Commercial spaces and larger residential projects can have another challenge – deadlines. Fast turnarounds are possible, but drying times still matter. Compound, primer, and repairs need enough time to cure properly. Cutting that short can lead to visible defects and callbacks.
Common mistakes people make when preparing a ceiling
The most common mistake is painting over damage because it looks small from the floor. Once the finish is on, that small issue becomes a permanent visual distraction. Another frequent problem is failing to identify the cause of stains or cracks before repair.
Using the wrong sanding approach is also common. Aggressive sanding can scar the drywall face, while uneven sanding leaves patch outlines behind. Skipping primer, or using a general primer where stain blocking is needed, creates avoidable problems.
There is also the matter of expectations. If a ceiling has years of texture, poor patching, or visible seams, one coat of paint will not make it look new. Sometimes the right answer is more finish work, not better paint.
When it makes sense to bring in a pro
If the ceiling has water damage, peeling tape, heavy texture, or visible seams throughout, professional prep can save time and frustration. The same goes for entryways, open-concept rooms, and commercial interiors where lighting exposes every flaw.
A good finish crew knows how to read the surface before paint begins. That includes spotting where skim coating is needed, where primer type matters, and where a repair needs to be widened so it disappears properly. TH Taping handles this kind of work with a strong focus on clean, durable finishes, especially when a ceiling needs more than a quick cosmetic patch.
For smaller rooms, basic prep may be manageable if the surface is already in good condition. But if you want a truly smooth ceiling, the hard part is usually not painting. It is getting the surface ready so the paint can look right.
A well-prepared ceiling does not call attention to itself. It simply makes the whole room feel cleaner, sharper, and more finished – which is exactly what good prep is supposed to do.






