
Why Are Drywall Seams Showing?

Guide to Drywall Finishing in Hamilton
30 junio, 2026
How to Prepare Ceiling for Painting Right
2 julio, 2026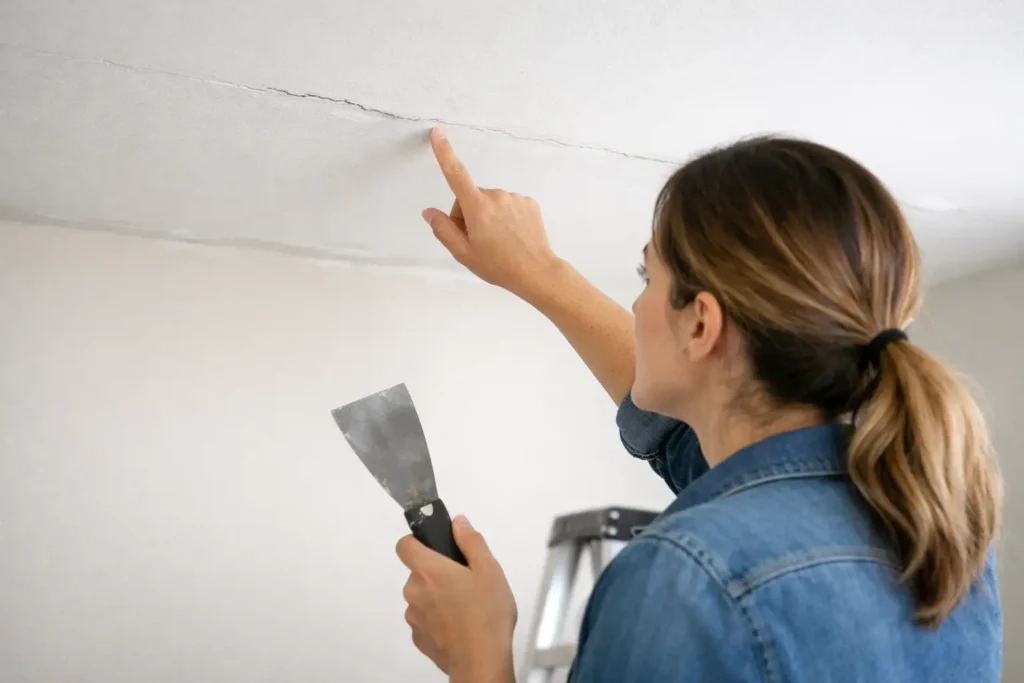
You finish painting, step back, and there it is – a line running across the wall or ceiling that was supposed to disappear. If you are asking why are drywall seams showing, the short answer is that something in the installation, finishing, drying, lighting, or movement of the surface is making the joint visible again.
Some seams show up right away. Others stay hidden until the paint dries, the seasons change, or daylight hits the wall from the side. In both cases, the seam is usually a symptom. The real issue is underneath the paint, and getting the right fix depends on what caused it.
Why are drywall seams showing after paint?
Paint often exposes problems that looked minor before. A wall can seem smooth in flat construction light, then show every joint once primer and topcoat go on. That happens because paint changes how light reflects off the surface. Even a slight ridge, dip, or texture difference can become easy to see.
One common cause is insufficient feathering of the joint compound. If the taped seam was coated too narrowly, the build-up stays concentrated over the joint instead of blending gradually into the surrounding drywall. Once paint is applied, that raised area catches light differently and reads as a stripe.
Another frequent issue is a recessed seam that was never filled enough. In that case, the tape may not be raised, but the area beside it dips inward. Paint does not hide that shadow line. It often makes it more obvious.
Texture mismatch also plays a role. If repairs were sanded too smooth compared to the factory face of the drywall, or if the final coat left drag marks or pitting, the seam can flash under light even when it feels smooth by hand.
The most common reasons drywall joints become visible
Drywall seams show for a few specific reasons, and more than one can be happening at the same time.
Poor taping or finishing
This is the first place to look. If the tape was embedded badly, if there were air pockets under it, or if too little compound was used in the finishing stages, the joint may never have had a chance to disappear properly. Good finishing is about more than covering tape. It is about building a flat visual plane across the entire surface.
On ceilings, this becomes even more noticeable. Long seams crossing broad open areas are unforgiving, especially where natural light runs across them.
Shrinkage in the joint compound
Some compounds shrink as they dry. If a finisher applies heavy coats and does not allow proper drying time between them, the seam may look acceptable at first and then sink slightly later. That creates a visible band or shallow groove where the joint was finished.
This is one reason rushed jobs often come back as repair calls. Fast turnaround matters, but drying time still matters too.
Framing movement or structural settling
Not every visible seam is a finishing failure. Houses move. Seasonal humidity shifts, framing lumber dries out, and new construction settles. When that movement happens, stress can show at drywall joints. Sometimes you see a straight line. Sometimes you get hairline cracking along the seam.
This is especially common near truss uplift areas, ceiling-to-wall transitions, and sections of a home that experience more expansion and contraction.
Bad lighting conditions
Raking light is brutal on drywall. That means light hitting the wall or ceiling from the side rather than straight on. Large windows, patio doors, and certain recessed lighting layouts can reveal joints that would look fine under ordinary room lighting.
This does not always mean the work was careless. It may mean the finish level was not high enough for the space. In critical lighting conditions, a Level 5 finish is often the better choice because it creates a more uniform surface across the full board face, not just the joints.
Primer and paint choices
Paint can help a wall look finished, but it does not correct finishing defects. In some cases, the wrong primer or uneven paint absorption makes seams stand out. Joint compound and drywall paper absorb coatings differently. Without proper priming, you can end up with a flashing effect where the seam area reflects light differently from the rest of the wall.
Sheen matters too. The glossier the paint, the more surface imperfections it tends to reveal.
Why are drywall seams showing on ceilings?
Ceilings are usually less forgiving than walls. You are looking across a broad plane, and the light often skims over it. Any hump, dip, or tape line can become visible fast.
Ceiling seams also deal with gravity and framing movement. If the board layout was not ideal, if fastening was inconsistent, or if the ceiling has had seasonal movement, joints can telegraph more easily over time. In older homes, previous repairs can also create patched areas that stand out after repainting.
If the seam is visible but not cracked, the problem may be finish-related. If it is cracking, separating, or repeating in the same spot after repair, there may be movement that needs to be addressed before refinishing.
How to tell what kind of seam problem you have
A visible seam is not one single problem. The appearance usually gives clues.
If you see a raised line, you are likely dealing with excess build-up, poor feathering, or tape sitting too high. If you see a shallow trough or shadow line, the seam may be underfilled or shrunk back. If the line includes cracking, movement is likely involved. If the seam only appears in certain light, the finish may be technically sound for a standard room but not refined enough for high-visibility conditions.
Touch helps too. Run your hand across the area lightly. If you can feel the seam, the surface profile needs correction. If you cannot feel much but still see it, the issue may be texture, porosity, or light reflection.
Can drywall seams be fixed without replacing the drywall?
Usually, yes. Most visible seams can be repaired without removing full sheets. The repair depends on whether the issue is cosmetic, failed tape, or movement.
For cosmetic seams, the usual fix is to widen the finished area, recoat it properly, sand it flat, prime it, and repaint the entire section for consistency. That is often enough when the tape is still sound and the surface is stable.
If the tape is loose, bubbled, or cracked, that section may need to be cut out and retaped. Covering failed tape rarely lasts. The same goes for recurring cracks. If movement is causing the problem, simply adding more mud on top is often a temporary fix.
This is where experience matters. A quick patch can make the seam less visible for now, but a proper repair is what keeps it from showing again after the next season or repaint.
When a higher finish level is the real solution
Sometimes the question is not why the seam is showing. It is whether the space needed a better finish from the start.
In standard rooms with forgiving light, a Level 4 finish is often enough. But in spaces with large windows, smooth ceilings, open layouts, dark paint, or semi-gloss and satin finishes, joints can show more easily. That is where a Level 5 finish becomes worth it. It reduces surface variation across the whole area and gives paint a much more uniform base.
For homeowners, property managers, and contractors trying to avoid callbacks, this matters. A finish that looks acceptable before paint can become a problem after final lighting and occupancy. Choosing the right finish level upfront is often cheaper than repairing visible joints later.
What to do if your drywall seams are showing
Start by looking at where the seam is, how visible it is, and whether it includes cracks or loose tape. A simple cosmetic issue may only need refinishing. A recurring seam usually needs a closer look at movement, framing, or the original taping work.
If the area is in a high-visibility ceiling or under strong side light, ask for a repair approach that addresses the full visual plane, not just the line itself. Spot-fixing the exact seam is not always enough. Sometimes the surrounding area needs to be blended wider so the repair disappears the way it should.
At TH Taping, this is the difference we pay attention to. A drywall repair should not just cover the problem. It should restore a clean, durable finish that holds up once the paint is back on and the room is in real lighting.
If your seams are showing, the good news is that the line you see is usually repairable. The key is treating the cause, not just the symptom, so the wall or ceiling looks right the next time you step back and check the finish.






