Guide to Drywall Repairs After Renovations

Should You Repair Drywall Moisture Damage?
26 septiembre, 2026
Drywall Repair Versus Resurfacing Explained
30 septiembre, 2026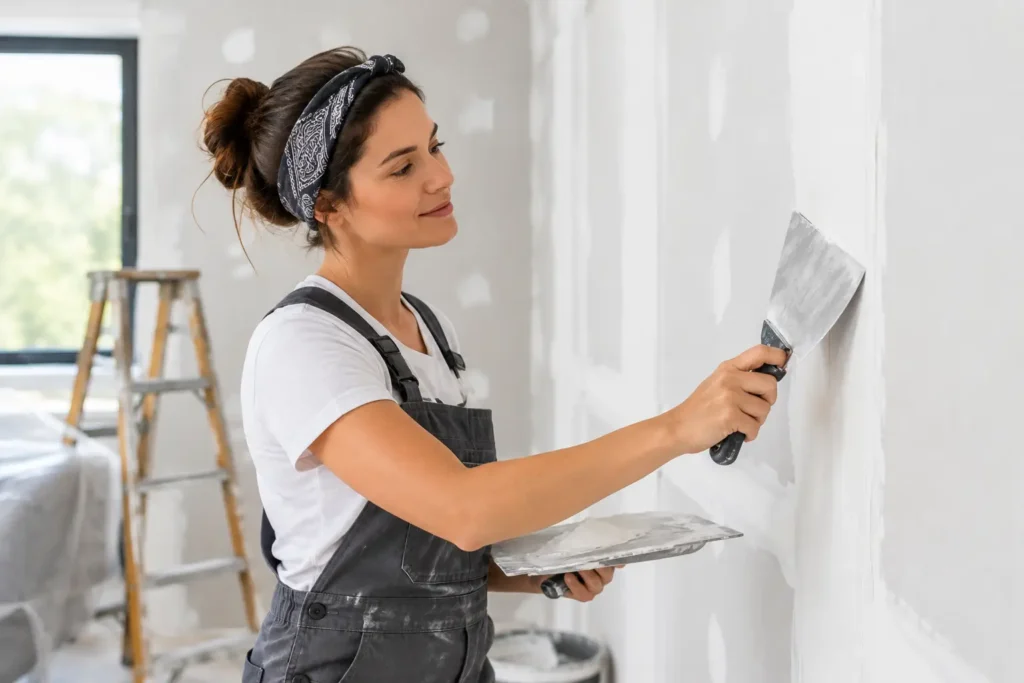
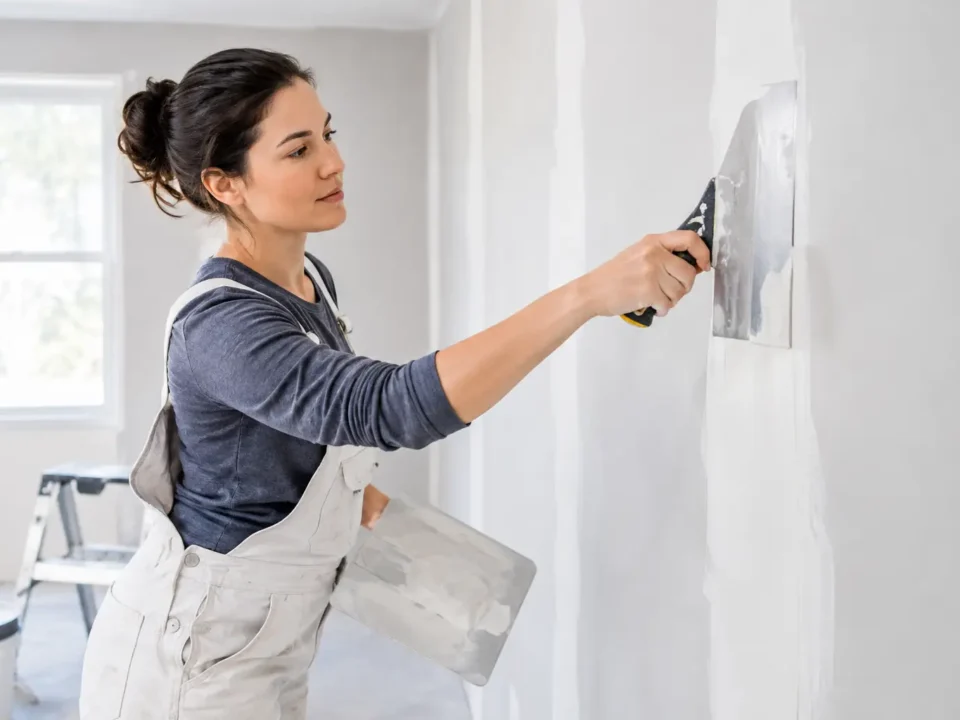
Renovation work can look finished right up until the lights hit the walls. A new kitchen, updated flooring, or remodeled room may leave behind nail pops, cutouts, dents, cracked joints, and uneven patches that become obvious once paint goes on. This guide to drywall repairs after renovations helps you identify what needs attention, understand the right level of finish, and avoid covering problems that will show up later.
Drywall repair is not just about filling a hole. The final result depends on how the surface is prepared, how each coat is applied, and whether the repaired area blends with the surrounding wall or ceiling. Clean lines, flat surfaces, and properly feathered joints make the difference between a room that feels complete and one that still looks like a work site.
Start With a Full Surface Inspection
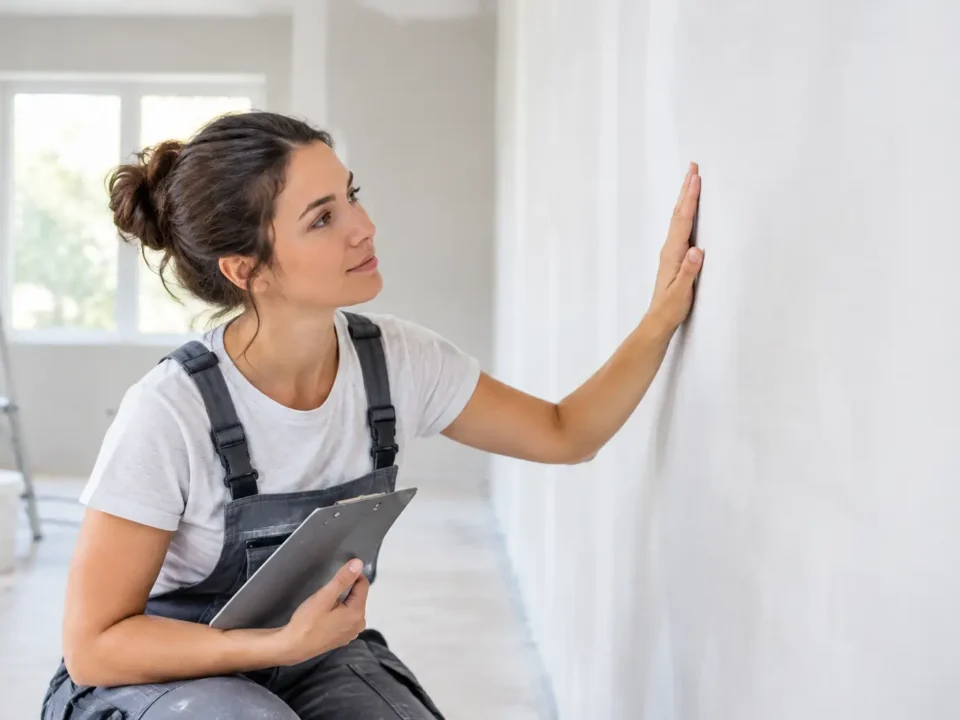
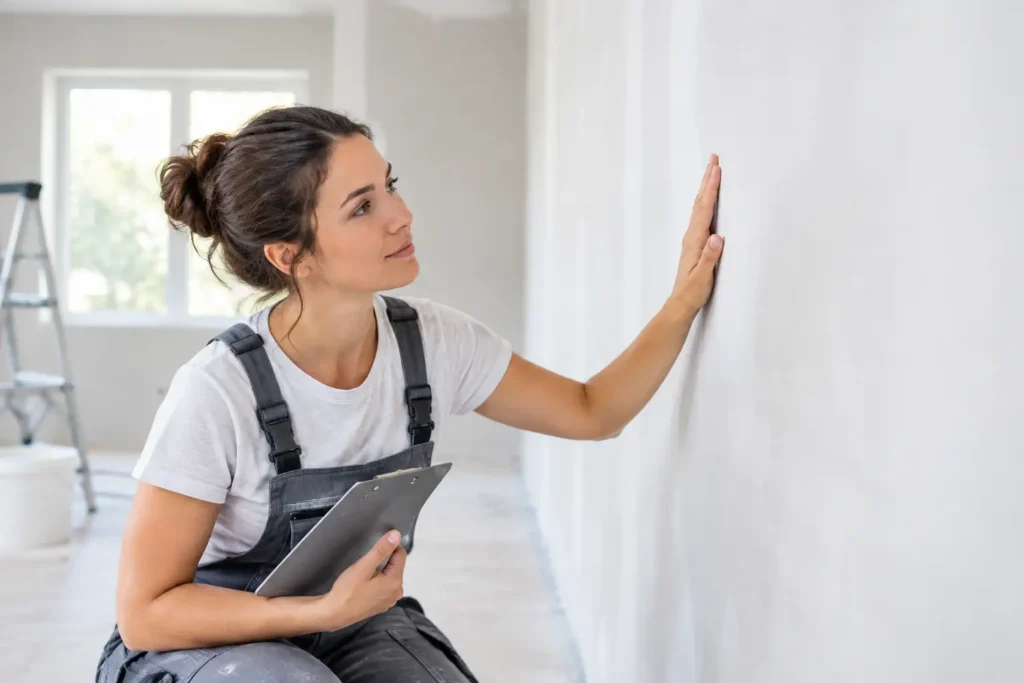
Before choosing paint colors or installing trim, inspect every wall and ceiling in good lighting. Look across the surface from an angle, not straight on. Side lighting exposes raised seams, shallow dents, sanding scratches, and uneven texture much more clearly.
Pay close attention to the areas where renovation crews worked. Electrical changes often leave openings around outlets and switches. Plumbing work can require access holes. Cabinet installation, flooring removal, and demolition can leave corner damage or torn drywall paper. On ceilings, check around light fixtures, vents, and areas where old popcorn texture was removed.
Small issues are easier and less expensive to address before primer and paint. Once a dark or satin finish is applied, even minor imperfections can become more visible. This is especially true in rooms with large windows, recessed lighting, or glossy surfaces that reflect light across the wall.
Know Which Drywall Damage You Are Looking At
Not every repair needs the same approach. A few screw holes may only need a light fill and sand. A damaged corner, separated tape joint, or large access opening requires more preparation and more skill to make it disappear.
Nail Pops and Screw Pops
A nail or screw pop appears as a small circular bump or crack in the drywall. It may happen when framing shifts slightly, fasteners loosen, or drywall was not secured correctly. Simply applying compound over the bump is not a lasting repair. The loose fastener must be addressed first, often by adding a properly placed screw into solid framing nearby, then setting and finishing the area.
Cracks Along Seams
Cracks at drywall joints are usually a sign that tape has separated, the joint was poorly finished, or movement has stressed the area. Loose tape should be removed rather than buried under another layer of mud. The repair needs fresh tape, joint compound, wide feathering, and careful sanding so the seam does not create a visible ridge.
Holes, Cutouts, and Missing Sections
Small holes from anchors, hardware, or old fixtures can often be filled. Larger holes need a stable backing or a new piece of drywall. A patch that is not supported correctly can flex, crack, or show a raised outline after painting. The edges should be clean, the patch should sit flush, and the seams should be taped before finishing begins.
Torn Paper and Surface Damage
Removing old tile, wallpaper, adhesive, or fixtures can tear the face paper on drywall. If it is not sealed before compound is applied, the paper can bubble or blister. Loose material needs to be trimmed away, the damaged surface should be sealed, and then the area can be skimmed smooth.
Guide to Drywall Repairs After Renovations: Get the Sequence Right
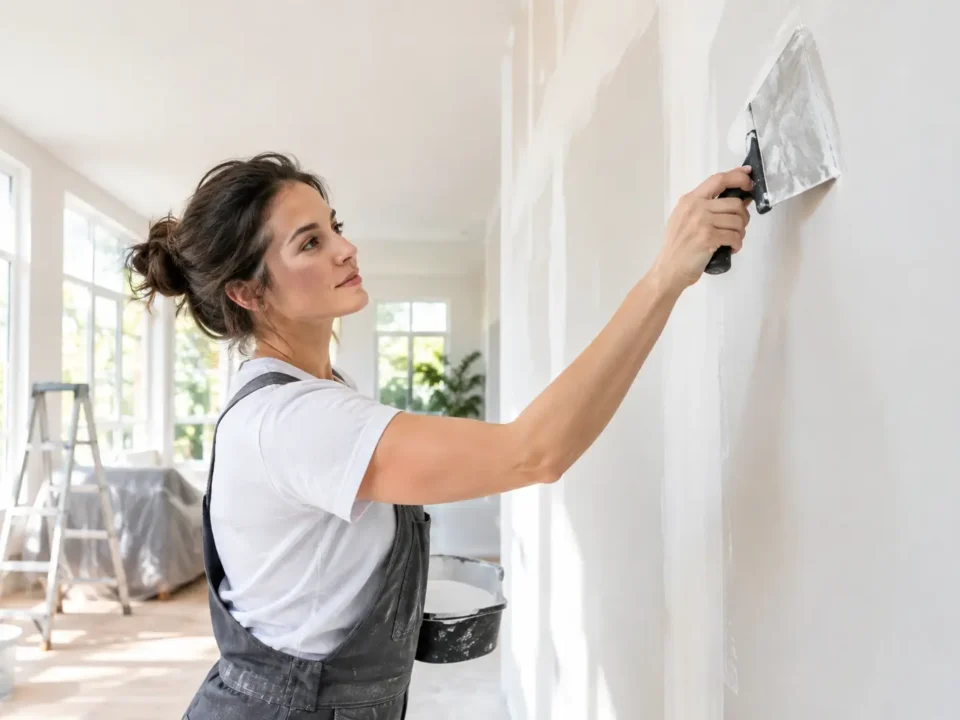
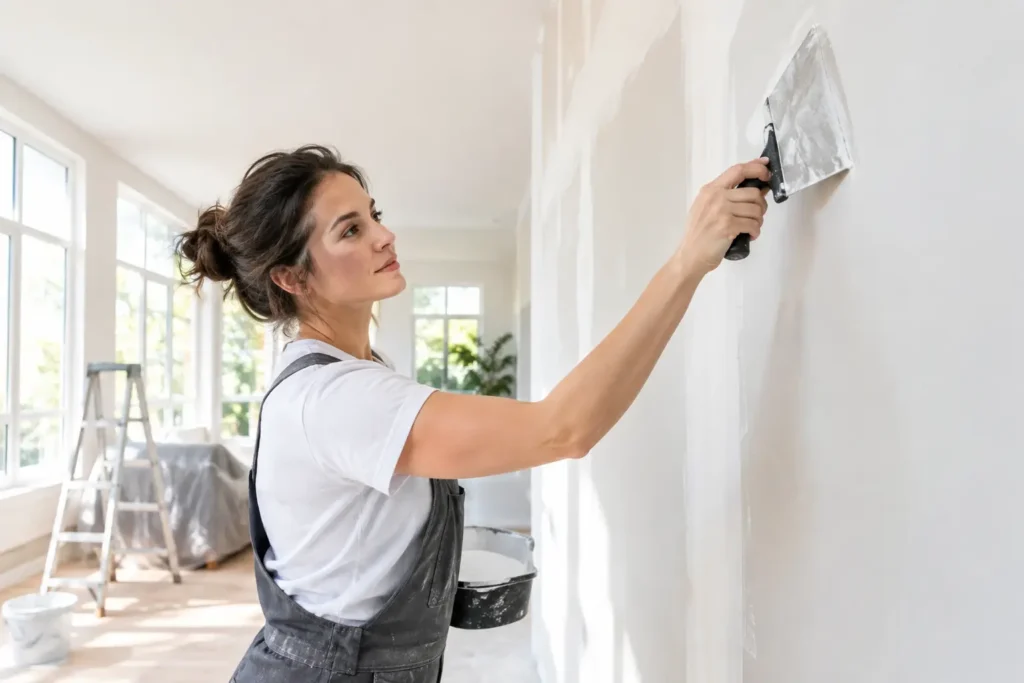
The order of work matters. Rushing into paint before repairs are dry, flat, and primed often creates avoidable rework. A professional repair process starts by securing the drywall and cleaning damaged edges. From there, tape is installed where needed, and joint compound is applied in thin, controlled coats.
Each coat needs time to dry before sanding or applying the next one. Trying to speed up the process with thick compound can lead to shrinkage, cracking, and uneven drying. Multiple thin coats create a stronger, flatter repair and make it easier to blend the edges into the existing surface.
After the final coat, sanding should leave the wall smooth without cutting through the compound or damaging the surrounding drywall paper. The repaired area must then be dusted and checked again under angled light. Primer is the next essential step. It seals the repaired surface and helps paint absorb evenly, preventing dull patches known as flashing.
Choose the Right Finish Level for the Room
A drywall repair can be technically sound and still look wrong if the finish level does not match the room. The right choice depends on lighting, paint sheen, wall texture, and the standard expected for the space.
Level 4 finishing is a common choice for residential walls and ceilings with flat or low-sheen paint. It includes properly taped joints and multiple coats of compound that are sanded smooth. For many rooms, it provides a clean and durable surface ready for painting.
Level 5 is the premium option when walls need to look exceptionally uniform. It includes a skim coat over the entire surface or an equivalent finish method that reduces the chance of joint lines, patches, and surface variations appearing under critical lighting. It is a strong choice for smooth ceilings, large open rooms, high-end renovations, and walls painted with semi-gloss or other reflective finishes.
There is a trade-off. A Level 5 finish requires more labor and preparation, so it is not always necessary for every room. But if the space has floor-to-ceiling windows, strong directional lighting, or a dark paint color, cutting corners on the finish can be more noticeable than the cost of doing it right from the start.
Do Not Let Texture Create a Mismatch
Texture is one of the most common reasons a drywall patch stands out. Even when a repair is smooth and flat, it can look like a square or circle if the surrounding wall has orange peel, knockdown, stipple, or another textured finish.
Before repair work begins, determine whether the wall or ceiling is truly smooth. A smooth ceiling repaired beside a textured ceiling will need a different approach than a wall with subtle orange peel. Matching texture involves more than spraying material over a patch. The thickness, pattern, and edge transition all need to blend with the existing surface.
If an older popcorn ceiling was removed during the renovation, the ceiling may need broader skim coating rather than isolated patching. Popcorn texture can hide imperfections. Once it is gone, uneven joints and old repairs are exposed, and a smooth ceiling demands a higher standard of finishing.
When a DIY Patch Is Reasonable – and When It Is Not
A homeowner can often handle a few small nail holes or minor scuffs with the right materials and patience. The work becomes less straightforward when the repair involves cracks, large holes, corner bead, water staining, ceiling damage, or visible seams.
Water damage deserves extra caution. Before repairing stained or soft drywall, the source of moisture must be fixed. A patch over an active leak will fail, and damp materials can lead to more extensive damage behind the wall. Similarly, recurring cracks may point to movement, framing concerns, or an issue that needs to be evaluated before cosmetic work begins.
Professional finishing is also worth considering when the repair sits in a high-visibility area. Entryways, main living spaces, kitchens, commercial interiors, and rooms with strong light do not hide uneven work easily. The goal is not simply to make damage less noticeable. It is to make the wall or ceiling look uninterrupted.
Prepare for Paint Without Creating New Problems
Once the repair is complete, resist the urge to paint immediately without checking the surface. Run your hand lightly over the area, then inspect it from several angles. A surface can feel smooth but still have a visible edge under light.
Use drywall primer on repaired areas before applying finish paint. This step creates a consistent base and helps avoid flashing between old painted drywall and fresh compound. For best results, use the same paint sheen across the entire wall. Touching up one repaired spot with a different sheen often leaves a visible mark, even when the color is close.
Keep the area clean during the final stages. Drywall dust can settle into paint, trim, flooring, and vents. Careful masking, dust control, and cleanup protect the renovation work you have already invested in.
A renovation should end with surfaces that look intentional from every angle. For repairs that need a clean finish, a smooth ceiling, or a higher-level wall preparation, TH Taping is here to help homeowners, contractors, and property managers get the final details right. Request a free quote before paint goes on, because the best drywall repair is the one you never notice.