Should You Repair Drywall Moisture Damage?

How to Repair Drywall After Electrical Work
24 septiembre, 2026
Guide to Drywall Repairs After Renovations
28 septiembre, 2026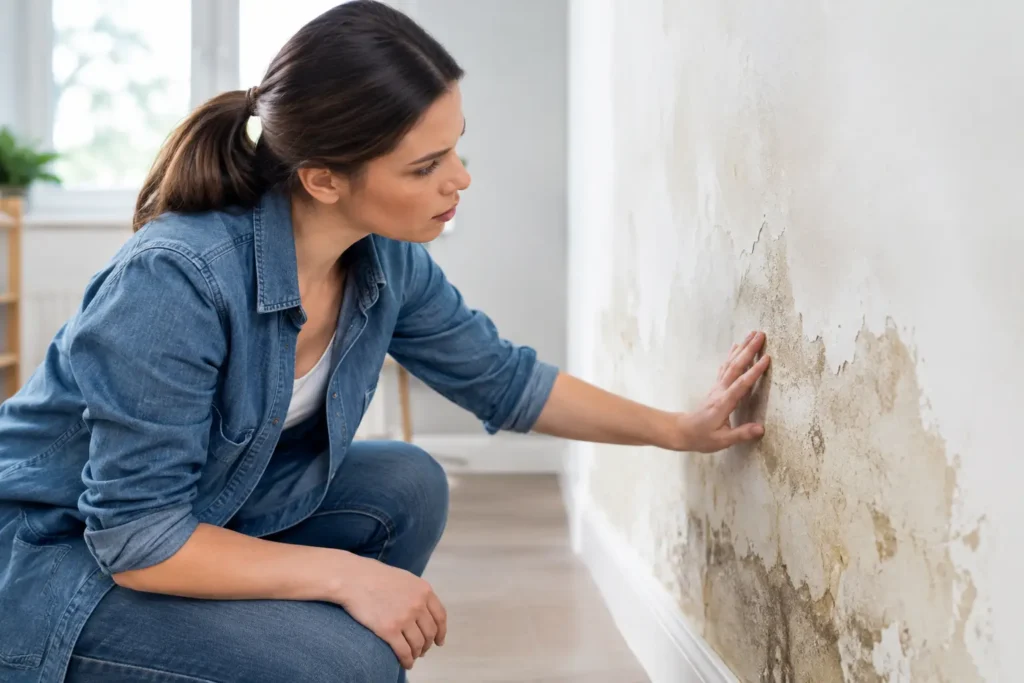
A brown ceiling ring, a soft spot near a baseboard, or paint that suddenly bubbles can turn a small water issue into a much bigger repair. Drywall moisture damage is not only a cosmetic problem. Once gypsum board absorbs water, its strength, texture, and ability to hold a clean finish can change quickly.
The right response depends on where the water came from, how long the drywall was wet, and whether the material has fully dried without losing its integrity. A careful repair can restore a wall or ceiling beautifully. Waiting too long, or covering the stain without addressing the cause, usually leads to repeat damage.
What Drywall Moisture Damage Looks Like
Moisture does not always announce itself with an active drip. Many property owners first notice a faint stain, a musty odor, lifted tape seams, or a wall that feels cooler and softer than the surrounding area. On ceilings, discoloration may spread outward from a plumbing leak, roof issue, or overflowing fixture above.
Common warning signs include yellow or brown water marks, peeling paint, swollen drywall edges, bubbling joint compound, sagging ceilings, and cracks that follow taped seams. In more advanced cases, drywall can feel spongy when pressed or crumble at corners and cutouts.
These signs matter because drywall is made with a gypsum core and paper facing. The paper can support mold growth when it stays damp, while the gypsum core can weaken and lose its shape. A surface may look dry while moisture remains behind the wall, especially around insulation, framing, plumbing penetrations, and exterior walls.
Find the Water Source Before Repairing the Wall
A clean patch is only as good as the repair behind it. Before taping, mudding, or painting begins, the moisture source must be stopped. That could mean repairing a plumbing leak, clearing a blocked drain, replacing failed caulking around a tub, correcting roof damage, or addressing condensation caused by poor ventilation.
This is where the details matter. A one-time overflow that was cleaned up quickly has a different risk profile than a slow leak inside a wall. Likewise, a stain under a bathroom may come from a failed toilet seal, a leaking shower drain, or a supply line. The visible drywall damage does not always point directly to the source.
If water is still entering the area, new joint compound and paint will not solve the problem. The finish can blister, seams can reopen, and staining can return. In commercial spaces and rental properties, unresolved moisture can also disrupt occupants and create larger maintenance costs later.
When Drying May Be Enough
Drying can be a reasonable option when the exposure was limited, clean water was involved, and the drywall remains firm and flat. For example, a small splash from a supply-line issue caught immediately may not require removing an entire wall section.
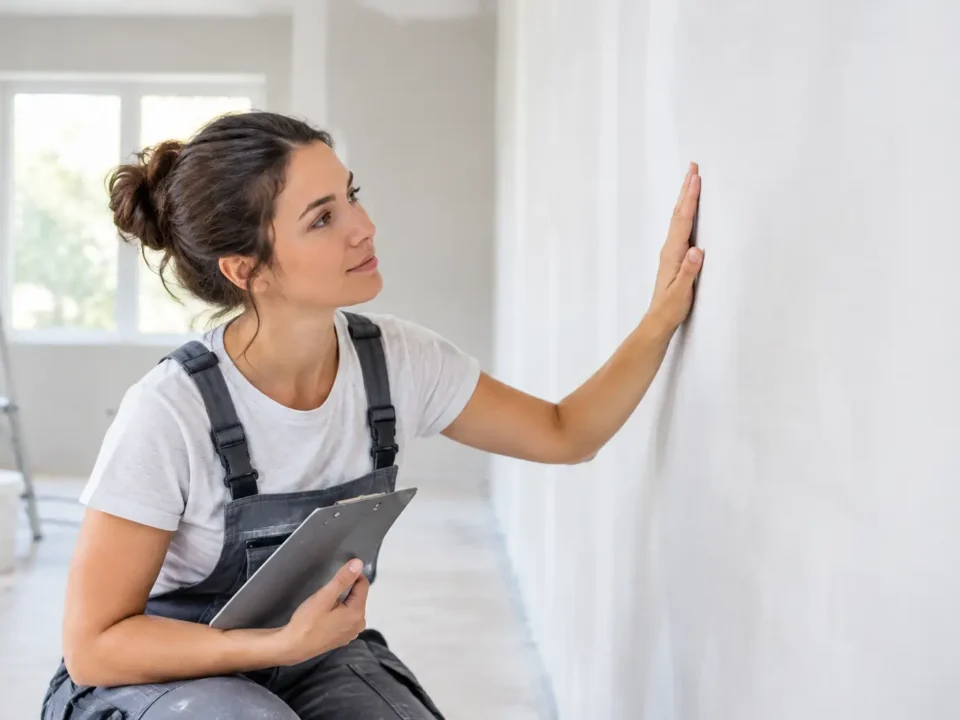
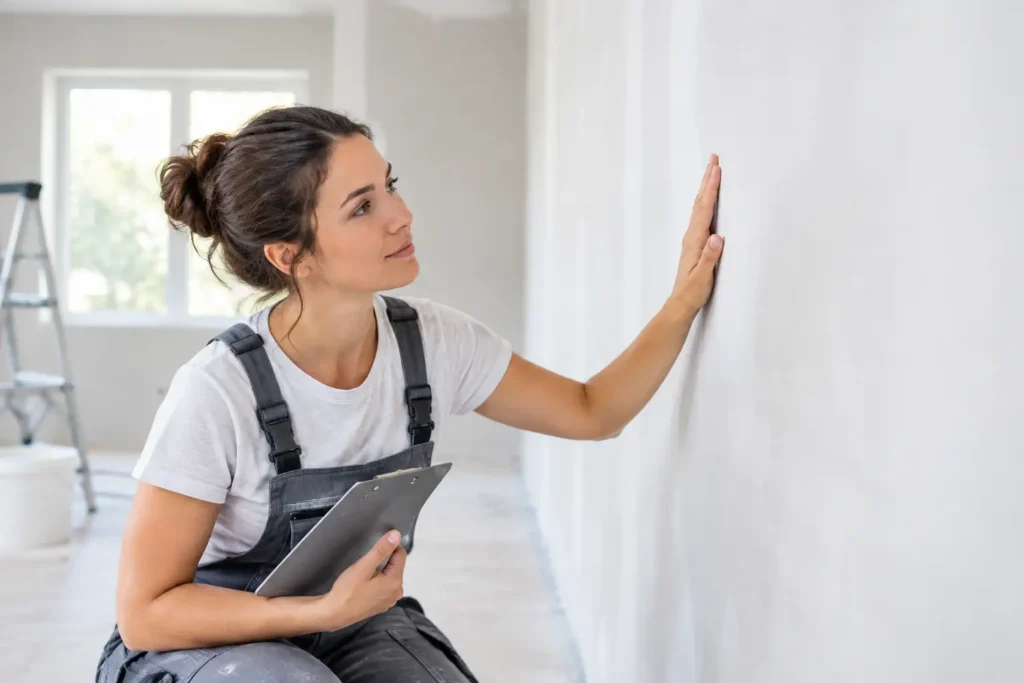
The area must be dried thoroughly, not just left alone for a day or two. Air movement, dehumidification, and access to the affected cavity may be needed. Once dry, inspect the paper facing and seams closely. If there is no swelling, softening, mold-like growth, or separation, minor surface repairs may be possible.
A professional assessment is especially valuable when the affected area is near electrical components, behind cabinets, or above a finished ceiling. What appears to be a small stain may extend farther than the visible mark.
When Replacement Is the Better Choice
Replacement is usually the safer choice when drywall is soft, sagging, swollen, crumbling, or visibly distorted. It is also often necessary if water has been present for an unknown period, if contaminated water was involved, or if mold growth is visible on the drywall paper or in the wall cavity.
Ceilings deserve extra caution. Wet ceiling drywall can become heavy and unstable. A sagging section may fail without much warning, particularly around light fixtures, vents, and seams. Do not try to push it back into place or simply coat it with stain-blocking primer.
Removing damaged material creates access to inspect framing, insulation, and nearby pipes. The opening may feel inconvenient, but it allows the wall or ceiling assembly to dry properly before it is closed again. Replacing a localized section is often less disruptive and more durable than trying to save compromised board.
How a Professional Drywall Repair Restores the Finish
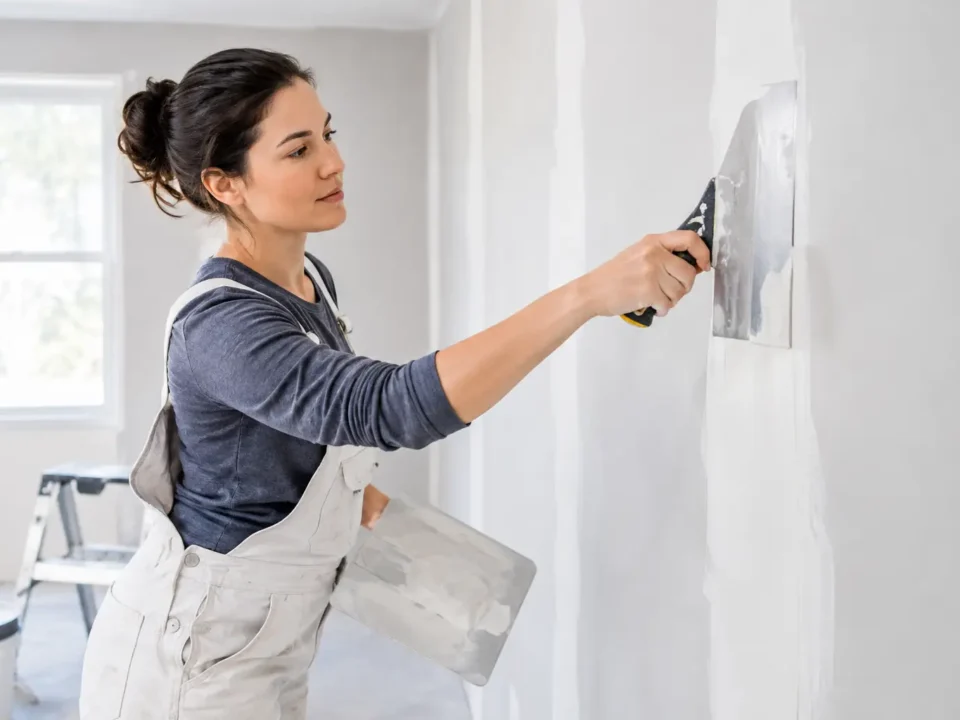
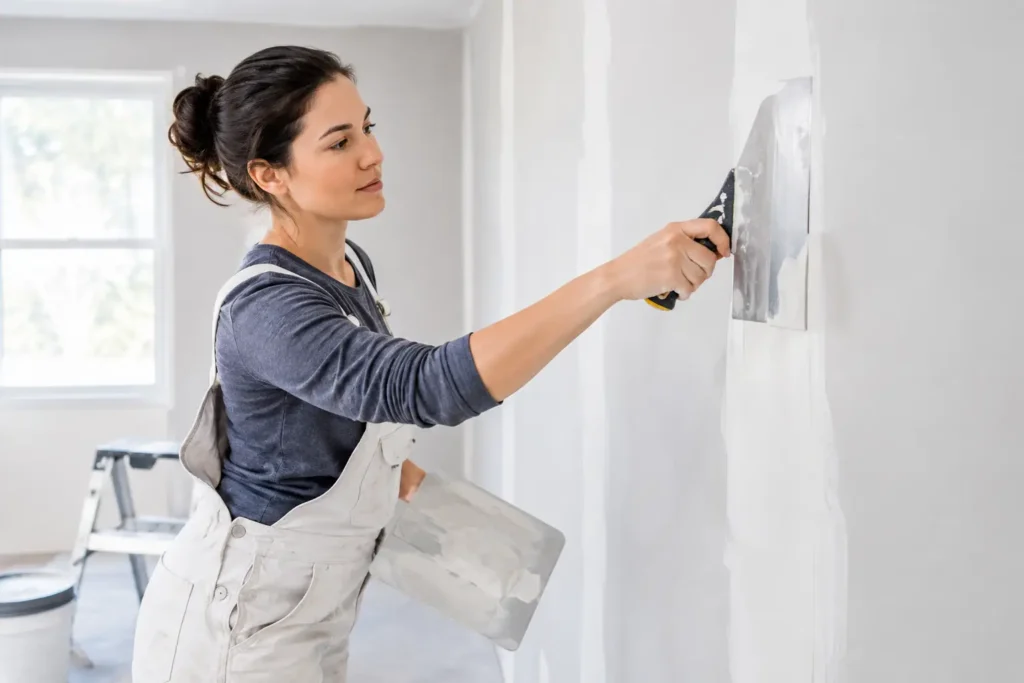
A lasting repair starts with clean, sound edges. Damaged drywall is cut back to stable material, and the opening is prepared with proper backing where needed. New drywall is installed flush with the surrounding surface so the patch does not telegraph through the final paint.
From there, taping and finishing make the difference between a visible repair and a wall that looks whole again. Joints are taped, coated in stages, dried, sanded, and blended beyond the immediate patch area. Wider feathering is particularly important on ceilings and in rooms with strong side lighting, where even small ridges become noticeable.
For high-visibility spaces, a Level 4 finish provides a smooth painted surface when lighting and paint sheen are typical. A Level 5 finish may be the better option for smooth ceilings, dark paint, gloss or semi-gloss finishes, and areas with large windows or directional lighting. It adds an additional skim coat or equivalent treatment to reduce the chance of joint lines and surface variation showing through.
The trade-off is time and preparation. A higher finish level requires more detailed surface work, but it can protect the appearance of a renovation or commercial interior where every imperfection is easy to see.
Do Not Cover Water Stains Too Soon
Stain-blocking primer has a place, but it comes after the moisture issue is resolved and the substrate is sound. Applying primer over damp drywall can trap problems beneath the paint. Applying it over weakened drywall may hide the evidence briefly while the board continues to fail.
Once the repair is dry and properly finished, a quality stain-blocking primer can prevent old discoloration from bleeding into the final coat. The result should be a uniform surface that accepts paint evenly, without flashing, bubbling, or visible patch outlines.
This sequence is particularly important after ceiling repairs. Ceiling paint catches light differently from walls, and a rushed repair can leave obvious sheen changes, lap marks, or a patch that stands out from across the room.
Preventing Future Moisture Problems
Some causes of drywall damage are unpredictable, but several preventive steps can reduce the risk. Check under sinks and around appliances periodically, keep bathroom exhaust fans running long enough to clear humidity, and address roof or window leaks at the first sign of staining. In basements, manage humidity and watch exterior foundation areas after heavy rain.
For landlords and property managers, quick reporting procedures help prevent a small leak from becoming a larger restoration project. A tenant who reports a soft baseboard or ceiling stain early can save the building owner from replacing a much wider section later.
After an emergency repair, take a moment to inspect adjacent surfaces. Water follows framing, pipes, and gravity, so damage may appear a room away from the original source. A thorough inspection is often the difference between a one-time repair and a recurring call.
If a wall or ceiling has softened, stained, or started to sag, treat it as an active maintenance issue rather than a paint touch-up. For homeowners and property managers in Niagara Region, St. Catharines, or Hamilton, TH Taping can help restore damaged drywall with precise patching, taping, and finishing work that leaves the surface ready for paint. Addressing the cause first, then rebuilding the finish correctly, gives your space the clean and durable result it deserves.