
Drywall Mudding and Sanding for Flawless Walls

Best Wall Prep Steps Before Painting That Last
18 agosto, 2026
Why Does Fresh Paint Show Seams on Drywall?
21 agosto, 2026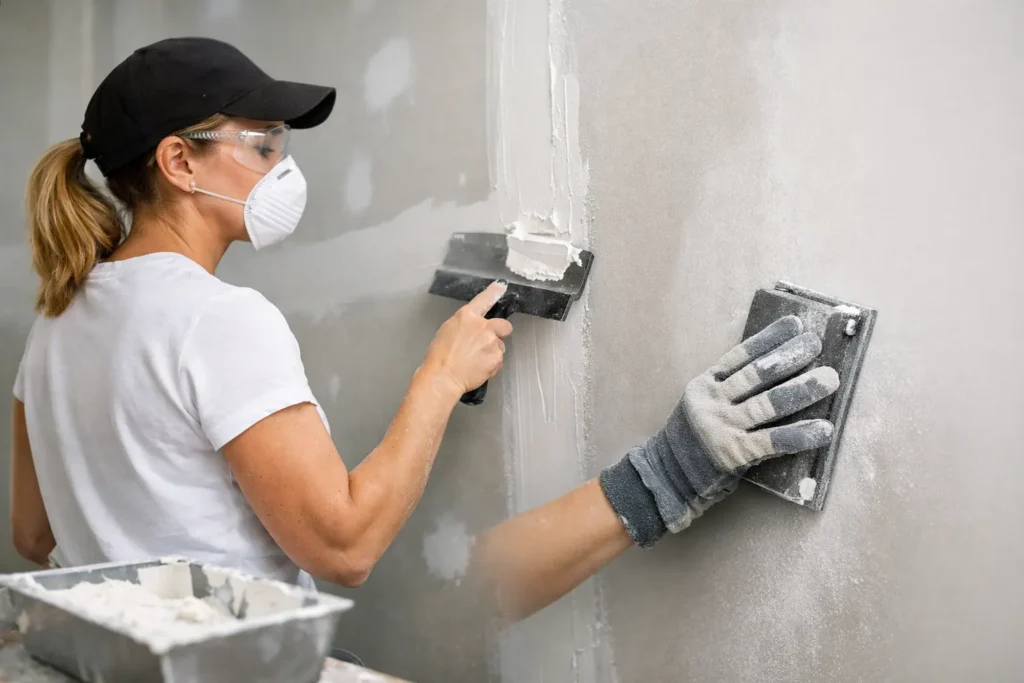
A wall can be framed correctly, hung with new drywall, and painted in a beautiful color – yet still look unfinished if the seams, fasteners, and repairs were not properly prepared. Drywall mudding and sanding is the work that turns individual sheets of drywall into one clean, continuous surface. It is also where small shortcuts become obvious under daylight, ceiling fixtures, and fresh paint.
For homeowners, property managers, and contractors, the goal is not simply to cover tape. The goal is a smooth, durable finish that looks right from every angle and holds up over time. That requires the right materials, proper drying time, careful sanding, and an experienced eye for details.
Why Drywall Mudding and Sanding Matters
Drywall panels are manufactured with tapered edges so joints can be taped and finished. But those joints do not disappear on their own. Joint compound, commonly called mud, is applied in thin, controlled coats to embed tape, conceal screw heads, and blend seams into the surrounding board.
Sanding refines those coats after they dry. Done well, it removes ridges and tool marks without cutting into the tape or creating low spots. The finished surface should feel even under your hand and look consistent under raking light – the angled light that exposes every bump, seam, and patch.
This stage has a major effect on the final paint job. Paint does not hide poor finishing. In many cases, satin, semi-gloss, and darker paint colors make drywall flaws more visible. Smooth walls also matter when installing wallcoverings, decorative finishes, or bright white ceilings, where even minor imperfections can stand out.
The Process Behind a Professional Finish
A quality finish is built in layers. Rushing from one coat to the next or applying too much compound at once may save time initially, but it often creates extra sanding, cracking, and visible transitions later.
Tape and the First Coat
The first coat begins with paper or mesh tape placed over drywall joints. Paper tape is commonly used for flat seams and inside corners because it creates a strong, clean bond when properly embedded. Mesh tape can be useful for some repair work, though it is typically paired with setting-type compound for strength.
The compound is applied beneath and over the tape, then pressed smooth with a taping knife. The objective is not to create a finished surface at this point. It is to secure the tape, remove air pockets, and establish a solid base. Screw and nail heads are also covered during this stage.
Building Out the Joints
The second and third coats are wider than the first. Each layer feathers farther beyond the seam so the slight raised area of the joint becomes invisible to the eye. This is especially important on butt joints, where two non-tapered drywall edges meet and require more buildup to blend properly.
Corners need the same discipline. Outside corners are protected with corner bead, then coated in stages until the edge is straight, durable, and smooth. Inside corners must be crisp without being overloaded with mud. A heavy corner can crack or look uneven after painting.
Drying time matters between coats. Humidity, room temperature, ventilation, and compound type all affect how quickly mud cures. Applying another coat over damp compound can trap moisture, cause shrinkage, or lead to an uneven finish. For urgent repairs, setting-type compounds can speed up portions of the process, but they still need to be handled correctly and sanded with care.
Sanding Without Damaging the Surface
Sanding is not about making the wall as smooth as possible through brute force. It is about removing what does not belong: knife lines, lumps, edges, and minor inconsistencies. Over-sanding can expose tape, damage the drywall paper, or leave shallow depressions that show through paint.
Professional crews typically use sanding sponges, hand sanders, pole sanders, or dust-controlled sanding equipment depending on the space and finish level required. The work includes checking seams from several angles, feeling the surface by hand, and inspecting it under proper lighting. A wall may look acceptable straight on but reveal every flaw when a window or fixture casts light across it.
Dust control deserves attention, particularly in occupied homes, commercial spaces, and renovation projects. Sanding dust travels easily and settles everywhere. Careful containment, floor protection, ventilation planning, and cleanup help protect the property and make the process easier for everyone on site.
Choosing the Right Finish Level
Not every room needs the same drywall finish. The correct level depends on lighting, paint sheen, wall coverings, and how polished the final space needs to look.
A Level 4 finish is the standard choice for many residential and commercial walls. It includes taped joints, multiple coats of compound over joints and fasteners, sanding, and preparation for flat paint or light textures. When completed properly, it delivers a clean, paint-ready appearance for most rooms.
A Level 5 finish goes further. It includes the preparation of a Level 4 finish plus a thin skim coat or specialized finish coat across the full surface. This added step helps create a more uniform appearance under demanding lighting conditions. It is often the right choice for smooth ceilings, large open rooms, walls with strong natural light, high-end interiors, and surfaces painted in dark or glossy colors.
The trade-off is time and cost. A Level 5 finish is not necessary for every closet, utility room, or low-visibility area. But skipping it in a room with floor-to-ceiling windows or reflective paint can lead to disappointment after the project is complete. A professional assessment helps match the finish level to the room rather than paying for more – or accepting less – than the project requires.
Common Problems That Need More Than a Quick Patch
Hairline cracks, popped screws, water-damaged drywall, and visible seams are often signs that the surface needs proper repair and finishing, not just a quick coat of paint. Paint can temporarily disguise a problem, but it will not secure loose tape, repair damaged board, or correct movement at a joint.
A reliable repair starts by identifying the cause. For example, a recurring crack near a door opening may be related to framing movement. A stain on the ceiling may point to a moisture issue that must be resolved before any new mud is applied. A screw pop may need a new fastener installed nearby before the old spot is patched.
Small repairs still deserve clean feathering and careful sanding. A patch that is only a few inches wide can look worse than a large repair if its edges are abrupt or its texture does not match the surrounding wall. This is one reason experienced finishing makes such a noticeable difference in occupied homes and rental properties.
When It Makes Sense to Call a Drywall Finishing Professional
Some minor touch-ups can be manageable for a skilled homeowner with patience. However, larger projects, ceiling repairs, long seams, water damage, and high-visibility rooms are better handled by a drywall finishing specialist. The tools matter, but experience matters more: knowing how wide to feather a seam, how much compound to apply, when to sand, and when a surface needs another coat.
Professional help is particularly valuable before painting, after popcorn ceiling removal, during renovations, or when a contractor needs a dependable finish crew to keep a project moving. For property owners in Niagara Region, St. Catharines, and Hamilton, TH Taping provides drywall taping, Level 4 and Level 5 finishing, smooth ceiling work, repairs, and patching for projects both large and small.
Before paint goes on, take a few minutes to inspect the walls in daylight and with the room lights on. That final check is the best time to correct a ridge, a shallow spot, or a rough corner – and it is far easier than fixing it after the room is finished.






