
Best Wall Prep Steps Before Painting That Last

Drywall Emergency Repair Guide for Fast Action
15 agosto, 2026
Drywall Mudding and Sanding for Flawless Walls
19 agosto, 2026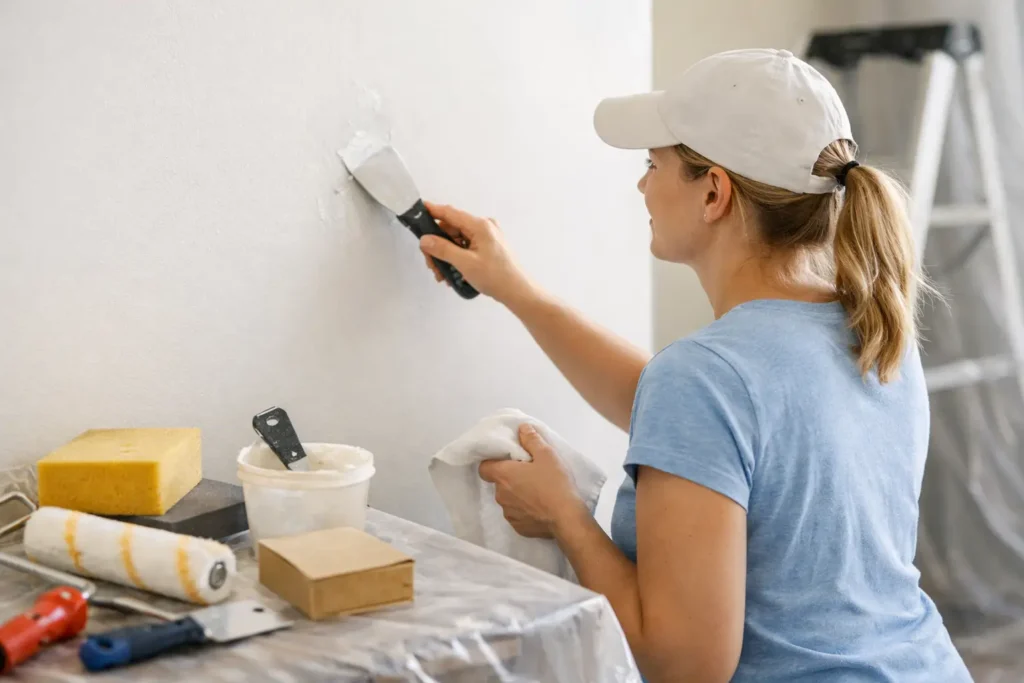
Fresh paint cannot hide a wall that was never properly prepared. In fact, the best wall prep steps before painting often determine whether a room looks clean and finished or shows every patch, ridge, and uneven spot once the light hits it.
For homeowners, property managers, and contractors, preparation is where a professional result begins. Paint is the final layer, not the repair plan. Before a brush or roller comes out, the wall needs to be stable, clean, smooth, and ready to receive the coating.
Start With a Close Inspection
Walk the room slowly with lights on and look across each wall from an angle. Side lighting reveals flaws that are easy to miss when you face a wall directly. Look for nail pops, dents, hairline cracks, old patch marks, peeling paint, water stains, loose drywall tape, and seams that show through.
This step matters most in high-visibility spaces. A living room with large windows, a hallway with overhead lighting, or a commercial reception area will expose minor imperfections more than a low-light storage room. The higher the expectation for a smooth painted finish, the more careful the inspection needs to be.
Pay attention to the cause of the damage, not only its appearance. A small stain may point to a past leak. A recurring crack could indicate movement around a door frame or ceiling joint. Painting over an active problem usually means the issue returns through the new finish.
Protect the Room Before the Work Starts
Good preparation also protects what is staying in the room. Move furniture away from walls whenever possible and cover remaining items with clean drop cloths. Remove outlet covers, switch plates, wall-mounted hardware, window treatments, and anything that creates an edge where paint can build up.
Use painter’s tape where a clean boundary is needed, such as trim, tile, cabinets, or finished flooring. Tape is helpful, but it is not a substitute for careful cutting in. Press it down firmly to prevent paint bleed, and remove it before the paint fully hardens for a cleaner line.
For occupied homes and commercial spaces, dust control deserves extra attention. Sanding compound creates fine dust that can travel beyond the repair area. Cover nearby openings and use a vacuum with proper filtration during cleanup. A clean workspace makes the next steps more accurate and protects the final paint job.
Clean Walls So Paint Can Bond
A wall can look clean and still have residue that affects paint adhesion. Kitchens commonly hold grease and cooking residue. Bathrooms may have soap film or moisture-related buildup. Hallways, entryways, and children’s rooms often collect fingerprints, dust, and marks at hand level.
Use a mild wall cleaner or a degreasing cleaner suited to the surface, then rinse if the product instructions require it. Let the wall dry completely before repairs, sanding, or priming. Moisture trapped under paint can cause bubbling, poor adhesion, or staining later.
Do not skip cleaning simply because the wall will be primed. Primer helps create a consistent surface, but it cannot reliably bond through grease, loose dust, or residue. A few minutes of cleaning can prevent a much larger repainting job.
Repair Damage at the Right Level
Minor holes and shallow dents can often be filled with lightweight spackle or joint compound. Apply thin layers rather than one thick coat. Thick filler takes longer to dry and is more likely to shrink, crack, or leave a raised spot that becomes visible after painting.
Larger holes, damaged corners, loose tape, and cracked drywall seams require a more complete repair. The damaged material may need to be removed, reinforced, retaped, and finished in multiple coats. This is where quick patching can create long-term problems. If the repair is not feathered wide enough, it can leave a visible hump often called flashing or picture framing once paint dries.
For walls with multiple repairs, widespread texture differences, or visible seams, a professional drywall finish may be the better choice. Level 4 finishing is appropriate for many standard painted interiors. Level 5 finishing adds a skim coat for the highest level of smoothness, especially where glossy paint, dark colors, or strong natural light will expose every imperfection.
Watch for Water Damage and Peeling Paint
Water-damaged drywall should not be treated as a simple cosmetic patch until the moisture source is resolved. Check around windows, plumbing fixtures, roofs, and exterior walls. Soft drywall, staining, mold growth, or repeated bubbling requires the underlying issue to be addressed first.
If paint is peeling, scrape away all loose material until you reach a stable edge. Sand the transition so it does not telegraph through the new coat. Paint applied over failing paint may look acceptable for a short time, then peel right along with the old layer.
Sand for Flatness, Not Just Smoothness
Sanding is one of the best wall prep steps before painting because it levels repaired areas and removes small ridges left by compound, old paint, or previous roller texture. The goal is not to make every wall feel polished. The goal is to make the surface look even under paint.
Use a sanding block or pole sander to keep pressure consistent. For most drywall repairs, a fine-grit sanding screen or paper works well. Sand gently across the edges of each repair so the transition gradually disappears into the surrounding wall.
After sanding, run your hand over the repair and inspect it under angled light again. Your hand can find a ridge, dip, or rough edge that your eyes overlook. If a patch is still visible before primer, it will usually remain visible after paint.
Remove all sanding dust with a vacuum, microfiber cloth, or slightly damp cloth. Avoid soaking the drywall surface. Dust left behind can interfere with primer and leave a gritty finish under the paint.
Prime Repairs and Problem Areas
Primer creates a more uniform surface for paint, but the right approach depends on the wall’s condition. Small repairs should be spot-primed so the joint compound does not absorb paint differently than the surrounding wall. Bare drywall, exposed paper, stains, patched areas, and major color changes all benefit from primer.
For water stains, smoke damage, markers, or other bleed-through issues, use a stain-blocking primer. Standard wall primer may not stop stains from returning through the new paint. For glossy surfaces, use a bonding primer after proper cleaning and light sanding.
When repairs cover a large portion of the wall, priming the entire wall often produces a more consistent finish. This reduces the chance that repaired spots will show as dull or shiny areas after painting. It may use more material upfront, but it can save time compared with correcting uneven sheen after the finish coat is applied.
Match the Prep to the Paint Finish
Not all paint finishes forgive the same level of wall preparation. Flat paint hides minor texture and small imperfections better than satin, semi-gloss, or high-gloss paint. That does not mean flat paint fixes poor drywall work, but it offers more forgiveness in bedrooms, ceilings, and low-traffic areas.
Satin and semi-gloss finishes reflect more light, making patch edges, roller marks, and uneven texture easier to see. They are often practical for kitchens, bathrooms, trim, and high-traffic areas because they are easier to clean. The trade-off is that the prep standard has to be higher.
Dark paint colors create a similar challenge. Deep navy, charcoal, black, and rich green can show drywall flaws and sanding scratches under direct light. If the room calls for dark or glossy paint, take extra time with repairs, full-wall priming, and final inspection.
Know When to Call a Drywall Finishing Professional
A homeowner can handle simple nail holes and small dents. But if a wall has failing tape, repeated cracks, a large patch, water damage, popcorn ceiling removal, or broad uneven areas, the repair may need professional finishing before paint.
TH Taping helps property owners, contractors, and commercial clients prepare drywall surfaces for clean, durable paint results. From minor patches to level 4 and level 5 finishes, precise prep keeps the final coat from revealing what should have been fixed underneath.
Before choosing a paint color, take one last look at the wall from different angles and in the room’s normal lighting. If the surface already looks even, clean, and solid before paint, the finished room has the best chance to look that way for years.






