
7 Best Drywall Finishing Techniques

Can Drywall Cracks Come Back After Repair?
4 julio, 2026
Drywall Repair Niagara Region: What to Fix Fast
6 julio, 2026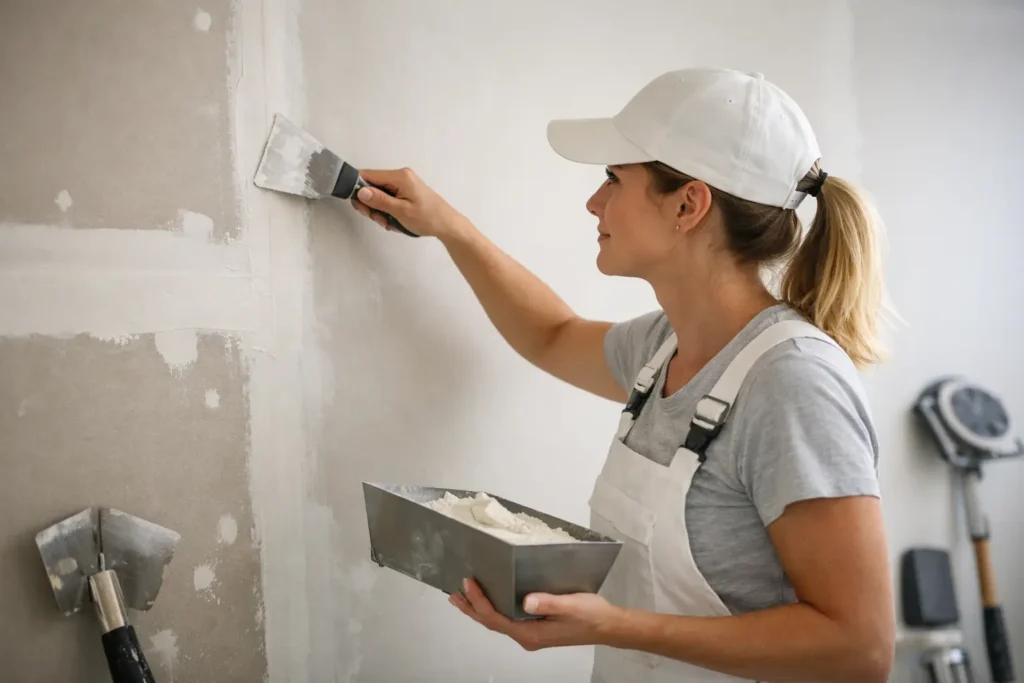
A wall can look straight from across the room and still fall apart under paint. Seams show up, fasteners flash, corners ripple, and every shortcut becomes visible the moment light hits the surface. That is why the best drywall finishing techniques are not about doing more. They are about doing the right steps, in the right order, with enough control to leave the surface clean, strong, and ready for paint.
For homeowners, contractors, and property managers, good finishing saves time twice. It reduces callbacks during the project, and it helps the walls hold their appearance after move-in. Whether you are finishing a full renovation, repairing damage, or preparing for a smooth ceiling, the difference comes down to technique.
What the best drywall finishing techniques actually do
Drywall finishing has two jobs. First, it strengthens the joints so cracks and tape failures are less likely. Second, it creates a flat visual plane so the wall looks consistent under normal and critical lighting.
Those goals are related, but they are not the same. A joint can be technically covered and still look poor if the mud is too thick, the feathering is too narrow, or the sanding leaves visible edges. On the other hand, a wall can look acceptable at first and still fail later if the tape was not properly embedded. The best results come from balancing durability with appearance.
Start with proper surface prep
Every strong finish begins before the first coat of compound. The board needs to be securely fastened, with screws set just below the surface without breaking the paper. Damaged paper, loose edges, and proud fasteners should be corrected first, not hidden under mud.
Cleanliness matters more than many people expect. Dust, crumbs of old compound, and torn paper all interfere with adhesion and create drag under the knife. If the job includes repairs or patchwork, the transition between old and new drywall needs extra attention so the finished area blends into the surrounding surface instead of leaving a visible picture frame.
This is also where expectations should be set. A standard room with forgiving light may only need a Level 4 finish. A large open space with dark paint, gloss paint, or strong side lighting often needs a higher standard. If the goal is a truly refined surface, Level 5 is usually the right call.
Tape embedding is one of the best drywall finishing techniques
The first coat is not the place to rush. Bedding tape correctly is one of the best drywall finishing techniques because it sets the foundation for everything that follows. If the tape is not fully embedded, no amount of later coating will fix the problem cleanly.
Paper tape remains the preferred choice for many professionals on flat seams and inside corners because it creates a strong joint and folds cleanly. Mesh tape can be useful in certain repair situations, but it often requires the right setting compound and careful handling to avoid future cracking. The material is not the whole story. The real issue is whether the tape is pressed into a consistent bed of compound without dry spots, bubbles, or excess buildup underneath.
A good embed coat is firm and even. Too little compound and the tape will not bond properly. Too much and the seam builds unnecessary height, which makes feathering harder in later coats. The goal is simple – enough mud to bond, not enough to create a hump.
Use the right compound at the right stage
Not all mud should be treated the same. Setting-type compound and drying-type joint compound each have a place, and choosing correctly can make the work cleaner and more durable.
Setting compound is useful when strength and speed matter, especially for repairs, prefill work, and areas that need a hard initial build. It chemically sets rather than simply drying, so it can be a smart option for deep gaps, damaged sections, or urgent jobs. The trade-off is that it hardens quickly and sands less easily, so it requires more control.
Drying-type compound is often preferred for finish coats because it spreads smoothly and sands more predictably. It gives finishers more working time and can help produce a cleaner final surface. On many jobs, the best approach is not choosing one or the other across the whole project. It is using each where it performs best.
Build joints in thin, controlled coats
One of the most common mistakes in drywall work is trying to finish a seam with heavy mud. Thick coats shrink more, dry slower, crack more easily, and create more sanding. Thin, deliberate coats almost always lead to a flatter and cleaner result.
A typical sequence involves embedding the tape, applying a second coat to widen the joint, and then a finish coat that feathers the edges further into the board. Each pass should extend beyond the last so the transition disappears gradually. Butt joints usually need to be spread wider than tapered seams because the board edges do not recess naturally.
This is where knife control matters. The pressure should be firm enough to remove excess mud while leaving enough material to fill and level. Skilled finishing often looks simple because there is very little wasted movement. The mud goes on where it is needed and comes off where it is not.
Corners and angles need a different approach
Inside corners and outside corners fail for different reasons, so they should not be treated the same way. Inside corners need crisp alignment and even pressure on both sides. If one side is overloaded, the corner wanders visually and becomes difficult to paint cleanly.
Outside corners take abuse from traffic, furniture, and daily use. Bead installation has to be straight, secure, and properly coated. If the bead is twisted or the mud is too heavy on one side, the corner line will look off even if the wall itself is flat. In commercial spaces and busy homes, this detail matters because corners draw the eye and take the first impact.
Angles on vaulted ceilings, bulkheads, and transitions also require patience. These areas tend to catch light differently, which means even small imperfections stand out. A careful finisher adjusts technique based on the shape of the space, not just the material being covered.
Sand less by finishing cleaner
Good sanding helps. Too much sanding usually signals that the coats were applied poorly. One of the best drywall finishing techniques is to leave each pass as clean as possible so sanding becomes refinement, not reconstruction.
Aggressive sanding can fuzz the drywall paper, flatten corners, and leave swirl marks that show through primer and paint. It also creates dust that spreads through the jobsite and slows everyone down. A cleaner approach is to scrape ridges between coats, keep edges controlled while the mud is wet, and use sanding only to soften transitions and remove minor tool marks.
Lighting is useful here. A work light held at an angle across the wall will reveal imperfections early, before primer makes them harder to correct. This is especially important on ceilings and long hallway walls where directional light exaggerates flaws.
Level 4 versus Level 5 depends on the finish goal
When clients ask for smooth walls, what they often mean is that they do not want to see joints, patches, or texture changes after painting. That is where the distinction between Level 4 and Level 5 becomes practical.
A Level 4 finish is suitable for many standard painted surfaces. It includes properly finished joints, fasteners, and accessories, with enough coating to prepare the surface for typical flat paints and standard lighting conditions. Done well, it looks clean and professional.
A Level 5 finish goes further by adding a skim coat or equivalent surface treatment across the drywall face. This helps reduce porosity differences and gives the wall a more uniform appearance under demanding light and premium paint finishes. It is often the better choice for high-end interiors, smooth ceilings, large open rooms, and spaces where natural light runs across the wall.
This is not upselling for the sake of it. It is about matching the finish level to the way the room will actually be used and seen.
Repairs require blending, not just covering
Patch jobs are their own category. A repaired hole or water-damaged section should not read like a patch after paint. That takes more than filling the opening. It takes blending the repaired area into the surrounding plane so the texture, sheen, and contour stay consistent.
This is where many quick fixes go wrong. The patch is solid, but the perimeter is too abrupt, the repair shrinks, or the surface is left too smooth compared with the adjacent wall. Smaller jobs often require just as much finesse as larger ones because there is less room to hide transitions.
For emergency repairs or isolated damage, speed matters, but finish quality still decides whether the repair disappears or keeps catching your eye every time you walk by.
Why technique matters more than product claims
There is no shortage of compounds, tapes, beads, and tools marketed as shortcuts. Some are genuinely useful. None of them replace disciplined application. The best drywall finishing techniques still come back to prep, tape embed, thin coats, clean feathering, smart sanding, and choosing the right finish level for the room.
That is what produces walls and ceilings that look sharp on day one and still look right after paint cures, furniture moves in, and real life starts. If a surface needs to be truly clean, whether it is a repair, a renovation, or a full Level 5 finish, precision is what gets it there. A smooth result is never an accident, and it is always worth doing right.






