
Renovation Drywall Finishing Process, Done Right

How to Spot Poor Drywall Finishing Before Paint
7 agosto, 2026
Is Level 4 Good for Ceilings? What to Expect
12 agosto, 2026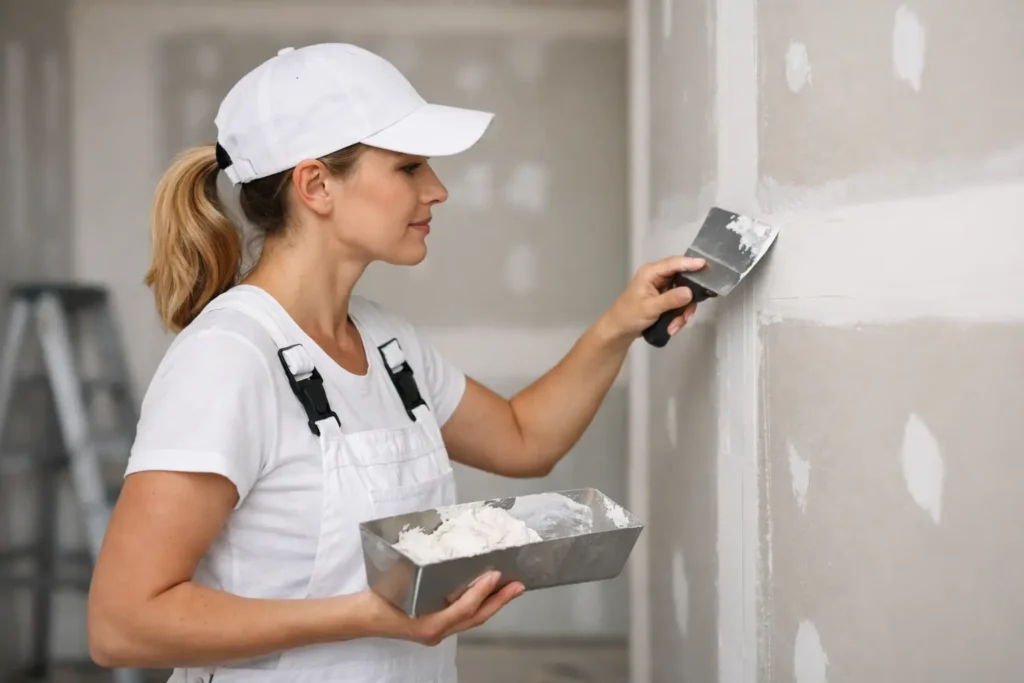
A renovated room can have new flooring, updated lighting, and fresh trim, yet still look unfinished if the walls are uneven. The renovation drywall finishing process is what turns newly installed board, repaired damage, and opened-up walls into a clean surface that is ready for paint. It is detail-driven work, and the quality is visible long after the crew leaves.
For homeowners, contractors, and property managers, the goal is simple: walls and ceilings that look flat, clean, and consistent under real lighting. Getting there requires more than covering seams with compound. It requires the right preparation, proper drying time, controlled sanding, and an finish level that matches the room and paint choice.
Start With a Solid Surface
Drywall finishing begins before tape is applied. After a renovation, walls may include new drywall sheets, patches around plumbing or electrical work, repaired corners, and transitions between old and new materials. Each area needs to be secure, aligned, and free from loose paper or damaged board.
Fasteners should sit slightly below the drywall surface without breaking the paper face. Protruding screws create bumps that show through paint, while overdriven screws can lose their holding strength and lead to cracks later. Gaps between sheets, damaged edges, and uneven repairs should also be addressed before finishing begins.
This stage matters especially in older homes. Framing can be uneven, walls may have settled, and previous repairs may be hidden under several layers of paint. A skilled finisher identifies those conditions early instead of trying to disguise them with excessive compound. Joint compound is made to create a smooth transition, not to correct major structural problems.
Taping Creates the Strength Behind the Finish
Taping is the part of the process that reinforces drywall joints and helps prevent visible cracking. A layer of joint compound is applied over the seam, then paper tape or another appropriate tape product is embedded and pressed into place. Excess compound is removed so the tape lies flat without bubbles, wrinkles, or dry spots.
Paper tape is a dependable choice for flat seams and inside corners because it creates a strong bond when properly embedded. Corner bead is used on outside corners to protect them from impact and establish a straight, crisp line. Depending on the renovation, metal, vinyl, or flexible bead may be selected to suit the corner shape and surrounding conditions.
A common mistake is applying too much compound under the tape. Heavy buildup can make joints harder to flatten and creates more sanding later. Too little compound, on the other hand, can leave the tape poorly bonded. The right balance saves time while producing a stronger result.
Corners, patches, and ceiling transitions need extra attention
Flat wall seams are only one part of the job. Inside corners need to be straight and clean, especially where walls meet ceilings or where bright light hits the room. Outside corners need a durable edge that can handle everyday contact. Small patches must be feathered far enough beyond the repair that they disappear into the existing wall.
Ceiling work can be even less forgiving. A smooth ceiling reflects light differently than a textured one, so seams and repairs become easy to spot if they are not properly blended. When removing popcorn texture or preparing a ceiling for a smooth finish, thorough surface preparation is essential.
The Renovation Drywall Finishing Process Uses Multiple Coats
Drywall finishing is built in layers. After the tape coat dries, additional coats of compound are applied to widen and feather the joints. Each coat has a specific purpose: the first secures the tape, the next fills low areas and begins blending, and the final coat creates the broad, smooth transition needed for paint.
The number of coats is not something to rush. Drying conditions, humidity, the type of compound, and the size of the repair all affect timing. Applying another coat before the previous layer is dry can trap moisture, cause dragging, and create weak spots. Fast-setting compounds can be useful for certain repairs, but they still require careful application and proper sanding.
The goal is not to leave a thick strip of compound over every seam. Instead, the finisher feathers compound outward so gradually that the joint becomes visually invisible. On a wide wall or ceiling, that can mean working well beyond the seam itself. This is why a narrow repair can sometimes require more finishing area than homeowners expect.
Sanding Should Refine, Not Rescue, the Work
Sanding is necessary, but it should not be the main way to fix poor application. A well-applied finish needs only controlled sanding to remove minor ridges, smooth edges, and prepare the surface for primer. Aggressive sanding can damage the drywall paper, expose tape, or leave waves that become obvious under paint.
Dust control also matters in occupied homes, rental properties, and commercial spaces. Drywall dust travels easily into nearby rooms and settles on surfaces if the work area is not contained. Professional planning may include protecting floors, covering openings, using dust-control equipment, and cleaning the area before the next trade begins.
Before paint, walls should be inspected from different angles. Natural daylight, overhead fixtures, and side lighting can reveal flaws that are invisible from straight ahead. This inspection is where small touch-ups make the difference between an acceptable wall and a finish that looks professionally prepared.
Choose the Right Finish Level for the Room
Not every project needs the same drywall finish level. The right choice depends on lighting, paint sheen, wall texture, and the expectations for the finished space.
A Level 4 finish is the standard choice for many residential walls and ceilings. It includes properly taped joints and multiple coats of compound over seams, corners, and fasteners. When primed and painted with a low-sheen finish, Level 4 provides a clean, paint-ready appearance for most rooms.
A Level 5 finish adds a skim coat or equivalent treatment across the full surface. It is often the better option for spaces with large windows, recessed lighting, glossy or dark paint, and smooth ceilings. Those conditions create shadows and reflections that can expose minor imperfections even on a good Level 4 finish.
Level 5 is not automatically necessary for every renovation. If a room has matte paint, forgiving lighting, and modest expectations, Level 4 may be the practical and cost-effective choice. But for premium interiors, high-visibility ceilings, and feature walls, Level 5 can prevent disappointing results after the paint goes on.
Avoid Shortcuts That Show Up After Painting
The most frustrating drywall issues usually appear after the finish paint is applied. Flashing patches, raised seams, visible tape lines, cracked corners, and uneven texture are often signs that a step was skipped or rushed earlier in the process.
Poor priming is another frequent problem. New drywall compound and drywall paper absorb paint differently, so primer helps create a consistent surface before the final coats. Without it, repaired areas may look duller or shinier than the surrounding wall, even when the paint color matches.
It also helps to coordinate the finishing schedule with painters, electricians, flooring installers, and other trades. Freshly finished walls are vulnerable to damage from ladders, trim work, fixture installation, and moving materials. Completing touch-ups at the right time protects the finish and avoids repeating work.
When Professional Drywall Finishing Is Worth It
Small nail holes can often be handled by a homeowner. Larger patches, new room additions, ceiling repairs, popcorn ceiling removal, and projects requiring a smooth Level 4 or Level 5 result are different. These jobs demand practiced technique, proper tools, and the ability to read imperfections before paint makes them obvious.
TH Taping helps homeowners, contractors, and property managers throughout Niagara Region, St. Catharines, and Hamilton with complete drywall taping, finishing, repairs, and smooth ceiling work. Whether the project is a full renovation or an urgent patch, a clear scope and a professional finish keep the next stage of the work moving.
The best time to address drywall quality is before primer and paint. If your walls or ceilings need to look clean under the lights you live with every day, request a free quote and plan the finish with the final result in mind.






