
What Is Level 5 Finish? Drywall Guide for Homes

How Professionals Skim Coat Drywall Walls
12 julio, 2026
How to Prepare Walls for Taping the Right Way
16 julio, 2026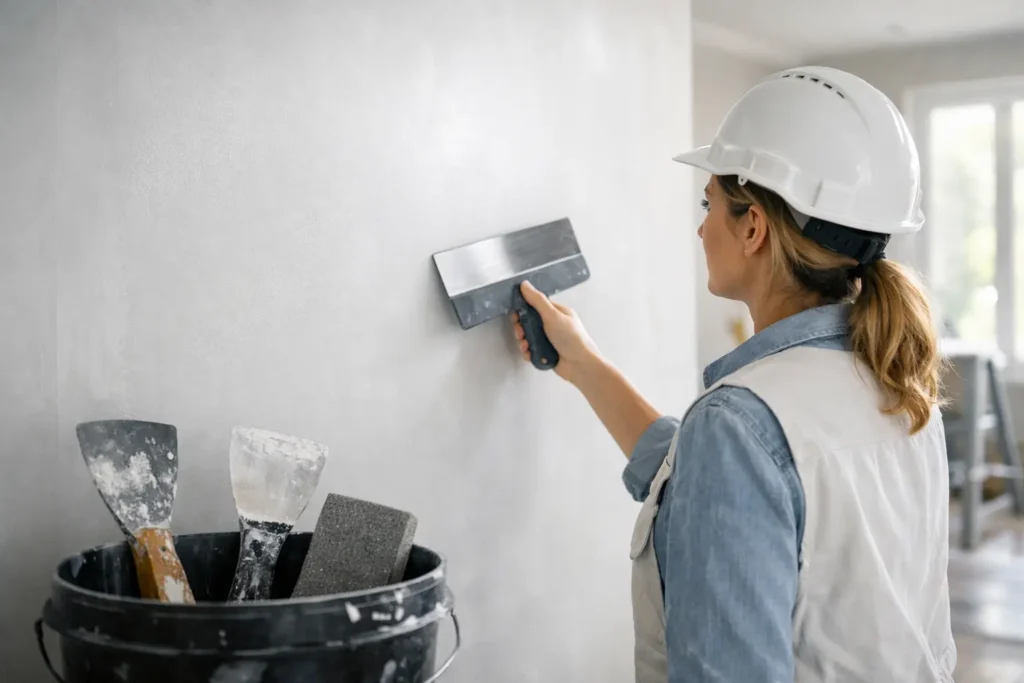
A freshly painted wall can still look disappointing when light hits it from the side. Small seams, sanding marks, and texture changes that were nearly invisible during construction suddenly stand out. If you are asking, what is level 5 finish, the short answer is this: it is the highest standard of drywall finishing, designed for walls and ceilings where a clean, uniform appearance matters most.
A Level 5 finish is not simply extra mud on drywall. It is a careful finishing process that adds a thin skim coat of joint compound over the entire surface after the joints, corners, fasteners, and accessories have already been finished. The goal is to create a consistent surface that performs better under critical lighting and smooth paint.
What Is Level 5 Finish in Drywall Work?
Drywall finish levels describe how prepared a wall or ceiling is for its final covering. Some areas will be hidden behind tile, paneling, or heavy texture. Others will be painted with a flat color. A Level 5 finish is intended for the most demanding painted surfaces, especially those with smooth paint and strong or angled light.
The process starts with the work expected in a Level 4 finish. Drywall tape is embedded at all joints, fasteners receive multiple coats of compound, and the surface is sanded smooth. Then, instead of stopping there, the drywall professional applies a thin, even skim coat across the full face of the board.
That skim coat helps equalize the surface. Drywall paper, dried joint compound, screw spots, taped seams, and corner beads all absorb paint differently. Even when a wall feels smooth to the hand, those differences can show through as flashing or visible bands once paint dries. A Level 5 finish reduces that risk.
It does not mean every wall will look perfect under a flashlight held inches from the surface. No drywall system can promise that, particularly in an older home with framing movement or uneven existing walls. It does mean the surface has been prepared to the highest recognized drywall finishing standard for a premium painted result.
Why Level 5 Makes a Visible Difference
Most homeowners notice drywall defects after painting, not before. Paint can magnify small inconsistencies, especially with darker colors, satin or semi-gloss finishes, and direct sunlight. A Level 5 finish gives the painter a more uniform base, helping the final color look cleaner from wall to wall.
Light is usually the deciding factor. Large windows, patio doors, skylights, recessed lighting placed near walls, and long hallway fixtures can cast light across a surface at a low angle. This is called critical lighting. It creates shadows that reveal joints, uneven sanding, and slight surface changes.
Smooth ceilings can be equally demanding. Unlike a textured ceiling, a flat ceiling has nowhere to hide small imperfections. If the room has broad windows or ceiling lights that wash across the surface, a Level 5 finish can make a meaningful difference in the final appearance.
The extra preparation also matters when the design calls for deep navy, charcoal, black, or other rich colors. These paints can show flaws that a soft white matte paint may conceal. The same is true of paints with sheen. The more reflective the coating, the more demanding the wall preparation needs to be.
Level 4 vs. Level 5 Finish
Level 4 is a high-quality standard and remains the right choice for many residential and commercial projects. Joints and fasteners are properly coated, sanded, and prepared for typical flat paint or light texture. In rooms with normal lighting and standard paint choices, it often delivers an excellent result.
Level 5 takes that preparation one step further with a full skim coat. This additional layer creates a more even surface across the drywall field, not just over seams and repairs. It is the preferred choice where appearance is especially important or where lighting conditions are unforgiving.
The difference is not always obvious before paint. On an unpainted wall, both a well-executed Level 4 and Level 5 finish may look smooth. Once primer and paint are applied, however, Level 5 is better equipped to minimize the visual contrast between drywall paper and finished joint compound.
Choosing between the two should be practical, not automatic. A utility room, closet, rental turnover, or wall that will receive substantial texture may not need Level 5. A custom living room, modern open-concept kitchen, feature wall, smooth ceiling, or commercial reception area may justify the added work.
Where a Level 5 Finish Is Worth It
A Level 5 finish is most valuable where the final surface will be examined often and closely. High-visibility areas deserve more attention because small imperfections can affect the entire impression of the room.
Consider Level 5 for these situations:
- Smooth ceilings in living areas, kitchens, hallways, and entryways
- Walls with large windows, skylights, patio doors, or strong side lighting
- Dark paint colors, high-sheen paint, or specialty decorative finishes
- Feature walls, stairwells, and open-concept spaces with long sightlines
- Commercial spaces where a polished interior supports the business image
It can also be the right solution after popcorn ceiling removal. Once a textured ceiling is removed, the underlying surface may reveal patches, uneven areas, or previous repairs. A complete skim coat helps restore the consistent, smooth appearance homeowners expect from a modern ceiling.
What the Level 5 Process Looks Like
Quality Level 5 work begins before the skim coat. The drywall must be properly installed, with joints aligned as well as possible and fasteners set correctly. Finishing compound cannot fully solve poor board installation, loose drywall, damaged framing, or significant movement in the structure.
After taping and applying the necessary joint compound coats, the finisher sands and checks the surface for ridges, low areas, and visible transitions. The skim coat is then applied thinly and consistently over the wall or ceiling. Depending on the project, this may be done with hand tools, a roller-and-trowel method, or professional spray equipment followed by smoothing.
Once dry, the surface is sanded again with care. The work is not about making the wall excessively thick. It is about filling tiny pores and creating an even plane so paint reflects light more consistently. Dust control, clean edges, and careful protection of floors, trim, and nearby finishes are part of a professional result.
Priming is the next important step. A quality drywall primer helps seal the finished surface and prepares it for the chosen paint. Even the best drywall finish can be undermined by rushed painting, poor primer selection, or paint applied unevenly.
Cost, Timing, and Realistic Expectations
Because it adds material, labor, drying time, and additional sanding, a Level 5 finish costs more than Level 4. The exact difference depends on the size of the space, ceiling height, access, the condition of the existing drywall, and whether the job is part of new construction or a renovation.
For a small repair, a true Level 5 result may involve blending more of the surrounding wall than expected. A patch can be structurally sound and still look different after paint if the surface texture or sheen does not match. In many cases, feathering the finish farther out or skim coating the full wall is the more reliable approach.
It is also wise to discuss lighting and paint selection before work begins. If a room has extreme side lighting, even a Level 5 finish has physical limits. The best outcome often comes from combining professional finishing with thoughtful lighting placement and an appropriate paint sheen.
For homeowners and contractors in Niagara Region, St. Catharines, and Hamilton, TH Taping helps evaluate whether Level 4 or Level 5 is the right fit for the room, budget, and final design. The recommendation should be based on how the space will actually look after painting, not on selling more work than the project needs.
How to Plan for a Better Finished Surface
Before requesting a drywall quote, identify which walls and ceilings will receive the most attention. Share the paint color, sheen, lighting plan, and whether new windows or recessed lights are part of the renovation. Those details help determine where a Level 5 finish brings real value and where a Level 4 finish is sufficient.
If you are investing in smooth ceilings, dark feature walls, or a bright open room, surface preparation should be part of the plan from the start. A skilled drywall finish is the foundation behind the clean paint result you want to see every day. For a clear recommendation and a free quote, discuss the room conditions before the final coat of paint makes every detail visible.






