
How to Fix Drywall Corner Bead Right

Smooth Ceiling Finishing Service That Lasts
10 junio, 2026
Professional Taping Services That Show
12 junio, 2026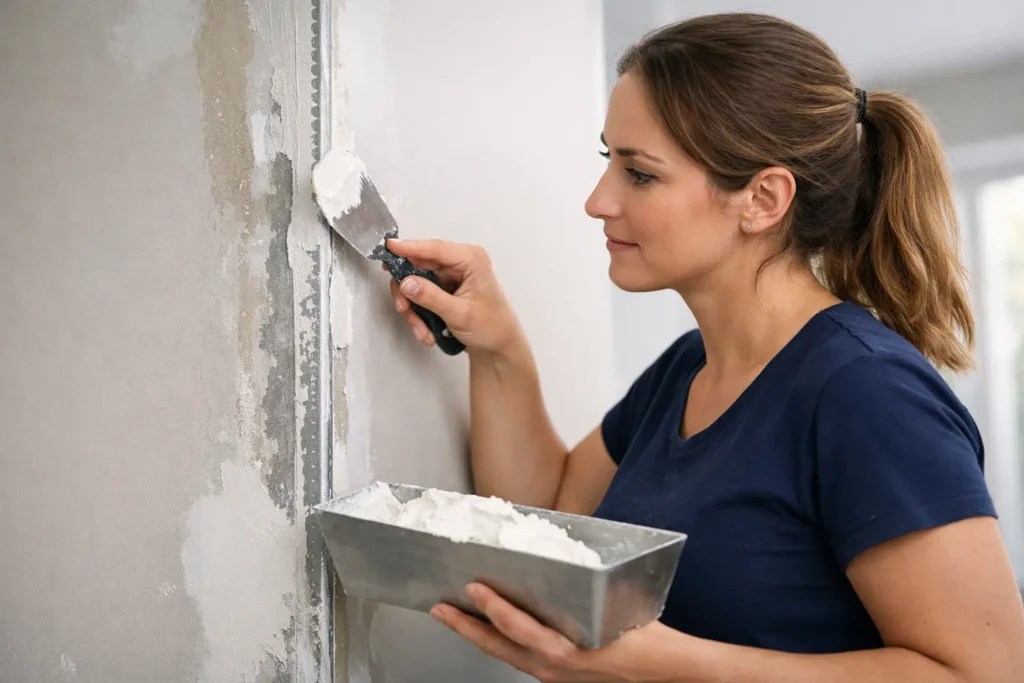
A damaged corner bead stands out fast. Even a small dent or hairline crack can catch light, show through paint, and make the whole wall look tired. If you’re wondering how to fix drywall corner bead, the right approach depends on what actually failed – the mud, the fasteners, or the bead itself.
How to Fix Drywall Corner Bead Without Making It Worse
Corner bead repair is one of those jobs that looks simple until the patch flashes under paint. The reason is straightforward: outside corners take abuse, and they also highlight every hump, flat spot, and rough edge. A quick fill might hide the damage for a week, but if the bead is loose or bent, the problem usually comes back.
Start by looking closely at the corner from more than one angle. If the metal or vinyl bead is still straight and firmly attached, you may only need to remove loose compound and recoat the area. If the corner has shifted, rusted, cracked badly, or lifted away from the drywall, a cosmetic patch will not be enough. In that case, partial replacement is usually the cleaner repair.
Before you do anything, press lightly along both sides of the corner. A solid bead feels tight and stable. A failed bead often clicks, flexes, or separates from the wall when touched.
What causes corner bead damage
Most corner bead problems come from impact, movement, or poor installation. In a hallway, stairwell, garage entry, or busy commercial space, repeated bumps can dent the corner and fracture the joint compound. In other cases, the bead was never fastened well enough, or too little mud was used to blend it into the wall.
Moisture can also be part of the problem. If you see staining, swelling, or rust on a metal bead, repair should not start with mud. The water source needs attention first, or the corner will keep failing.
Tools and materials you may need
The exact setup depends on the repair, but most jobs call for a utility knife, 6-inch and 10- or 12-inch drywall knives, sanding sponge, joint compound, drywall screws or nails, tin snips for metal bead, and primer. If you’re replacing a section, you may also need a new length of metal or vinyl corner bead.
For small repairs, lightweight compound is easier to sand. For deeper repairs or bedding new bead, setting-type compound is often the better choice because it hardens faster and shrinks less. That said, it gives you less working time, so it helps to move with purpose.
Safety matters more than people think
Old bead edges can be sharp, and sanding dust travels everywhere. Wear gloves when cutting out damaged metal and use dust protection, especially in occupied homes or active renovation spaces.
Repairing minor cracks and small dents
If the bead is secure and the damage is limited to chipped mud, shallow dents, or surface cracks, you can usually repair it without replacing the bead.
Cut away any loose or flaking compound with a utility knife. Do not mud over soft edges. They break free later and take the new finish with them. Once the area is clean, sand lightly so the surrounding surface is smooth enough for the next coat to feather out.
Apply a thin first coat of compound over the damaged area and extend it a few inches past the repair on both sides of the corner. Keep the corner line crisp. That matters as much as smoothness. Let it dry fully, then add a wider second coat with a 10- or 12-inch knife to blend the patch into the wall.
After drying, sand carefully. The goal is not to round over the corner. You want a straight, clean line with gradual transitions into the field of the wall. Finish with primer before painting, because fresh compound absorbs paint differently and will flash if skipped.
How to fix drywall corner bead when it is loose
A loose bead needs more than surface compound. If you press the corner and it moves, the bead has to be resecured before finishing.
Begin by scraping away cracked mud around the loose section until you expose the bead and the drywall edge. If the bead is still straight and in good condition, refasten it with drywall screws on both sides, placing them carefully so the bead pulls tight without twisting. Nails can work, but screws usually give better control in repair work.
Once the bead is tight, apply compound in thin coats rather than one heavy pass. Heavy mud tends to sag, crack, and leave a swollen corner that is hard to hide. The first coat should fill and bed the repair. The second and third coats should widen out gradually so the corner looks straight from top to bottom.
This is where patience pays off. A rushed loose-bead repair often ends up with visible ridges after paint, especially under side lighting.
Replacing a bent, rusted, or badly damaged section
If the bead is bent or rusted, replacement is usually the better call. Trying to mud over a crushed metal corner rarely gives a durable result, and rust can bleed through new paint.
Mark the damaged section and cut it out cleanly with tin snips. Remove enough length to get back to solid, straight material. If only a short section is damaged, you do not always need to replace the full corner from floor to ceiling. A well-executed sectional repair can work, but the cuts need to be neat and the new piece must line up perfectly with the existing bead.
Cut the replacement piece to fit, then fasten it securely. Check alignment before mudding. Even a slight twist will show later. Once installed, bed the new section with compound and feather both sides wider than the actual repair. Where the new bead meets the old one, take extra care to smooth the transition so the joint does not telegraph through paint.
If the surrounding drywall paper is torn or crushed, address that too. Corner bead repairs often fail because the installer focused on the metal edge and ignored weak drywall behind it.
Metal vs. vinyl corner bead
For patch repairs, matching the existing material usually makes the finish easier. Metal gives a crisp edge and is common in many homes and commercial spaces. Vinyl resists rust and can be a smart choice in areas with moisture exposure. Neither is automatically better in every situation. The best choice depends on location, wall condition, and the type of finish you need.
Common mistakes that ruin the final look
The biggest mistake is treating every damaged corner as a fill-only repair. If the bead is loose, bent, or rusting, mud is not a real fix. Another common problem is building up too much compound right at the corner. That creates a bulky line that catches light and looks amateur even after paint.
Poor sanding is another issue. Sand too aggressively and you flatten the corner or expose the bead. Sand too little and every knife mark stays visible. Good drywall finishing is a balancing act between enough material and clean control.
Skipping primer is also a problem, especially on repaired corners. Paint alone will not hide texture differences between old painted wall and fresh compound.
When a professional repair makes more sense
There is a point where corner bead repair stops being a simple patch and becomes finish work that affects the whole room. If the wall has multiple damaged corners, visible settlement cracks, water issues, or a high-end paint finish, professional repair usually saves time and gives a better result.
This matters even more in entryways, open-concept spaces, offices, and any area with strong natural light. Corners are easy to overlook during repair and impossible to ignore once the paint dries. A smooth wall means very little if the outside edge is wavy, cracked, or visibly patched.
For homeowners, property managers, and contractors who need repairs to blend cleanly into the surrounding finish, it often helps to have a drywall specialist handle the corner and any related skim work. That is especially true when the goal is a paint-ready result instead of a basic patch.
TH Taping handles this kind of repair with the same focus used on larger finishing work – straight lines, smooth transitions, and a finish that holds up.
A good corner repair should disappear
When drywall corner bead is fixed properly, you should not notice the repair at all. The corner should feel solid, look straight in changing light, and disappear once primed and painted. That is the standard worth aiming for, whether you are touching up a small dent or replacing a failed section.






