How to Repair Drywall After Electrical Work

Niagara Drywall Contractor Checklist for Hiring
22 septiembre, 2026
Should You Repair Drywall Moisture Damage?
26 septiembre, 2026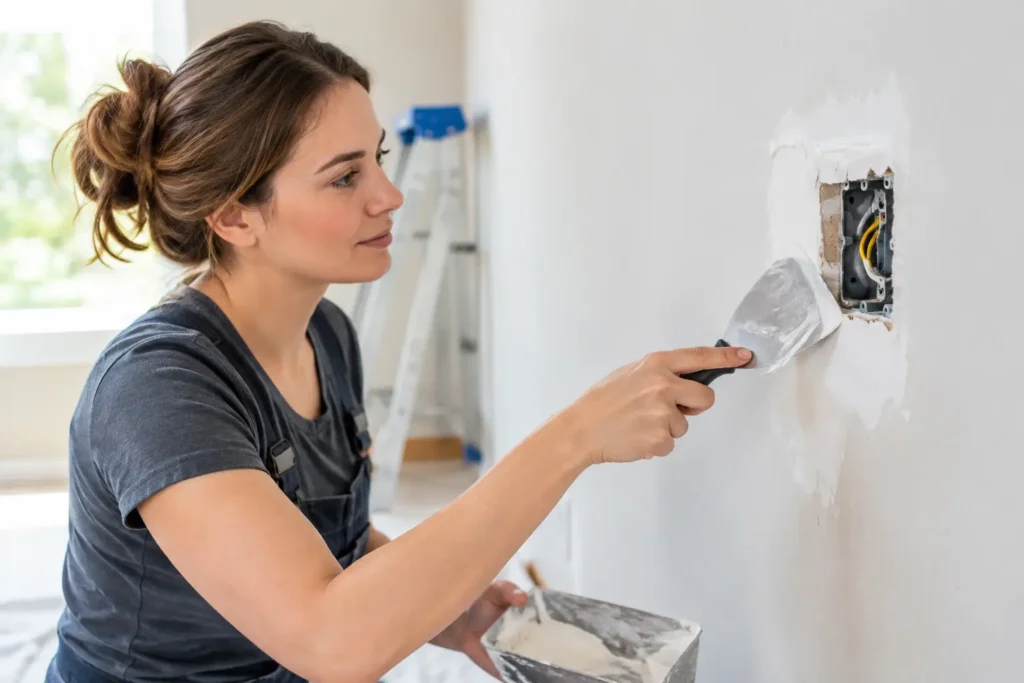
An electrical upgrade should leave you with safer, better-functioning outlets, lighting, or wiring – not a wall full of rough openings. To repair drywall after electrical work properly, the goal is more than covering the hole. The repaired area must sit flat, hold up over time, and disappear once the wall is painted.
That takes careful backing, the right drywall thickness, well-finished joints, and enough drying time between coats. A rushed patch can look acceptable in the afternoon, then reveal ridges, cracks, or flashing as soon as light hits the wall.
Start Only After the Electrical Work Is Complete
Before closing any opening, confirm that the electrical work has been inspected when required and that all wiring, boxes, and connections are complete. Drywall should never cover a junction box that needs to remain accessible. Outlet, switch, and fixture boxes must remain flush with the finished wall surface or use approved extension rings where needed.
This is also the time to photograph the wall cavity. A few clear photos showing wire routes, blocking, plumbing, and framing can save time during future repairs or renovations. If a cable is too close to the face of a stud, the electrician may need to install protective nail plates before the wall is closed.
For homeowners, this is a practical dividing line: electrical work belongs to a qualified electrician, while drywall restoration begins once the wiring is safe, approved, and ready to cover. Trying to patch first and solve electrical concerns later can mean opening the wall a second time.
Assess the Opening Before Cutting a Patch
Electrical work creates different kinds of drywall damage. A small access hole behind a fixture may only need a compact patch. A channel cut across a wall for new wiring needs a longer repair, usually with backing at several points. Large openings around a new panel, recessed lighting, or relocated outlets may require replacing an entire section between studs.
Do not assume the existing edges are usable just because they are still attached. Torn paper, crumbling gypsum, and uneven cuts make finishing harder. Trim the opening into a clean square or rectangle when necessary. Straight edges make it easier to fit a patch, install backing, and create joints that can be taped evenly.
Check the drywall thickness before buying material. Most residential walls use 1/2-inch drywall, but ceilings and fire-rated assemblies may use 5/8-inch board. A patch that is even slightly thinner or thicker than the existing surface creates extra finishing work and can leave a visible low or high spot.
How to Repair Drywall After Electrical Work With Solid Backing
A drywall patch needs support behind every unsupported edge. For small holes, a wood cleat or drywall repair clip can work well. For a larger rectangular opening, screw wood blocking inside the wall along the perimeter, then fasten the new drywall patch to that backing. If the opening reaches framing, use the studs whenever possible.
Keep screws slightly below the drywall face without breaking the paper. Broken paper weakens the hold and makes the screw head more likely to show later. A properly set screw creates a small dimple that can be filled smoothly with compound.
For narrow wall channels, install backing every 12 to 16 inches so the patch does not flex. Movement is the enemy of a clean repair. When a patch bends or shifts, the compound at the seams is more likely to crack.
The fit should be close but not forced. A tiny gap is manageable with joint compound, but large gaps require excessive filler and increase the risk of shrinkage. If the cutout does not sit flat, correct the backing or recut the piece rather than trying to bury the problem under compound.
Tape Every Seam, Then Build a Wide Finish
Drywall tape is what reinforces the joint. Joint compound alone is not a durable repair material for seams. Paper tape embedded in all-purpose compound is a reliable choice for flat wall joints, while fiberglass mesh tape can be useful in some repair situations. Mesh tape is faster to apply, but it generally performs best with setting-type compound, especially over larger gaps or areas prone to movement.
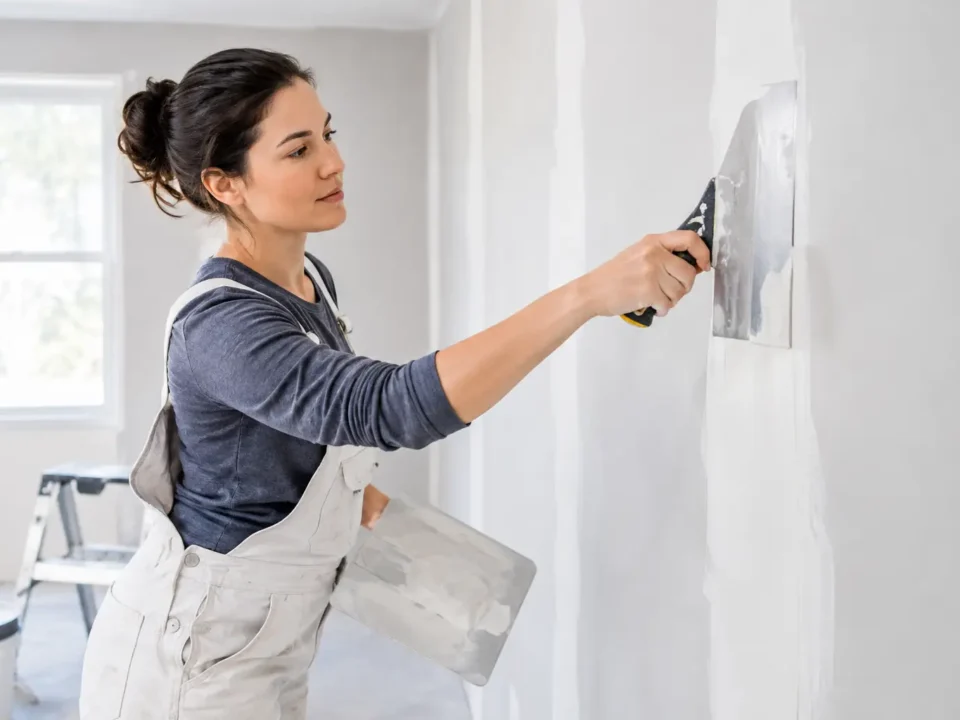
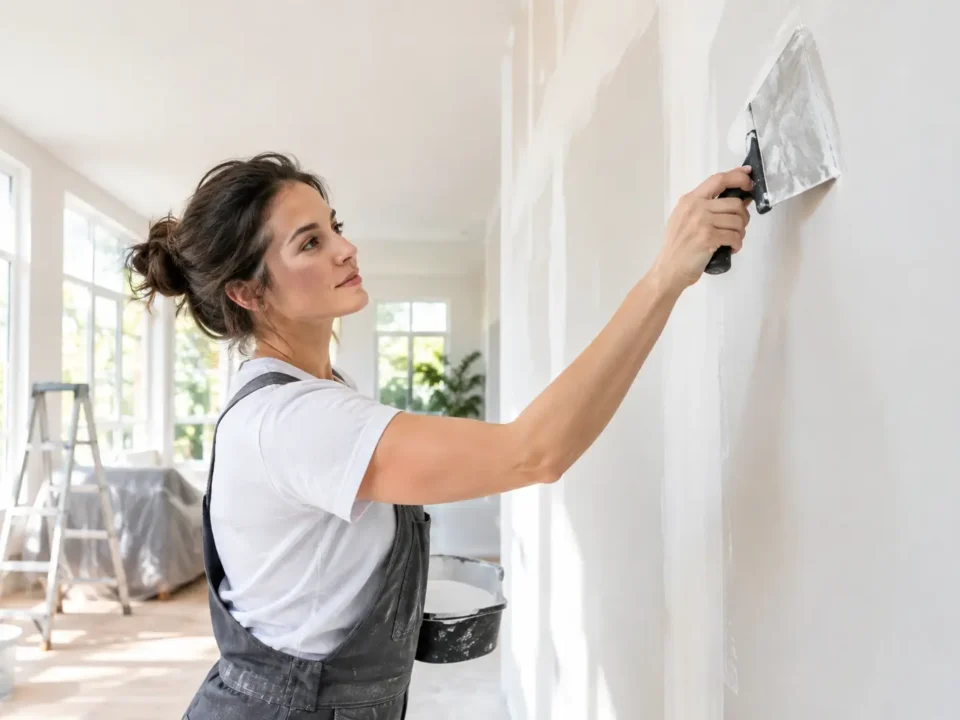
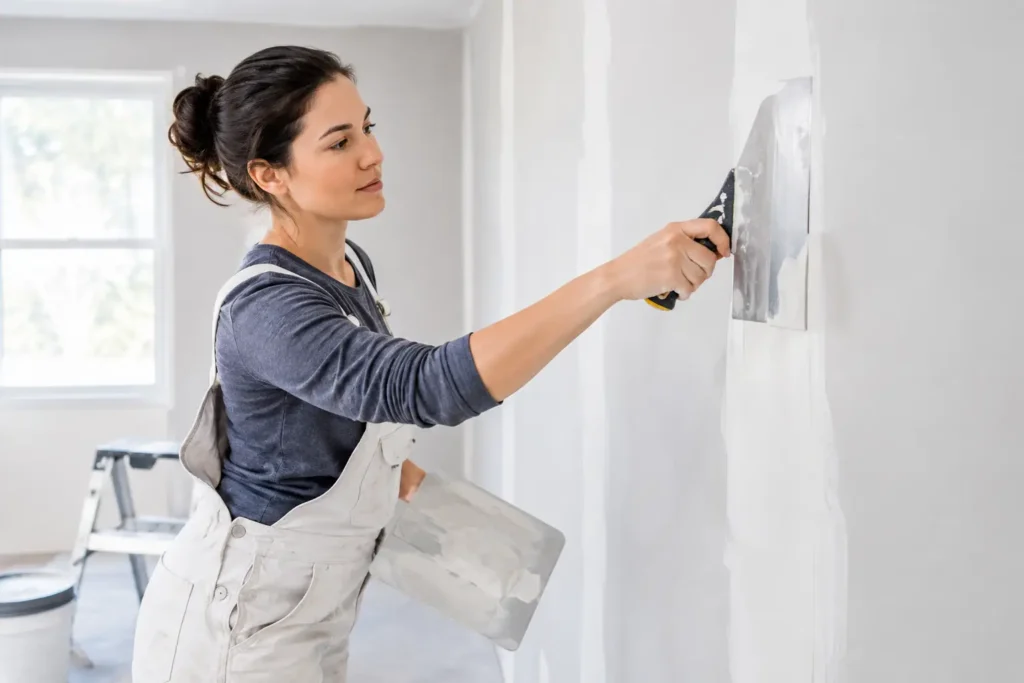
Apply a thin, even bed of compound, embed the tape, and remove excess material with a taping knife. The first coat does not need to look perfect. Its job is to bond the tape, fill screw dimples, and establish a solid base without leaving heavy buildup.
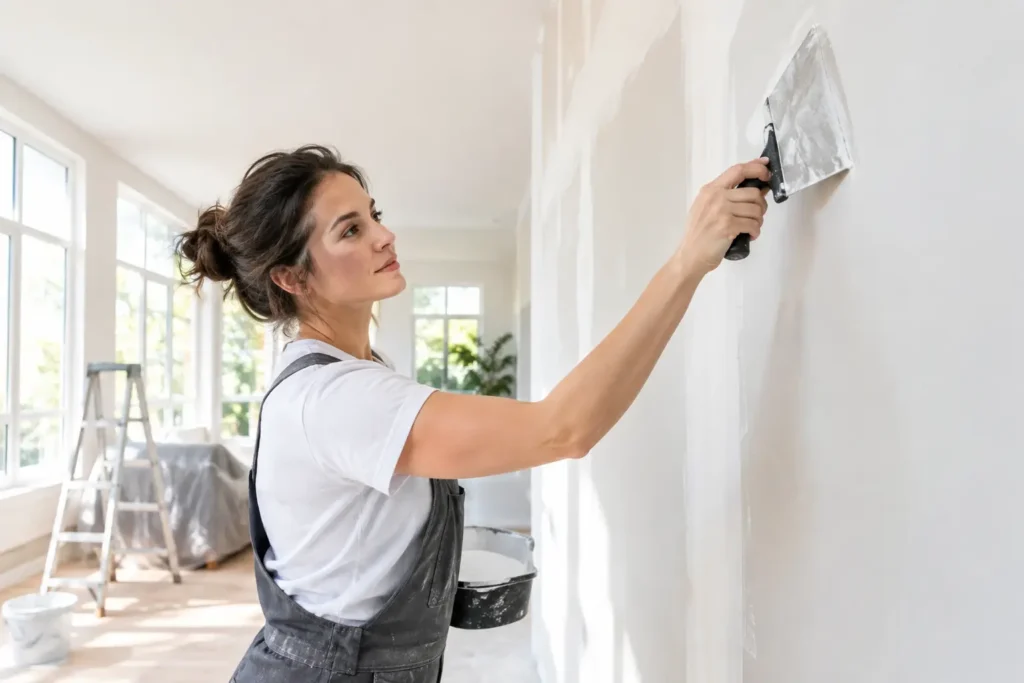
Once dry, apply a wider second coat. Then feather a final coat beyond the previous one. The wider the finished area, the less noticeable the patch will be. This matters most on walls with side lighting, smooth paint, or dark colors, where even a small ridge can cast a visible shadow.
For a typical wall repair, an 8- to 12-inch finish width may be enough. For a large opening or a high-visibility wall, the finish may need to extend 16 inches or more from the seam. There is no benefit to making a patch small if it remains obvious.
Choose the Right Compound for the Job
Premixed all-purpose joint compound is easy to use and suitable for many patches. It offers good working time and is especially useful for taping and final skim coats. Lightweight finishing compound sands more easily, which can help when preparing a wall for paint.
Setting-type compound, often called hot mud, hardens through a chemical reaction instead of simply drying. It is useful when a faster turnaround is needed or when filling deeper areas. The trade-off is that it sets quickly, can be harder to sand, and leaves little room for slow adjustments. It is not always the best choice for a homeowner attempting a first repair.
Avoid applying thick coats to speed things up. Thick compound shrinks as it dries, takes longer to cure, and is more likely to crack or create a soft center. Several thin coats produce a flatter, stronger result.
Sand With Light, Not Just Touch
After the final coat is fully dry, sand lightly with a fine-grit sanding sponge or pole sander. The purpose is to remove edges and minor tool marks, not to sand aggressively into the tape. Over-sanding can expose the tape or fuzz the drywall paper, creating another repair step.
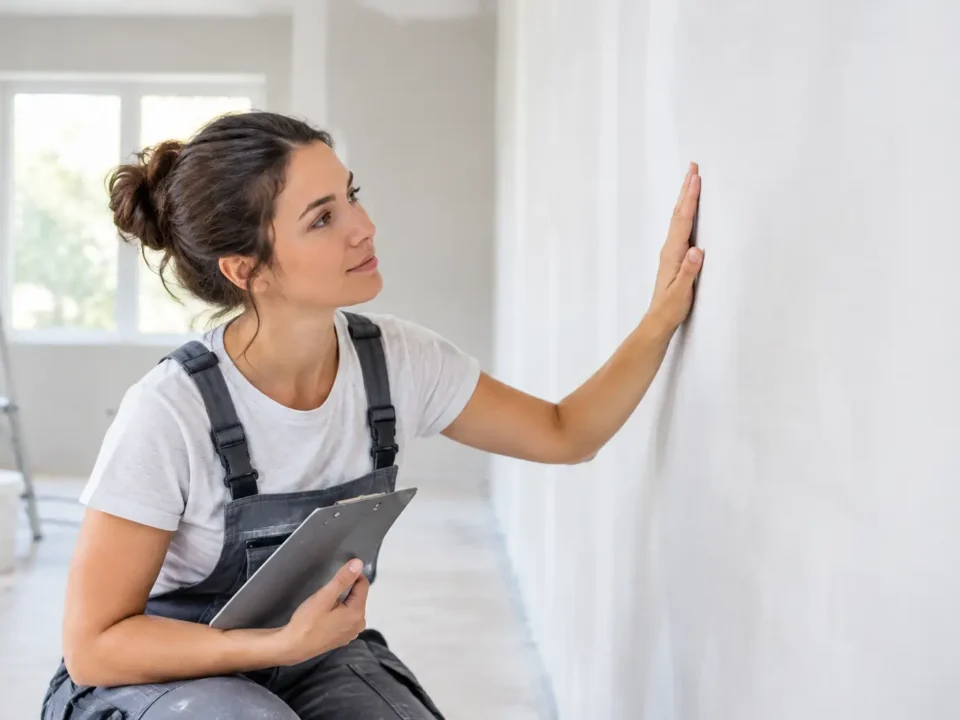
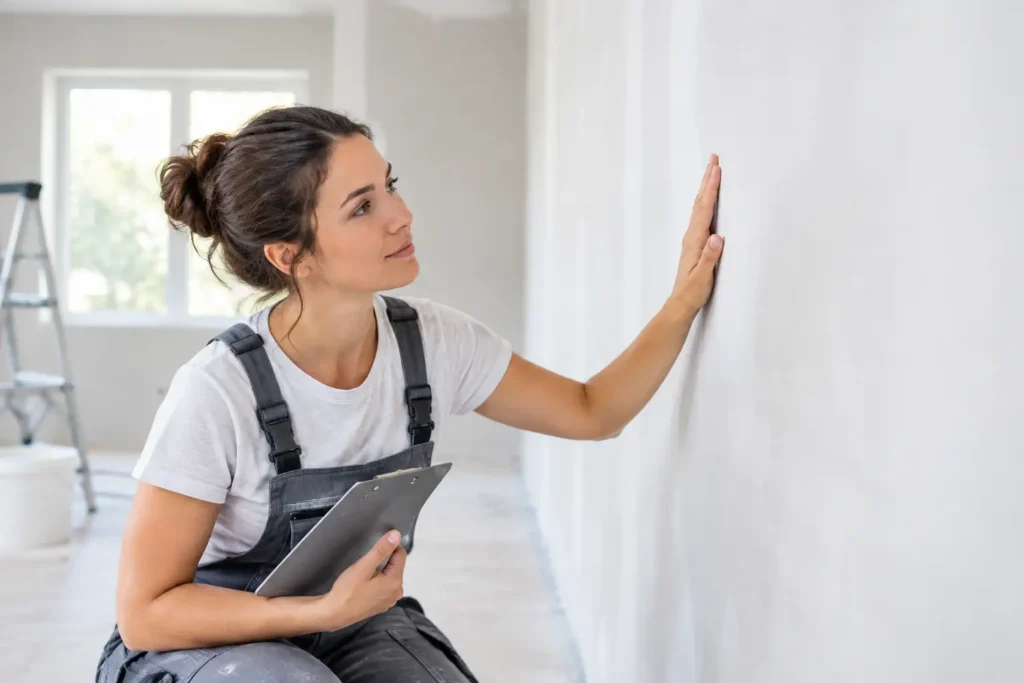
Use a work light held at a low angle across the wall. This reveals ridges, depressions, and uneven feathering that can be missed when looking straight at the surface. Run your hand lightly over the patch as well, but trust the light. Paint will often highlight flaws that fingertips do not catch.
If the wall has an orange-peel, knockdown, or other texture, match it before priming. Texture repair is often where an otherwise solid patch becomes noticeable. Test the technique on cardboard or a hidden area first, particularly if the wall has a heavier spray texture.
Prime Before Painting
Fresh joint compound is more porous than painted drywall. If paint goes directly over it, the patch can absorb paint differently and appear dull or discolored. This issue is called flashing, and it is especially common with satin, semi-gloss, and darker paint colors.
Apply a quality drywall primer over the repaired area, extending slightly beyond the patch. Once the primer dries, inspect the wall again under angled light. Primer often exposes imperfections that were harder to see on bare compound. Make any final touch-ups, spot-prime those areas, and then paint the full wall when possible for the most consistent sheen.
Painting only the patch can work if the paint is fresh and the wall has little fading. In many homes, though, blending a small painted area into an older wall is difficult. Repainting from corner to corner usually gives a cleaner result.
When a Professional Drywall Finish Makes Sense
A small outlet opening can be a manageable repair. Long wiring channels, ceiling cuts, multiple patches, textured surfaces, or walls painted in a deep sheen are a different level of work. The same is true when the wall must meet a high visual standard before listing a home, completing a renovation, or turning over a commercial space.
Professional taping and finishing is especially valuable when repairs cross several rooms or occur in prominent spaces such as entryways, kitchens, and open-concept living areas. TH Taping handles both minor drywall patches and larger finishing work with the same focus: flat seams, clean surfaces, and a paint-ready result.
A well-repaired wall should not compete for attention with the electrical upgrade that made the opening necessary. Give the patch proper support, allow each coat to dry, and inspect it in real lighting before paint. That extra care is what turns a covered hole into a finish that belongs in the room.