Water Damage Repair Case Study: Ceiling Restored

A Popcorn Ceiling Makeover Case Study Done Right
6 septiembre, 2026
Hamilton Office Drywall Restoration That Lasts
10 septiembre, 2026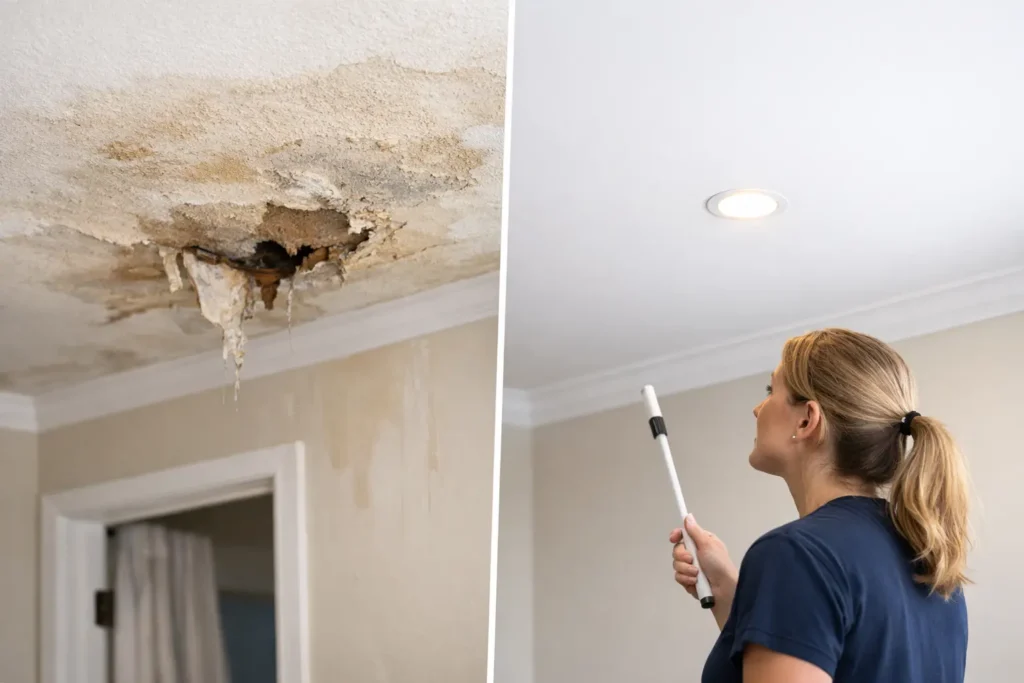
A brown ceiling stain can look like a small cosmetic problem until the drywall begins to sag, the tape joints loosen, or the odor of trapped moisture appears. This water damage repair case study follows a representative ceiling repair project and shows why the visible patch is only the final step. The real work is finding the full extent of the damage, removing compromised material, and rebuilding the surface so it looks clean under paint and natural light.
For homeowners, property managers, and contractors, the lesson is simple: drying a leak is necessary, but it does not automatically restore damaged drywall. A professional finish requires a controlled repair process from the framing to the final skim coat.
The Call: A Stained Ceiling After a Plumbing Leak
The project began after a second-floor plumbing leak affected a main-floor living room ceiling. The water source had already been repaired, but a wide yellow-brown stain remained near a recessed light. The homeowner also noticed a slight ripple in the ceiling surface when sunlight came through the front window.
That ripple mattered. Water does not always damage drywall in a neat circle directly below the leak. It can travel along framing, collect at seams, soften joint compound, and wick into insulation. Cutting only the obvious stain may leave weakened drywall or damp materials behind.
The first priority was not applying stain-blocking primer. It was confirming that the area was dry and identifying which parts of the ceiling could no longer provide a stable base for finishing.
What the inspection revealed
The stained area was about four feet wide, but the affected section extended beyond it. Moisture had softened the paper face of the drywall around a taped joint, and the joint compound had begun to separate in a narrow line. The ceiling framing was sound, but insulation above the damaged section needed attention before the drywall could be closed again.
This is a common point where shortcuts create repeat problems. If soft drywall or loose tape is covered with more compound, the repair may look acceptable for a short time. Once the ceiling expands and contracts with seasonal conditions, the weak seam can crack or telegraph through the paint.
Water Damage Repair Case Study: The Repair Plan
The repair plan focused on protecting the room, removing only what could not be saved, and matching the ceiling finish as closely as possible. Since the ceiling was smooth rather than textured, every transition had to disappear. Smooth ceilings are unforgiving, especially around windows, pot lights, and overhead fixtures where side lighting reveals uneven work.
The team first contained the work area with floor protection and dust-control measures. Furniture was moved or covered, and the repair zone was prepared to keep demolition debris and sanding dust from spreading through the home.
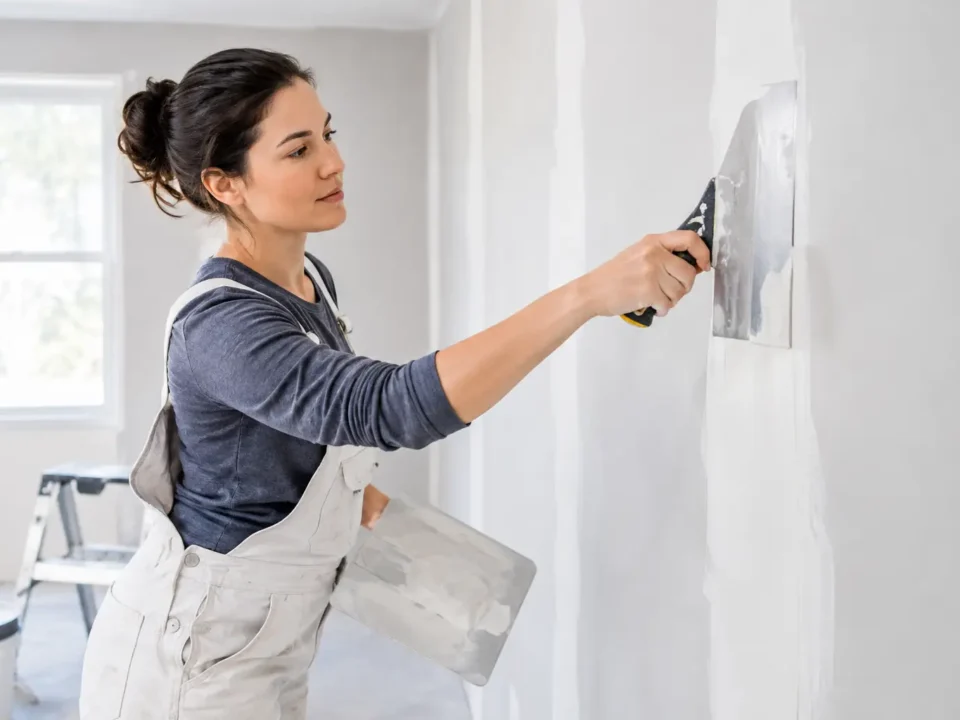
Next, the damaged drywall was cut back to clean, solid material. The cut was extended to practical framing lines rather than leaving a small irregular opening. This created a stronger patch layout and gave the replacement drywall secure backing.
The insulation and ceiling cavity were checked before new board went in. Drywall finishing should never be used to hide an active moisture issue. If the source is not repaired or the cavity is still damp, even a carefully completed level 5 finish can fail.
Why controlled removal made the difference
It can feel wasteful to remove drywall outside the visible stain, but the trade-off is clear. A slightly larger, properly supported repair is more reliable than a small patch attached to softened edges. The goal is not to preserve every inch of material. The goal is to create a stable surface that will remain flat after painting.
In this case, the removal area was limited enough to avoid unnecessary disruption, while still reaching dry, undamaged drywall. That balance is important in occupied homes and commercial spaces where downtime and dust need to be controlled.
Rebuilding the Ceiling for a Clean Finish
A new drywall section was installed flush with the existing ceiling. Correct board placement is the foundation of the finish. If the patch sits proud, recessed, or unsupported at an edge, more compound will not truly correct the issue. It may hide it temporarily, but light will eventually expose the contour.
The seams were taped and finished in multiple stages. Each coat of compound had time to dry before the next was applied, and the edges were feathered well beyond the joint. Wider feathering reduces the chance of a visible ridge, especially on a large smooth ceiling.
For a standard paint-ready ceiling, a level 4 finish may be appropriate. In this living room, however, the light from the window and the homeowner’s preference for a premium smooth appearance made a level 5 finish the better choice. A final skim coat was applied across the repaired area and blended into the surrounding ceiling.
A level 5 finish is not needed for every water damage repair. It depends on the lighting, paint sheen, ceiling texture, and expectations for the room. Flat paint can be more forgiving than eggshell or satin, while a ceiling with direct natural light often benefits from the extra preparation.
Sanding, inspection, and paint preparation
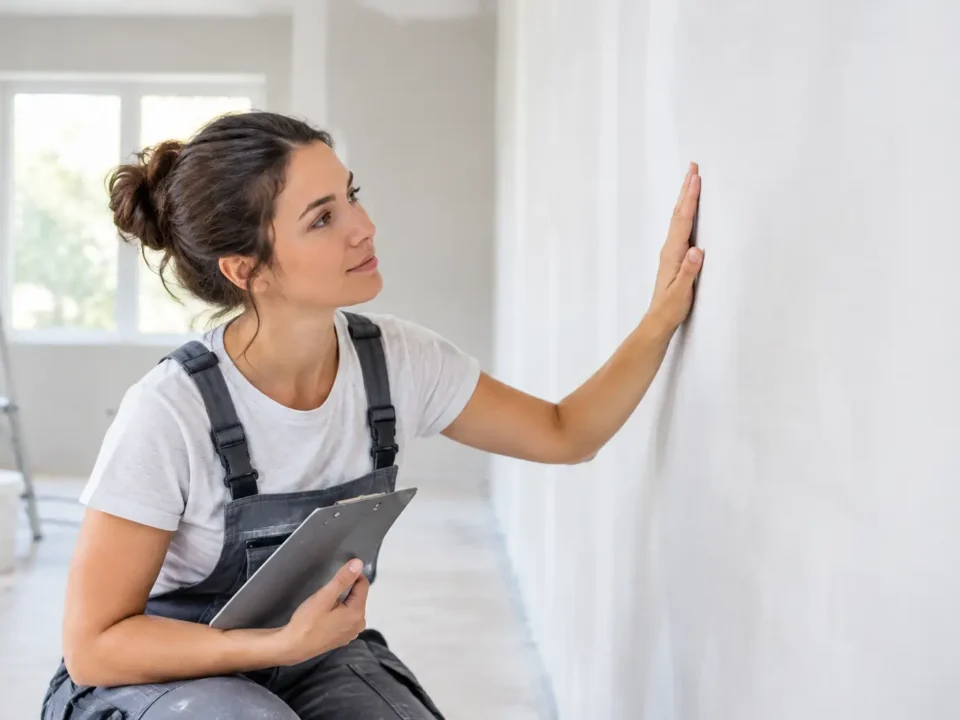
Once the finish dried, the area was sanded carefully and checked from several angles. Looking straight up is not enough. A ceiling can seem smooth from one position while showing a ridge from the side.
The final inspection focused on the repaired seams, the perimeter of the new board, and the transition into the existing ceiling. Any minor imperfections were addressed before paint preparation. This stage requires patience because paint does not hide poor drywall work. In many cases, it makes it more noticeable.
The ceiling was then ready for primer and paint. Because the original stain came from water, the painting process should include the right stain-blocking preparation. But primer is the finishing step, not the repair strategy. The clean result came from sound drywall, solid joints, and an even finish underneath.
The Result: No Visible Patch Line
The completed ceiling had a clean, continuous appearance with no sagging board, loose tape, or visible transition around the repaired section. More importantly, the repair addressed the conditions that could lead to future cracking or staining after the paint dried.
For the homeowner, the result was not just a ceiling that looked better. It was confidence that the damaged material had been removed and the surface had been rebuilt correctly. That is especially valuable when preparing a home for sale, completing a renovation, or restoring a room after an unexpected leak.
What This Case Study Shows Homeowners and Contractors
Water damage repairs are rarely just about filling a hole. The quality of the final result depends on a few decisions made before the first coat of compound is applied: whether the leak is fully resolved, whether the cavity is dry, whether compromised drywall is removed, and whether the finish level matches the room.
A quick patch can be the right option for a small, dry area with no soft board or loose seams. A larger repair is the better investment when water has affected taped joints, insulation, or the drywall paper face. The right scope depends on the condition of the materials, not only on the size of the stain.
TH Taping handles minor drywall repairs and detailed ceiling finishing with the same focus on clean surfaces and durable results. For water-damaged walls or ceilings in Niagara Region, St. Catharines, or Hamilton, an early assessment can prevent a small repair from becoming a much larger one.
If a stain is spreading, drywall feels soft, or a ceiling line is beginning to crack, do not wait for paint to solve it. Address the moisture source, inspect the material behind the surface, and rebuild the damaged area with a finish that belongs in the room.