
Drywall Emergency Repair Guide for Fast Action

Your Guide to Seamless Ceiling Refinishing
14 agosto, 2026
Best Wall Prep Steps Before Painting That Last
18 agosto, 2026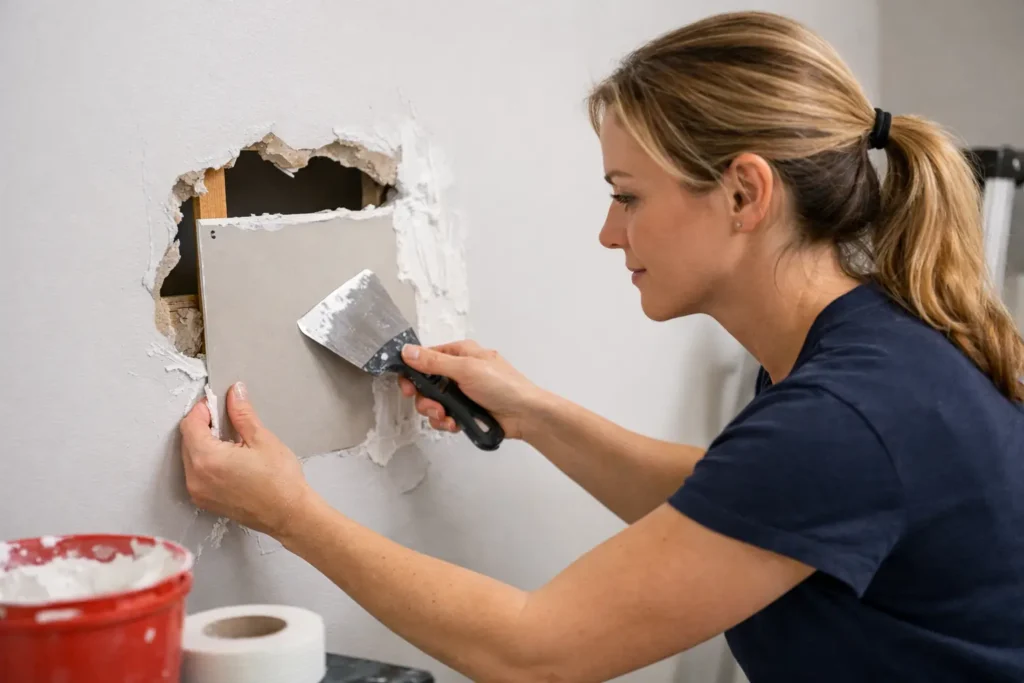
A leaking pipe can turn a clean ceiling into a stained, sagging safety concern in a matter of hours. A moving accident, plumbing repair, or tenant damage can also leave an exposed hole exactly when you need the room usable. This drywall emergency repair guide helps you take the right first steps, protect the space, and avoid turning a small repair into a larger restoration.
The priority is not making the wall look perfect on day one. It is stopping the cause of damage, checking for hazards, drying the area properly, and creating a stable surface. The final finish comes after the wall or ceiling is safe and dry.
Start With Safety and Stop the Cause
Before touching damaged drywall, find out what caused it. If water is involved, stop the leak at the source if you can safely do so. Shut off the local water valve or the main supply when necessary. For a roof leak, place a container beneath the drip and move furniture, electronics, and rugs away from the area.
Never assume a wet ceiling is stable. Drywall becomes heavy when saturated, and a bulging section may collapse without much warning. Keep people out of the immediate area. If there are ceiling lights, outlets, or wiring close to the water damage, turn off power to that circuit before working nearby. When you are unsure whether water has reached electrical components, call a qualified professional.
A hole caused by impact has different risks. Check for sharp metal corner bead, loose drywall pieces, exposed wiring, plumbing lines, or signs that a stud has been damaged. Do not push blindly into a wall cavity. A quick patch is only useful if the area behind it is safe.
Drywall Emergency Repair Guide: What Can Wait?
Some drywall damage is cosmetic and can wait for a scheduled repair. A small dent, shallow gouge, or hairline crack without movement is usually not an emergency. Cover sharp edges, keep the area clean, and arrange a proper repair when convenient.
Water damage, active leaks, large holes, sagging ceilings, and damaged fire-rated assemblies are different. They need prompt attention because drywall is part of the building envelope, and in many commercial spaces it may also be part of a fire or sound separation. A temporary cover can reduce exposure, but it should not replace the correct repair.
Treat the following as urgent:
- A ceiling is bulging, dripping, cracking, or pulling away from framing.
- Drywall is wet from a plumbing leak, flood, roof leak, or appliance failure.
- A hole exposes insulation, wiring, pipes, or an occupied area to dust and drafts.
- Damage affects a shared wall, stairwell, corridor, or commercial unit where safety and access matter.
- You see dark staining, musty odor, soft drywall, or visible mold after moisture damage.
If the damaged area is extensive, if water has traveled beyond the visible stain, or if the ceiling is unstable, professional assessment is the safer decision. Drywall repairs look simple only when the underlying problem has already been solved.
Containing Water-Damaged Drywall
Once the leak is stopped and electrical concerns are addressed, protect the room. Move belongings, lay down plastic or absorbent coverings, and take clear photos of the damage before removing material. Photos can help with property records, insurance discussions, and planning the repair scope.
A small wet wall section may dry successfully if it was exposed briefly and the cavity is opened, ventilated, and dried promptly. However, drywall that is swollen, soft, crumbly, or visibly moldy should usually be removed. The paper facing traps moisture and can support mold growth. Painting over a water stain or running a fan across a soaked ceiling does not solve what is happening inside the cavity.
For a sagging ceiling, do not stand directly underneath it or try to press it back into place. If there is an active water pocket and you can safely access the area from the side, controlled drainage may reduce the risk of a sudden collapse. But this is not a job to force if wiring, heavy saturation, or a large affected area is present. Safety comes first.
Drying should continue until framing and surrounding materials are fully dry. Fans and dehumidifiers can help, but they are not a substitute for removing damaged material where moisture is trapped. Rushing to tape, mud, and paint before the area is dry can lead to recurring stains, loose joints, and failed repairs.
Handling Holes, Cracks, and Impact Damage
For a small clean hole, a temporary patch may keep dust and drafts out until the final repair. Cut away loose paper and broken gypsum around the opening rather than covering unstable edges. A solid patch needs a clean opening, backing support where required, joint tape, joint compound, sanding, primer, and paint.
Larger holes need more than surface compound. The replacement drywall must be supported by framing or a secure backing, installed flush with the existing board, and taped correctly. If the patch sits proud, sinks inward, or is not properly supported, the finished wall will show the repair under normal lighting.
Cracks deserve a closer look. A straight crack at a drywall seam can result from movement, poor taping, or seasonal changes. A crack that widens, runs diagonally from doors or windows, or returns soon after repair may point to framing movement or another underlying issue. In those cases, repairing the surface alone may only hide the symptom temporarily.
For rental properties and commercial spaces, document the damage before repair work begins. Clear records help establish the cause, support maintenance planning, and show that hazards were addressed promptly.
Why the Finish Still Matters After an Emergency
An emergency repair is complete only when the surface looks intentional again. Poorly blended patches often show through paint as raised seams, visible tape lines, flashing, or uneven texture. Ceiling repairs are especially unforgiving because side lighting reveals every ridge and sanding mark.
The required finish depends on the room, lighting, and paint choice. A standard Level 4 finish works well for many painted walls with normal lighting. Spaces with smooth ceilings, large windows, dark paint, gloss paint, or strong directional lighting may need a Level 5 finish for a cleaner result. The higher level requires additional skim coating and detail work, but it can be worth it when the surface will be highly visible.
Texture matching is another consideration. A patch on a textured ceiling may need to blend with orange peel, knockdown, or another existing finish. A patch can be structurally sound and still look out of place if the texture, primer, and paint sheen do not match.
This is where skilled taping and finishing make the difference. The goal is not simply to cover a hole. It is to restore a flat, durable surface that disappears once painted.
When to Call a Drywall Repair Professional
Call for professional help when there is active or previous water intrusion, a damaged ceiling, a large opening, mold concerns, repeated cracking, or a repair in a high-visibility area. It is also the right choice when you need the work completed quickly without leaving dust, uneven joints, or unfinished surfaces behind.
For homeowners, property managers, contractors, and commercial clients in Niagara Region, St. Catharines, and Hamilton, TH Taping can assess the damaged area, complete the necessary drywall repair, and deliver a clean finish ready for paint. Fast response matters, but correct preparation and precise finishing are what keep the repair from becoming a repeat problem.
After the immediate issue is under control, give the repair the time and attention it needs. A dry, stable wall with a properly blended finish protects the space and lets the room feel normal again.






