
Top Drywall Repair Mistakes Homeowners Make

8 Best Ceiling Texture Alternatives for a Clean Look
3 agosto, 2026
How to Spot Poor Drywall Finishing Before Paint
7 agosto, 2026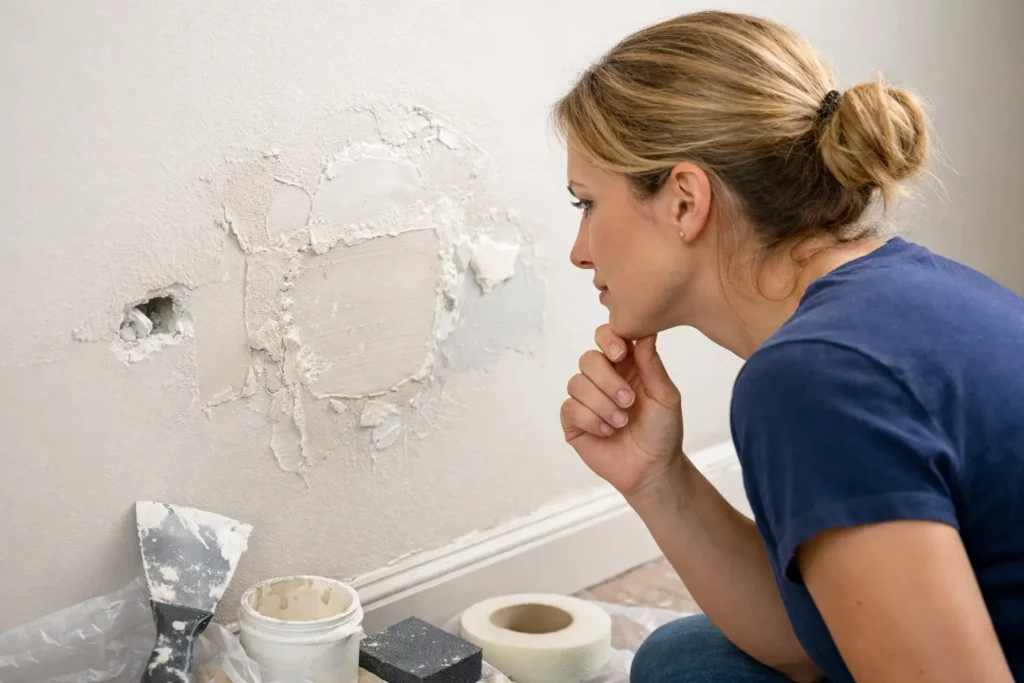
A drywall patch can look finished the moment the hole disappears. Then the paint dries, afternoon light hits the wall, and the repair announces itself with a raised edge, a visible seam, or a dull spot that does not match the surrounding surface. The top drywall repair mistakes usually happen before the last coat of paint, and they are the reason a small repair can turn into a bigger project.
For homeowners, property managers, and contractors, the goal is not simply to fill damage. It is to restore a wall or ceiling so the repair blends into the existing finish and stays that way. That takes sound preparation, the right materials, patience between coats, and careful sanding.
Top Drywall Repair Mistakes That Ruin the Finish
Skipping the cause of the damage
Repairing the visible hole or crack without finding out why it happened is one of the most expensive mistakes. A crack near a door frame may come from normal seasonal movement, but it can also point to loose framing, a poorly supported seam, or repeated impact. A stained ceiling patch may be the result of an old leak, or a leak that is still active.
If moisture, movement, or a plumbing issue is not corrected first, new joint compound will not solve the problem. The patch may look clean for a short time, then crack, stain, or soften again. Drywall should be repaired only after the surrounding area is dry, stable, and free of the issue that caused the damage.
Patching over weak or loose drywall
A clean patch needs a solid base. It will not hold properly if the drywall around the hole is crumbling, water-damaged, bowed, or loose from the framing. Small dents can often be filled directly, but larger openings need damaged material cut back to firm, square edges.
For holes larger than a few inches, a patch needs support behind it. That may mean adding backing boards or replacing a section between studs. Trying to bridge a large opening with tape and compound alone can create a soft, flexible repair that cracks with normal wall movement.
Choosing the wrong tape
Paper tape, mesh tape, and patch materials all have a role, but they are not interchangeable. Paper tape is commonly used for flat seams and inside corners because it creates a strong, crisp bond when properly embedded. Mesh tape can be useful for certain repairs, especially when paired with setting-type compound, but it is more prone to cracking when it is used carelessly on joints that move.
The mistake is not using one type of tape over another. The mistake is applying tape without enough compound underneath, leaving bubbles, or assuming a self-adhesive mesh patch eliminates the need for a properly feathered finish. Tape reinforces the repair. It does not replace technique.
Applying compound too thick
Heavy coats seem like a shortcut. In practice, they create more sanding, more shrinkage, and a greater chance of visible ridges. Joint compound is designed to be applied in thin, controlled layers. The first coat secures the tape or fills the repair. The next coats widen the transition so the patched area gradually disappears into the wall.
A repair may need three coats, sometimes more, depending on the size of the patch, the wall texture, and the lighting in the room. Thin coats take less effort to sand and produce a stronger-looking result. When a repair is built up in one thick pass, drying time becomes uneven and the center may remain soft after the surface appears dry.
Not feathering wide enough
Drywall finishing is about controlling transitions. A patch can be structurally sound and still look poor because the compound was feathered only an inch or two beyond the repair. The result is a raised oval that becomes obvious after priming and painting.
The larger the repair, the wider the finish should be. A narrow seam may need a modest feathered edge, while a larger wall patch often needs compound spread well beyond the opening. This is especially true on ceilings, long walls, and areas with side lighting from windows. A wide, gradual transition is what makes a repair visually disappear.
Preparation Errors That Show Up After Paint
Sanding too early or too aggressively
Joint compound must dry completely before sanding. Sanding a damp coat tears the surface, clogs sandpaper, and creates uneven areas that require more compound. Drying time depends on the product, coat thickness, temperature, humidity, and ventilation. A basement or recently repaired water-damaged area can take much longer than a dry, well-ventilated room.
Over-sanding causes a different problem. It can expose tape, round off a corner, or leave low spots around the repair. Use a sanding block or pole sander to keep pressure even, and focus on smoothing edges rather than grinding down the entire patch. A work light held at a low angle will reveal ridges and depressions before paint does.
Ignoring dust and surface contamination
Drywall dust is fine enough to settle everywhere, including on the patch itself. If it is not removed before priming, paint may not bond consistently. The surface can look chalky, uneven, or dull compared with the rest of the wall.
After sanding, vacuum the area and wipe it carefully with a clean, slightly damp microfiber cloth. Do not soak the repair. If there are greasy fingerprints, smoke residue, or water stains, use the appropriate cleaner and allow the surface to dry before priming. Clean preparation is a small step that protects the final finish.
Using the wrong primer or skipping it
Fresh joint compound is porous. If it is painted without primer, it often absorbs paint differently from the surrounding wall. This produces flashing, where the repair has a different sheen or color even when the correct paint was used.
A quality drywall primer or a suitable high-build primer helps equalize the surface before the finish coats go on. Stain-blocking primer may be necessary for old water marks, nicotine stains, or other discoloration. Regular wall paint is not always enough to cover the underlying problem.
Ceiling Repairs Need Extra Care
Ceilings are less forgiving than walls. Light travels across them at an angle, making seams, uneven sanding, and texture mismatches easier to see. A small repair in a smooth ceiling may require a much wider finish area than expected, particularly near windows or recessed lighting.
Textured ceilings bring another challenge. Matching an existing popcorn or orange-peel texture by hand can be difficult, and a poorly matched patch can stand out more than the original damage. If the ceiling has water damage, loose texture, or an outdated popcorn finish, it may make more sense to repair the underlying drywall and refinish a broader section for a consistent appearance.
For smooth ceilings and premium painted spaces, a Level 5 finish can be worth considering. It adds a skim coat over the finished surface to reduce the chance of joint lines and repairs showing through under critical lighting. It is not necessary for every room, but it is often the right choice for open spaces, high-end renovations, and walls with strong natural light.
When a Small Repair Calls for a Professional
DIY repairs are reasonable for minor nail holes, shallow dents, and small scuffs. The trade-off is that a repair can become time-consuming when it involves a crack that keeps returning, a larger opening, water damage, ceiling work, corners, or a finish that must match a highly visible wall.
Professional drywall finishing is especially useful when the repair needs to disappear under smooth paint. Experienced tapers know how to assess movement, select the right tape and compound, build thin coats, and feather the finish for the room’s lighting conditions. They also have the tools to control dust and deliver a consistent result without turning a repair into several weekends of sanding.
TH Taping helps homeowners, property managers, and contractors across Niagara Region, St. Catharines, and Hamilton with minor patches, emergency repairs, drywall taping, smooth ceilings, and high-quality Level 4 and Level 5 finishes. A clear assessment before work begins can prevent a quick patch from becoming a repeat repair.
Before picking up compound, look closely at the damage, the surrounding surface, and the light in the room. The best drywall repair is not the one that merely fills the hole. It is the one you cannot find after the paint has dried.






