
Ceiling Water Damage Repair Done Right

Drywall Patch vs Full Replacement
26 junio, 2026
Guide to Drywall Finishing in Hamilton
30 junio, 2026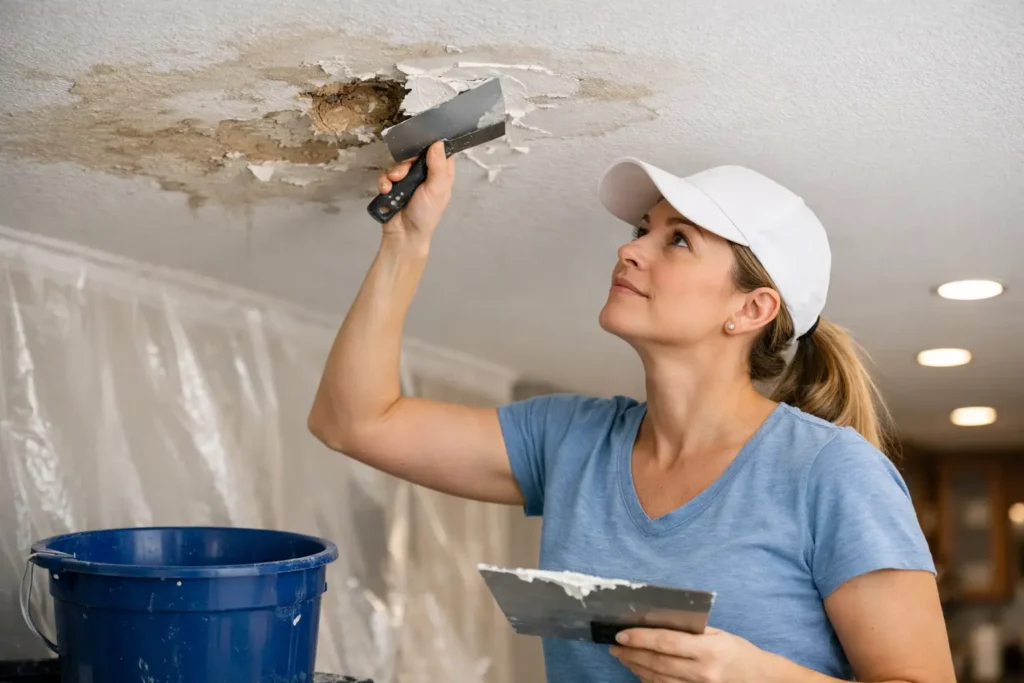
A water stain on the ceiling rarely stays just a stain for long. What starts as a yellow ring or a soft spot can turn into sagging drywall, peeling texture, cracked joints, and paint failure if it is left alone. That is why ceiling water damage repair needs to be handled in the right order – stop the source, assess the damage, dry everything fully, and then rebuild the surface so it looks clean and stays sound.
For homeowners, property managers, and contractors, the biggest mistake is treating the visible mark as the whole problem. The stain is only the symptom. The real issue may be an active roof leak, a plumbing line above, condensation in an attic, or water that spread farther than expected behind the surface. A good repair solves both the cause and the finish.
What ceiling water damage repair really involves
Ceilings can hide more damage than walls because water travels outward before it drops. By the time you notice discoloration, bubbling paint, or a seam opening up, moisture may already have weakened the drywall core or softened the joint compound across a wider section.
That matters because not every damaged ceiling should be patched the same way. A small stain from a one-time issue might need sealing, skim work, and repainting. A ceiling that feels soft, sags between framing, or shows mold staining usually needs removal and replacement of the affected drywall. Trying to mud over compromised material may make it look better for a short time, but the finish often cracks, waves, or fails again.
In practical terms, a proper repair is part moisture response and part finish work. The drying and cleanup protect the structure. The taping, patching, and finishing restore the appearance. If either part is skipped, the result usually shows.
First step: stop the water, not just the stain
Before any cosmetic work starts, the source of the leak has to be identified and fixed. That may mean roof repair, plumbing repair, an HVAC issue, or improving ventilation. If the water source is still active, even a beautifully finished ceiling will be damaged again.
This is where timing matters. If water is still trapped above the ceiling, the damaged section may need to be opened so the cavity can dry. In some cases, that opening is small and controlled. In others, especially after a larger leak, more material has to come down because the drywall has lost strength.
There is also a difference between clean water and contaminated water. A supply-line leak is one kind of repair. Water from a backed-up drain or long-term roof intrusion can bring odor, staining, and sanitation concerns that call for a more cautious approach. The finish plan depends on what the ceiling has been exposed to.
Signs the ceiling needs more than a simple patch
Some ceilings can be repaired locally. Others need a larger cutout and full refinishing across a broader area so the result blends properly. The warning signs are usually easy to spot once you know what to look for.
If the ceiling is sagging, feels spongy, or has drywall tape pulling away at the seams, the core material may be too weak to save. The same is true if nails or screws are popping after the leak, which can happen when framing shifts or the drywall swells and dries unevenly. Repeated staining is another red flag. It often means the moisture issue was never fully solved or the previous repair only covered the surface.
Texture also affects the repair scope. A smooth ceiling demands tighter finishing because imperfections catch the light. Popcorn ceilings and older textured surfaces bring a different challenge – matching the existing look can be harder than replacing a clean section and refinishing more broadly.
Removing damaged material the right way
Once the leak is fixed and the area is safe to work on, the damaged drywall has to be evaluated honestly. If the board is swollen, crumbling, or mold-stained, replacement is usually the better option. Clean cuts to solid material create a stronger, neater repair than trying to save edges that have already broken down.
This step is where quality starts to show. A rough patch with uneven backing, loose edges, or poor fastening may hold for a while, but it tends to print through the finish later. Clean framing attachment, proper backing where needed, and a flat patch set the stage for invisible results.
For property owners, this is often the part that feels frustrating because the opening may look bigger than expected. But making the cut large enough to reach dry, sound material is what prevents recurring problems. A smaller patch is not always the cheaper repair if it has to be redone.
Why the finish stage makes or breaks the repair
After replacement drywall is installed, the real craftsmanship begins. Taping, mudding, sanding, and blending the repaired section into the existing ceiling is what separates a quick fix from a professional result.
Ceilings are unforgiving. Light from windows and fixtures tends to rake across the surface, which highlights every ridge, joint line, and low spot. Even when the damaged area is structurally repaired, poor finishing can leave a ceiling that looks patched forever.
That is why multiple coats, proper drying time, and careful feathering matter. Depending on the ceiling type and the client’s expectations, the repair may call for a standard finish, a high-level smooth finish, or broader skim work to keep the surface visually consistent. On premium interiors, especially where smooth ceilings are part of the design, the finish quality matters just as much as the patch itself.
Matching texture, paint, and appearance
One of the most common questions is whether the repaired area will disappear completely. The honest answer is: it depends.
On a smooth ceiling with a well-executed patch, good priming, and repainting across the right area, the repair can often blend extremely well. On older ceilings, ceilings with layers of paint, or ceilings with dated textures, an exact match may be harder. The best result sometimes comes from repairing the damage cleanly and then refinishing a larger section or the full ceiling plane so the surface looks uniform.
Paint also plays a bigger role than many people expect. Water stains can bleed through if they are not sealed correctly before paint goes on. And if only the patch is painted, the sheen difference may make the repair visible even if the drywall work is excellent. That is why a complete repair plan looks at the finished appearance, not just the hole being closed.
When speed matters most
Emergency response is not only about major flooding. A smaller leak over a living room, hallway, office, or tenant space can still disrupt daily life fast. Wet ceilings raise concerns about collapse, electrical fixtures, insulation, and interior damage below.
In those situations, people usually want two things at once – fast action and a clean final result. Both are possible, but they have to happen in sequence. Immediate containment and removal of unstable material come first. Finish work follows after drying and repairs to the source are complete. Rushing cosmetic work before the substrate is ready usually creates a second round of repairs.
That is one reason specialized drywall and ceiling repair service matters. The job is not just to close the opening. It is to restore the plane of the ceiling so it looks intentional again.
Choosing the right team for ceiling water damage repair
If you are hiring out the work, look for a team that understands both repair and finish quality. Ceiling water damage repair is not only about replacing drywall. It is about knowing how moisture affects the material, when to cut back farther, how to re-tape and blend seams, and how to leave a ceiling looking smooth, straight, and paint-ready.
That matters on small residential jobs and on larger commercial or renovation work alike. Property managers need repairs that hold up and do not create recurring maintenance calls. Homeowners want the stain gone, but they also want the ceiling to look right when the daylight hits it. Contractors need finish work that keeps the project moving without visible patchwork at handoff.
In areas like Niagara, St. Catharines, and Hamilton, quick response can make a real difference when a leak threatens finished interiors. A contractor who can handle both urgent patching needs and high-quality finishing saves time and avoids the handoff problems that happen when too many trades split a small repair.
TH Taping is here to help with ceiling repairs that need more than a quick cosmetic fix. When the source has been addressed, the goal is simple – restore a solid surface, achieve a clean finish, and leave the ceiling looking like the damage never belonged there.
If you are looking at a stain, a sagging section, or a ceiling patch that was never finished properly, trust what you see. Ceilings usually tell you when they need real repair, and acting early gives you the best chance at a cleaner, simpler fix.






