
How to Prepare Drywall for Paint Right

How to Repair Drywall Holes the Right Way
2 junio, 2026
When Do You Need Level 5 Drywall?
6 junio, 2026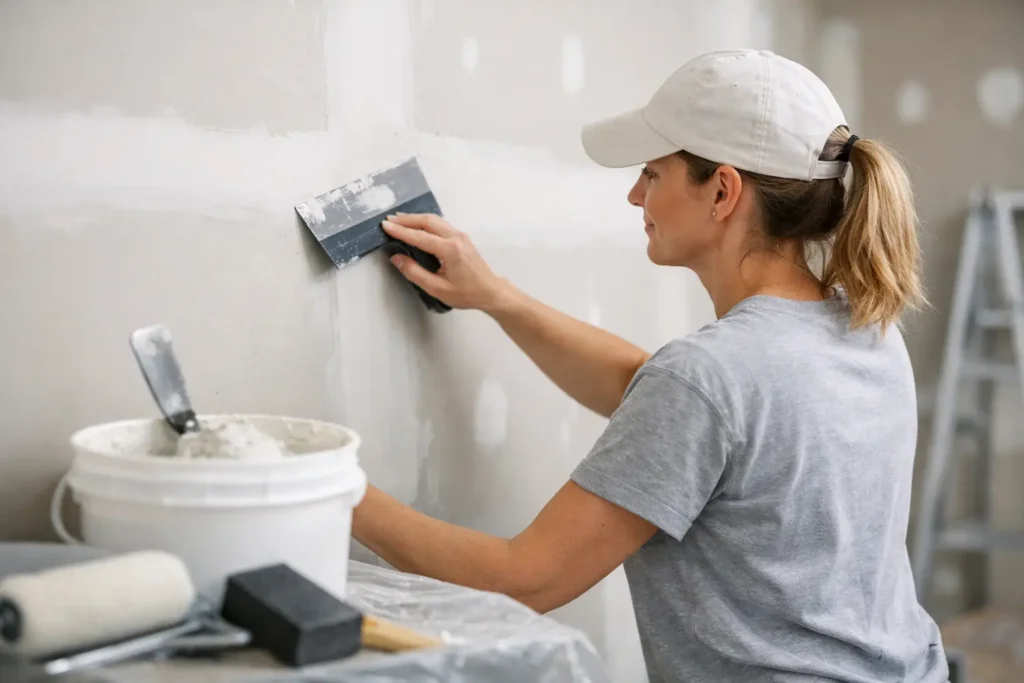
Fresh paint does not hide drywall problems – it exposes them. A wall that looked acceptable before painting can suddenly show every seam, patch, scratch, and sanding mark once the finish coat goes on. If you are wondering how to prepare drywall for paint, the goal is simple: create a surface that looks even, feels smooth, and gives the paint a clean base to bond to.
That process is not complicated, but it does require patience and a careful eye. Small shortcuts during prep usually turn into visible flaws later. Whether you are finishing a new room, touching up repairs, or getting a property ready for tenants or sale, proper prep makes the difference between a decent result and a professional-looking finish.
Why drywall prep matters before paint
Drywall is not naturally ready for paint the moment the boards are hung. Joints need to be taped and finished correctly, screw heads need to disappear into the surface, and patches need to blend into the surrounding wall. Even when those steps are done, the wall still needs final prep before primer and paint.
Paint reflects light. On smooth walls and ceilings, especially in rooms with strong natural light, minor surface issues become easy to spot. This is why prep standards matter even more on large wall areas, long hallways, and ceilings. A wall can be structurally fine and still look unfinished if the surface has ridges, dust, or uneven texture.
How to prepare drywall for paint step by step
The first step is to inspect the drywall closely. Do this in good lighting, and if possible, look across the wall from an angle rather than standing straight in front of it. Angled light helps reveal imperfections like raised joints, shallow dents, tool marks, and rough patches. This is the stage where you catch problems before primer locks your attention onto them.
If the drywall has damage, repair it first. Small dents, popped screws, chipped corners, and hairline cracks should be fixed with the right compound and allowed to dry fully. For larger holes or weak areas, a proper patch is better than trying to fill everything with mud. A rushed repair often shrinks, cracks, or flashes through the paint later.
Once repairs are complete, the surface needs sanding. The goal is not to aggressively grind down the wall. It is to smooth transitions, remove ridges, and feather out any compound so the finished wall looks continuous. Use a fine grit sanding sponge or drywall sandpaper, and focus on seams, corners, patches, and repaired fastener spots. If you sand too hard, you can damage the paper face of the drywall, and that creates another problem that needs sealing.
After sanding, run your hand over the wall. Your eyes matter, but your hand will often find what your eyes miss. If something feels raised, sharp, or uneven now, it will likely still show after paint. This is the point where another skim coat or touch-up may be worth the time.
Clean drywall before primer
Dust is one of the most common reasons paint jobs start off poorly. Drywall sanding leaves a fine powder that settles everywhere, including on the wall itself. If you prime over that dust, adhesion can suffer, and the finish may look chalky, streaky, or rough.
Start by removing loose dust from the wall with a soft brush, dry microfiber cloth, or vacuum with a brush attachment. Be gentle. You want to lift the dust, not grind it into the surface. On trim, baseboards, and floors, clean thoroughly as well, since dust in the room can easily end up back on the wall during painting.
Some contractors use a slightly damp sponge to pick up residual dust, but this takes a light touch. Too much moisture can soften joint compound or raise the paper fibers on unfinished drywall. If you use any moisture at all, make sure the wall is completely dry before moving to primer.
Check the finish level before painting
Not every drywall job is finished to the same standard, and that matters when paint is next. In many residential spaces, a Level 4 finish is appropriate. This gives a smooth, paint-ready surface for standard flat paints and typical lighting conditions. In higher-end spaces, or in rooms with critical lighting and smooth paint finishes, a Level 5 finish may be the better choice.
This is one of those areas where it depends on the room and the expectations. If you are painting a utility space, standard prep may be enough. If you are finishing a living room with large windows or a commercial area with strong overhead light, surface flaws become far more visible. In those cases, extra skim coating and tighter finish work can be worth it.
Prime new drywall the right way
Primer is not optional on new drywall. Bare drywall and joint compound absorb paint differently, which leads to uneven sheen and flashing if you skip the primer. Even if the paint can says paint and primer in one, new drywall still benefits from a dedicated drywall primer.
A quality primer helps seal the surface, even out porosity, and create a more uniform base for the topcoat. This is especially important where you have a mix of exposed drywall paper, finished seams, and patched areas. Without primer, those sections can absorb paint at different rates and leave the wall looking blotchy.
Apply primer evenly and give it enough drying time. Do not judge the wall too quickly while it is still wet. Once it dries, inspect the surface again. Primer often reveals issues that were easy to miss before, such as shallow joint lines, sanding scratches, or patch edges. If you find imperfections, spot repair them, sand lightly, clean the dust, and reprime those areas.
Common mistakes when preparing drywall for paint
One common mistake is painting too soon after mud work. Joint compound must dry fully before sanding, priming, or painting. If it is still damp beneath the surface, you may end up with shrinkage, soft spots, or visible seams later.
Another issue is under-sanding or over-sanding. Under-sanding leaves ridges and tool marks. Over-sanding can fuzz the drywall paper or flatten the surface unevenly around joints. The right approach is controlled, even sanding focused only where needed.
Skipping inspection is another expensive shortcut. Many surface flaws are easy to fix before primer and frustrating to fix afterward. A few extra minutes spent checking the wall in side lighting can save a repaint.
And then there is the temptation to treat every room the same. Ceilings, stairwells, entryways, and long walls often need more careful prep because light moves across them differently. What looks fine in a small bedroom may not look fine in an open-concept space.
When to call a drywall finishing professional
If the drywall is newly installed but not finished properly, paint prep may involve more than a quick sand and primer. Visible butt joints, uneven seams, poor corner finishing, patchy texture, or widespread repairs usually need skilled finishing before paint can deliver a clean result.
This is especially true for smooth ceilings and higher-end wall finishes. These surfaces do not forgive shortcuts. If you are trying to achieve a crisp, polished look in a renovation, rental turnover, or commercial interior, professional prep can save time and prevent the cycle of repainting over flaws that should have been fixed first.
For homeowners, property managers, and contractors, that often comes down to cost versus outcome. Doing prep yourself can work for small touch-ups and simple repairs. But if the walls are large, the lighting is unforgiving, or the finish needs to meet a higher standard, bringing in a team that specializes in drywall finishing is often the smarter move. Companies like TH Taping handle that final surface work with the detail needed to make paint look its best.
A better paint job starts before the first coat
The best paint results are built during prep, not during painting. If you take the time to inspect, repair, sand, clean, and prime correctly, the final color will sit on a surface that actually supports it. And when the wall looks smooth in daylight, under ceiling lights, and from across the room, you know the prep was done right.
If a wall still feels questionable before paint, trust that instinct. It is always easier to fix drywall before the finish goes on than to stare at the flaw afterward.






