
How to Repair Drywall Holes the Right Way

Drywall Finishing Guide for Smooth Walls
31 mayo, 2026
How to Prepare Drywall for Paint Right
4 junio, 2026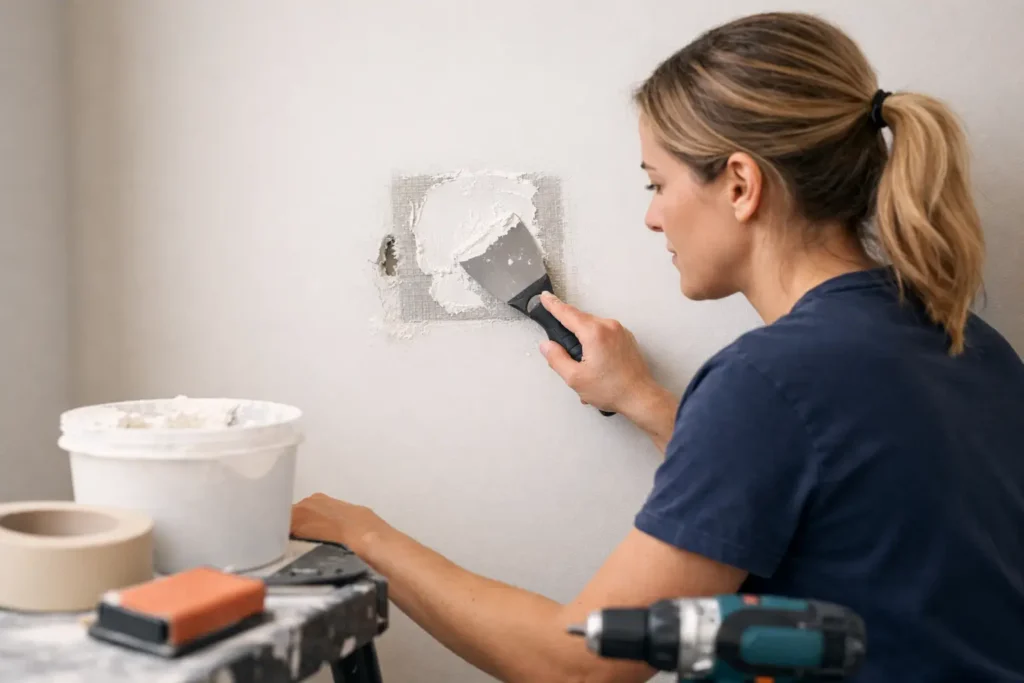
A doorknob hit, a moved shelf, or one bad anchor pull can leave a wall looking worse than the actual problem. If you are searching for how to repair drywall holes, the real goal is not just filling the damage. It is making the repair disappear so the wall looks flat, clean, and ready for paint.
That part matters more than most people expect. A quick patch can close a hole, but if the surface is uneven, the edges flash under paint, or the texture does not blend, the repair keeps drawing attention. Good drywall repair is about structure first, then finish.
How to repair drywall holes based on size
Not every hole gets the same treatment. The right repair depends on how big the damage is, whether the drywall around it is solid, and how visible the area will be once painted.
Very small holes from nails, screws, or picture hooks are usually straightforward. If the paper face around the hole is intact, a light application of spackle or joint compound is often enough. The mistake people make is overfilling. Small repairs need thin coats, not a heavy blob that creates more sanding later.
Medium holes, like damage from wall anchors or a minor impact, often need a patch product or mesh support. These repairs can still be simple, but they need a little reinforcement so the compound does not sink or crack as it dries.
Larger holes are different. Once the opening is wide enough that the drywall has lost support, you are no longer just filling a void. You are rebuilding a section of wall. That means cutting the area cleanly, adding backing if needed, installing a drywall patch, taping the joints, and finishing the surface in stages.
Start with a clean, stable surface
Before you patch anything, inspect the edges. Loose gypsum, torn paper, crumbling corners, and soft drywall all need attention first. If you apply compound over unstable material, the repair may fail even if it looks fine on day one.
Use a utility knife to trim ragged edges and remove any loose paper. If the drywall paper is torn and fuzzy, cut it back to a clean edge. Press gently around the hole. If the wall feels soft or damaged beyond the visible opening, widen the repair area until you reach solid material.
This is also the time to ask why the hole happened. If moisture caused the damage, patching alone is not enough. If the hole came from repeated impact, a stronger repair may make more sense. A clean finish starts with solving the actual condition behind the wall damage.
How to repair small drywall holes
For nail holes, screw holes, and other minor damage, keep it simple. Apply a thin coat of lightweight spackle or joint compound with a putty knife, pressing the material into the hole and scraping the surface nearly flush. Once it dries, sand lightly and add a second skim coat only if the patch shrinks.
The goal is not to leave material sitting proud of the wall. You want just enough fill to level the surface. On a smooth wall, even a slight hump will show after paint, especially in side lighting.
For slightly larger holes, around one to two inches, a self-adhesive patch can work well if the surrounding wall is in good shape. After placing the patch, apply joint compound over it in thin, wide coats. The first coat covers the patch. The next coats feather the repair outward so the transition disappears.
Rushing this step is where most DIY results fall short. The patch itself may be secure, but if the compound is not spread wide enough, the wall ends up with a visible bump.
Repairing larger holes the professional way
When the damage is several inches wide or more, the best result usually comes from a cut-out patch. Start by squaring the damaged area into a neat rectangle. Clean lines make it easier to fit a new piece of drywall and create a stronger repair.
If there is no framing behind the opening, install backing strips inside the wall and screw them into the existing drywall. Then cut a new drywall piece to fit the opening and fasten it securely. At this point, the wall is structurally repaired, but visually it will still need finishing.
Tape the seams with paper tape or mesh tape, depending on the repair approach and your comfort level. Then apply joint compound in multiple coats. The first coat embeds the tape and fills the joint. The second and third coats widen the finished area and smooth out the transitions.
This is where patience pays off. Thick coats take longer to dry, shrink more, and usually crack or require heavy sanding. Thin coats give you more control and a flatter finish.
Sanding is where the repair is won or lost
A lot of people focus on the patch itself, but sanding determines how the repair looks under paint. If you sand too aggressively, you expose tape or create low spots. If you sand too little, ridges and knife lines remain visible.
Use a fine sanding sponge or fine grit sandpaper and keep your pressure even. Run your hand across the wall as much as you look at it. Your fingertips catch imperfections that your eyes can miss.
Lighting helps too. Shine a work light across the wall from the side. Any hump, edge, or shallow dip will show immediately. If you find one, do not try to sand every problem away. Sometimes the better move is another skim coat, allowed to dry fully, followed by a light finish sand.
Matching texture and paint
A smooth patch on a textured wall stands out, and a rough patch on a smooth wall does the same. Before painting, make sure the repaired area matches the surrounding surface as closely as possible.
For smooth walls, this usually means a clean skim coat and careful sanding. For orange peel or knockdown textures, matching the pattern can be the hardest part of the repair. Spray texture products can help on small jobs, but results vary. On highly visible walls or ceilings, texture blending often takes a practiced hand.
Priming is not optional. Joint compound absorbs paint differently than painted drywall, so if you skip primer, the patch can flash through as a dull spot or uneven sheen. A quality primer seals the repair and helps the finish coat look consistent.
Even then, paint matching depends on age, sun exposure, and finish level. Sometimes touching up only the patch works. Sometimes the wall needs to be painted corner to corner to avoid a noticeable difference. It depends on the color, sheen, and how visible the area is.
Common mistakes that make drywall repairs obvious
Most bad drywall repairs are not caused by the wrong product. They come from doing the right step too quickly.
Overfilling the hole is one of the most common issues. It seems faster, but thick compound creates lumps, shrinks as it dries, and adds extra sanding. Another problem is patching over loose paper or weak drywall. The repair may hold briefly, then bubble, crack, or separate.
People also tend to make repairs too small. They treat only the hole itself instead of feathering out into the surrounding wall. That leaves a visible edge after paint. On larger repairs, poor support behind the patch can lead to movement and cracking at the joints.
Then there is finishing. If the wall is not primed, if the texture is off, or if sanding marks are left behind, the repair stays visible no matter how neatly the hole was filled.
When it makes sense to call a drywall pro
Some wall damage is worth handling yourself. Small holes in low-visibility areas can often be repaired successfully with basic tools and time. But not every patch is a good DIY candidate.
If the hole is large, the wall has texture, the repair is in a high-visibility area, or the finish needs to meet a professional standard before painting, bringing in a specialist usually saves time and frustration. The same goes for ceiling damage, recurring cracks, or repairs tied to moisture or movement.
For homeowners, property managers, and contractors, the real value is not just getting the hole closed. It is getting a flat, paint-ready surface that does not call attention to itself later. That is especially true in renovated spaces, commercial interiors, and rooms with strong natural light where every flaw shows.
At TH Taping, that finish-first mindset is what separates a patch that is merely acceptable from one that actually blends in.
A drywall hole can look minor until the repair dries, the paint goes on, and the patch still shows from across the room. If you want the wall to look right, take the extra time to prep cleanly, build the repair in thin stages, and finish for the light the room actually gets. That is what makes the difference between covering damage and truly fixing it.






