Does Drywall Need Primer? Before You Paint

Drywall Repair or Ceiling Replacement? Know When
12 octubre, 2026
St Catharines Drywall Reviews: What to Look For
16 octubre, 2026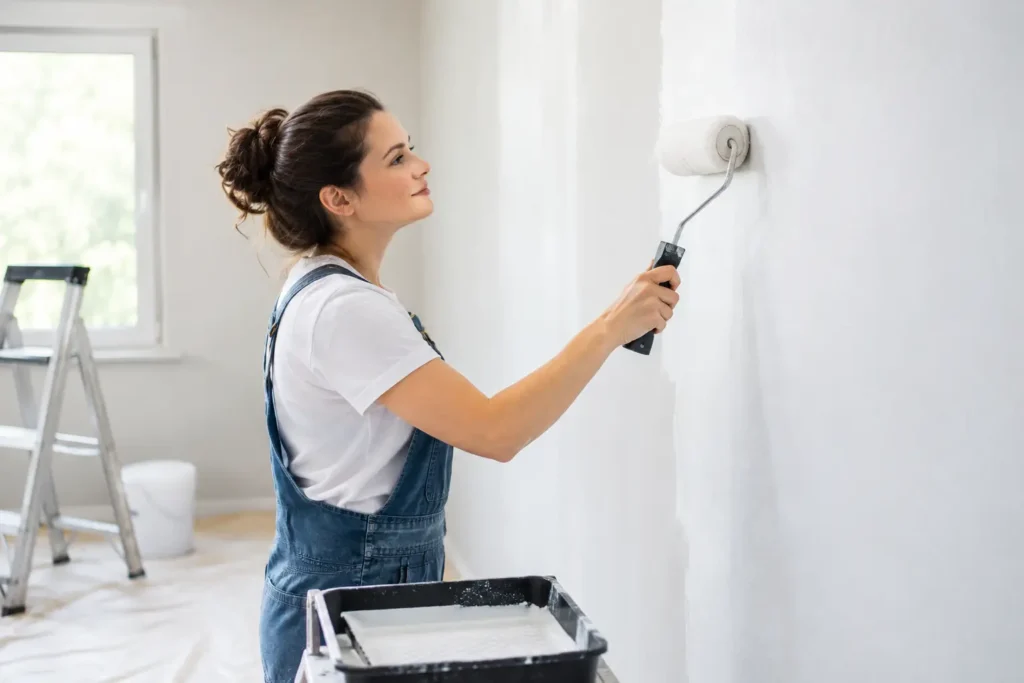
Fresh drywall can look smooth and ready for color, but does drywall need primer before painting? In nearly every case, yes. Primer is what helps a new wall, ceiling repair, or patched area accept paint evenly instead of showing dull spots, flashing, or visible seams after the final coat dries.
Skipping this step can save a few hours at the start of a project, then cost more time and material when the painted surface looks uneven. For homeowners, property managers, and contractors, primer is not an extra step for perfectionists. It is the foundation for a clean, durable finish.
Does Drywall Need Primer Before Painting?
New drywall should be primed before paint is applied. Drywall has two very different surfaces: the absorbent paper facing and the joint compound used over seams, screw heads, corners, and repairs. Even when the finishing work is smooth, those materials absorb paint at different rates.
Without primer, the compound can soak up paint while the drywall paper holds it closer to the surface. The result is often flashing: areas that look different in sheen or color depending on where you stand and how light hits the wall. This is especially noticeable with darker colors, satin or semi-gloss paint, and strong natural or recessed lighting.
A proper drywall primer seals the wall more consistently. It gives the finish paint a uniform surface to bond to, improves color consistency, and helps reduce the number of finish coats needed. It also makes a major difference on ceilings, where raking light can expose every variation in texture and sheen.
Why Primer Matters After Drywall Taping and Finishing
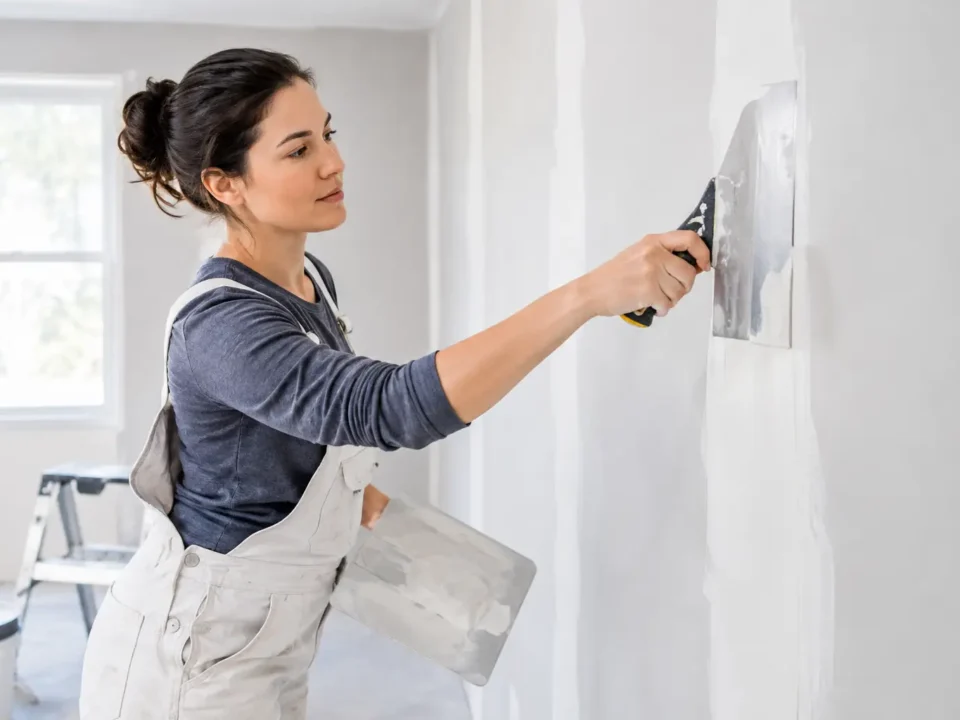
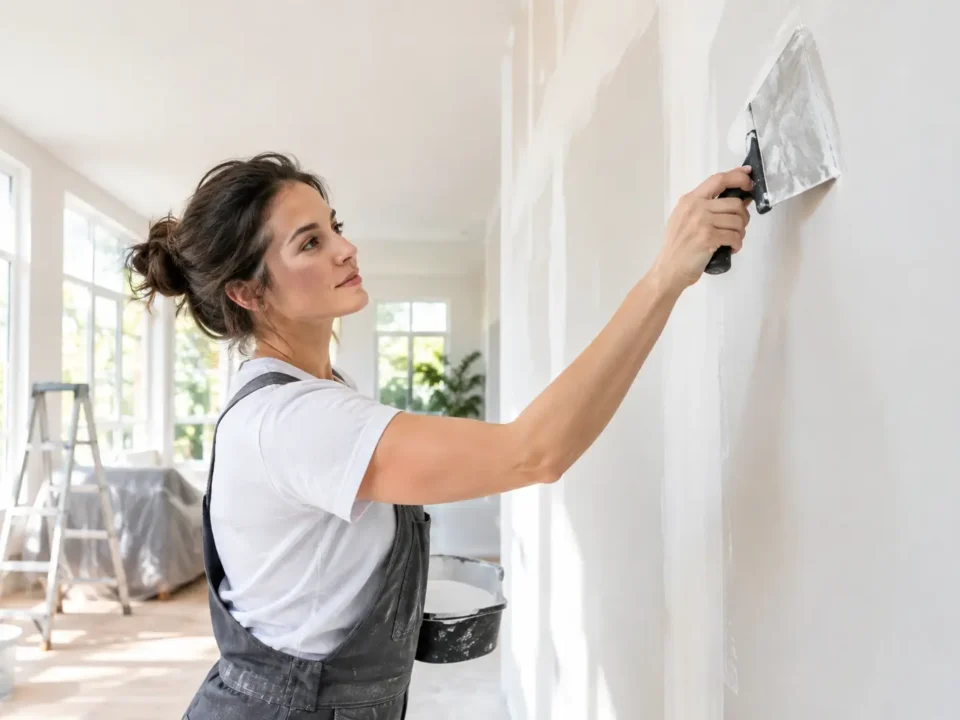
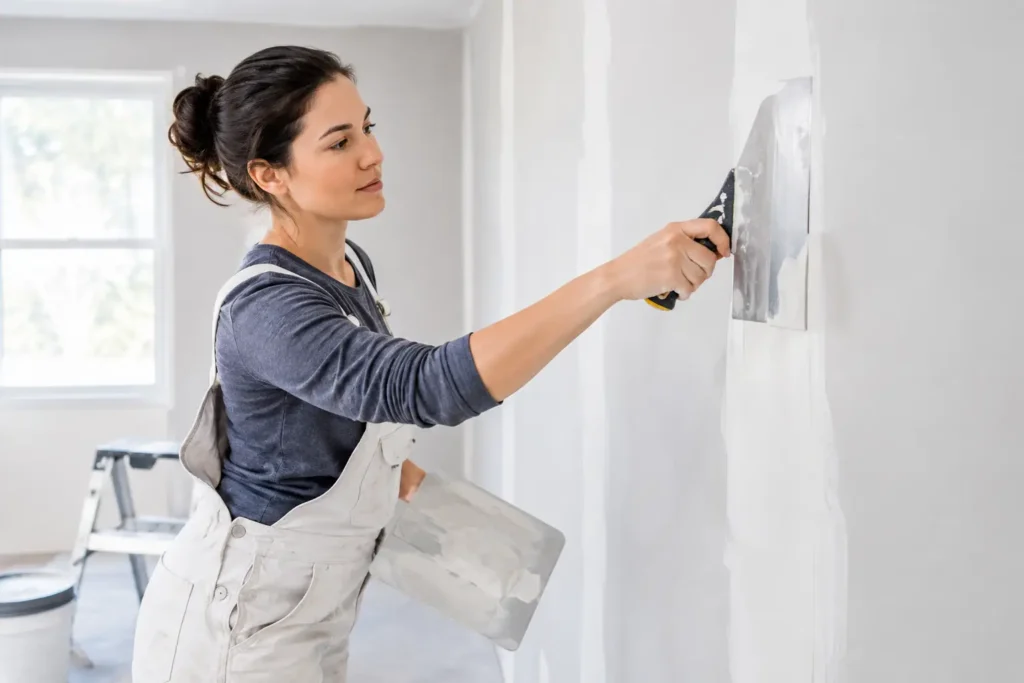
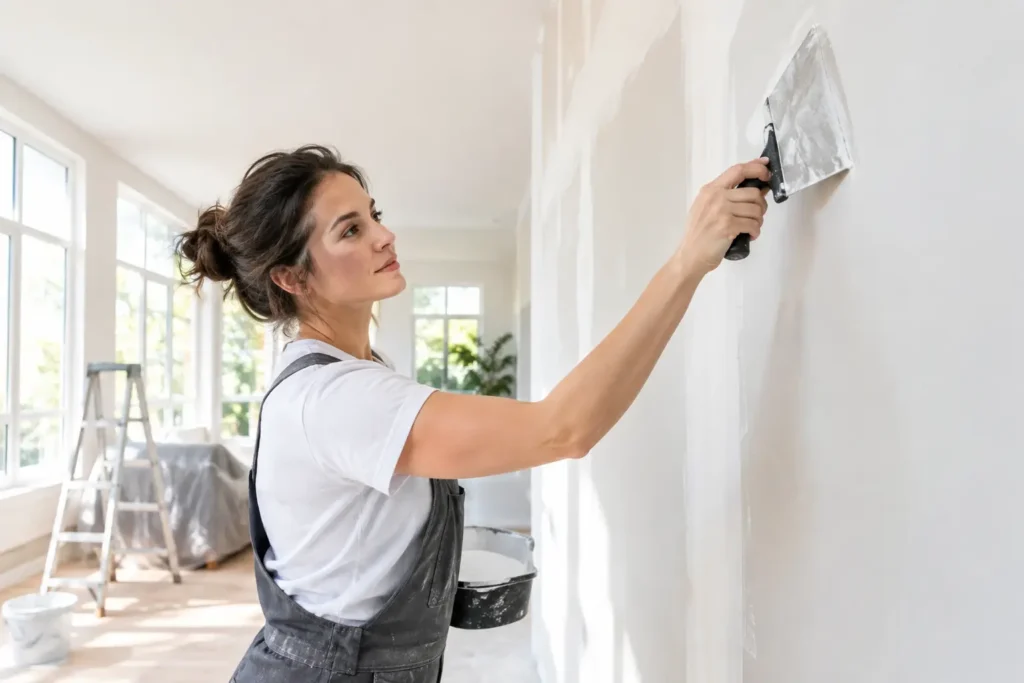
A quality Level 4 or Level 5 finish begins with careful taping, smooth joint compound, and precise sanding. Primer protects the visual value of that work. Paint alone cannot reliably hide uneven absorption, small sanding variations, or the contrast between a broad joint compound area and the drywall board around it.
On a Level 4 finish, primer helps create an even base for standard painted walls and ceilings. On a Level 5 finish, where a skim coat is applied for the smoothest possible surface, primer is still necessary. Premium finishes are often selected for spaces with smooth walls, open sightlines, glossy paint, or significant natural light. Those same conditions make flaws easier to see if the surface is not properly primed.
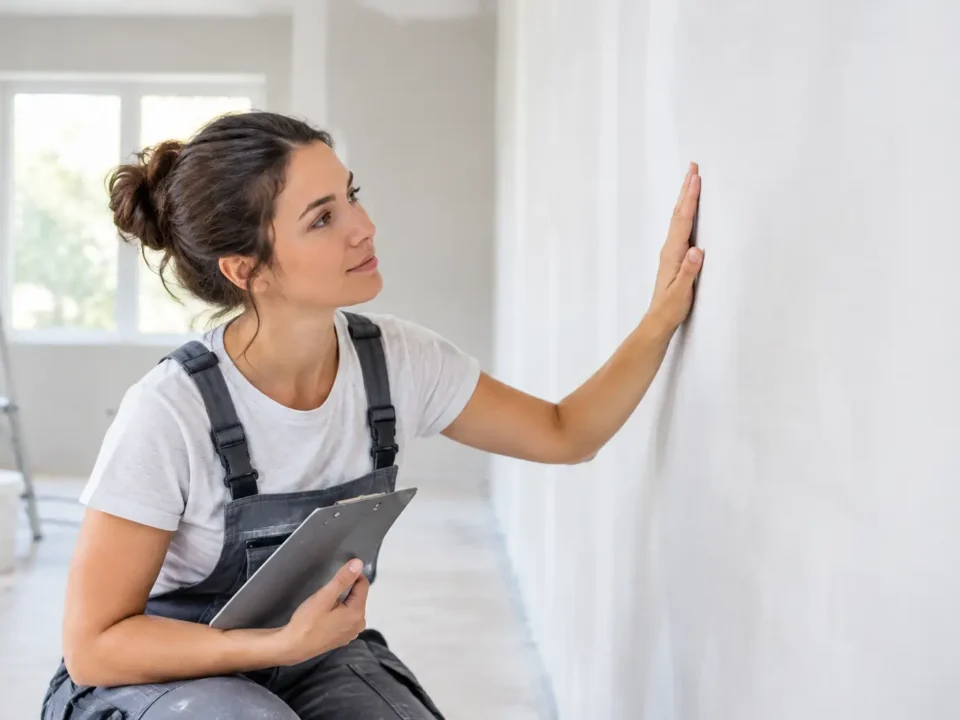
Primer also gives you a chance to inspect the wall before final paint. Once the primer dries, minor scratches, ridges, pinholes, and soft edges around patches are easier to spot. This is the right time to make small touch-ups, sand carefully, and re-prime repaired areas. Waiting until the finish coat is on the wall makes corrections more visible and more frustrating.
What Type of Primer Should You Use on Drywall?
For clean, new drywall, a PVA drywall primer is usually the practical choice. PVA stands for polyvinyl acetate. These primers are designed to seal porous drywall paper and joint compound, creating a consistent surface for interior latex paint. They are cost-effective for larger new construction or renovation projects and work well when the wall is clean and properly finished.
A high-quality acrylic primer is often a better choice for repairs, mixed surfaces, or rooms that need a more durable coating system. It can provide stronger adhesion and may be more forgiving where new compound meets old painted walls. If you are repainting after patching holes, repairing water-damaged drywall, or blending different surface conditions, the extra performance can be worthwhile.
Some situations need a specialty primer rather than a standard drywall primer. Water stains, smoke residue, nicotine, grease, marker bleed-through, and strong odors can show through regular paint. In those cases, a stain-blocking primer is the better option. The cause of the stain should be fixed first. Primer can block discoloration, but it cannot solve an active leak or ongoing moisture problem.
When You Might Not Need a Full Coat of Primer
There are a few exceptions, but they are limited. If a wall is already painted, clean, sound, and only needs a color change, a full coat of primer may not be necessary. Many modern paints provide good coverage over stable, previously painted surfaces, particularly when the new color is similar to the old one.
Even then, spot priming is smart after drywall repairs. A small patch, skim-coated crack, or newly filled nail hole will absorb paint differently than the surrounding painted wall. Priming those areas helps prevent dull patches from appearing under the final coat.
Paint-and-primer products can be useful for repainting stable walls, but they should not be treated as a replacement for drywall primer on bare board. The phrase paint and primer usually refers to a higher-build paint formula, not a dedicated sealer for fresh drywall and joint compound. For new walls, substantial patches, or high-visibility finishes, using a separate primer is the safer choice.
Common Problems Caused by Skipping Primer
The most common problem is uneven sheen. A wall may look acceptable straight on but show blotchy areas from the side, especially at night when lamps or recessed lights are on. This can make a professionally taped surface appear poorly finished even when the drywall work itself was done correctly.
Skipping primer can also lead to uneven color, reduced paint coverage, and excessive use of expensive finish paint. In some cases, homeowners apply an extra coat or two trying to correct the issue. More paint does not always solve the problem because the wall is still absorbing each coat inconsistently.
Adhesion can also suffer, particularly if dust from sanding was not removed before painting. Primer is not a substitute for proper prep, but it is part of the coating system that helps paint hold up over time. Before priming, walls should be dry, dust-free, and free of loose compound or surface contamination.
How to Prime Drywall for a Better Final Finish
Start only after the drywall compound has fully dried and the surface has been sanded to the intended finish level. Remove sanding dust thoroughly with a vacuum, microfiber cloth, or soft brush. Dust left on a wall can interfere with primer adhesion and create a rough painted texture.
Apply primer evenly with a roller suited to the wall texture, then cut in edges with a brush. Avoid overworking the material or leaving heavy roller lines. The goal is not to build a thick layer. The goal is to seal the surface uniformly. Follow the product’s drying instructions before checking the wall or applying paint.
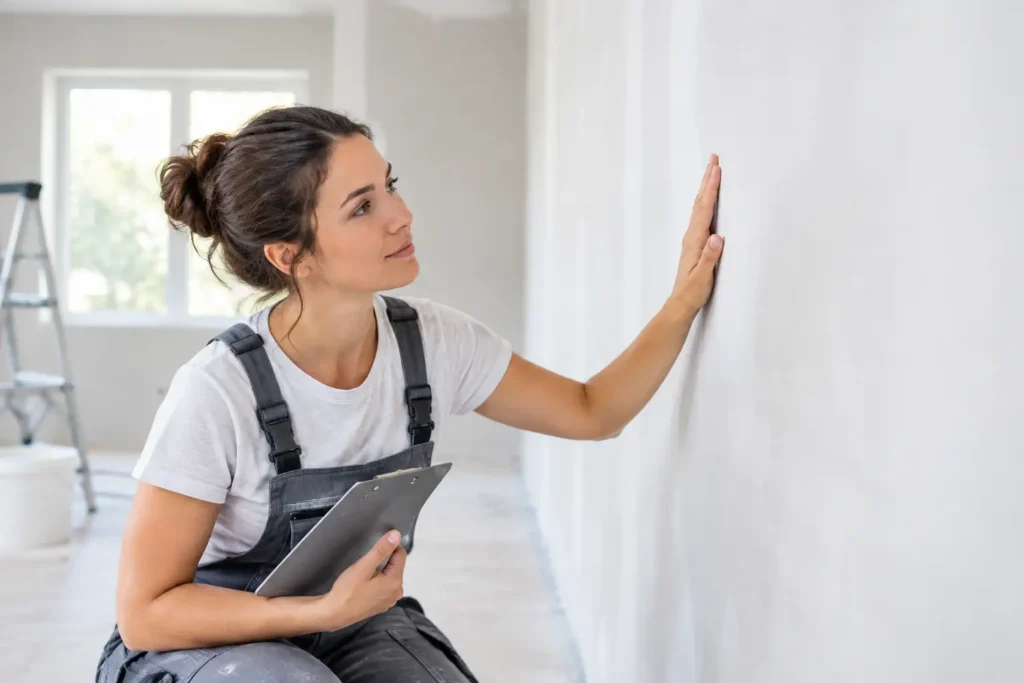
After the primer dries, inspect the room in the same lighting conditions it will have when occupied. Look across the wall rather than directly at it. This angle reveals seams, dents, and sanding marks more clearly. Make repairs as needed, spot-prime those corrected areas, and then move to the finish paint.
Primer Is a Small Step With a Visible Payoff
Drywall primer may not be the most exciting part of a renovation, but it is one of the clearest ways to protect the appearance of your walls and ceilings. It supports the taping and finishing underneath, helps paint perform as intended, and reduces the risk of callbacks or do-overs.
For new drywall, major repairs, smooth ceilings, and high-end finishes, treat primer as part of the job, not an optional add-on. If your surface needs careful patching, taping, or a Level 4 or Level 5 finish before painting, TH Taping is here to help create the clean starting point your final coat deserves.