
Guide to Ceiling Resurfacing After Damage

Residential vs Commercial Drywall Finishing
27 agosto, 2026
How to Schedule Drywall Repairs Fast Without Delays
31 agosto, 2026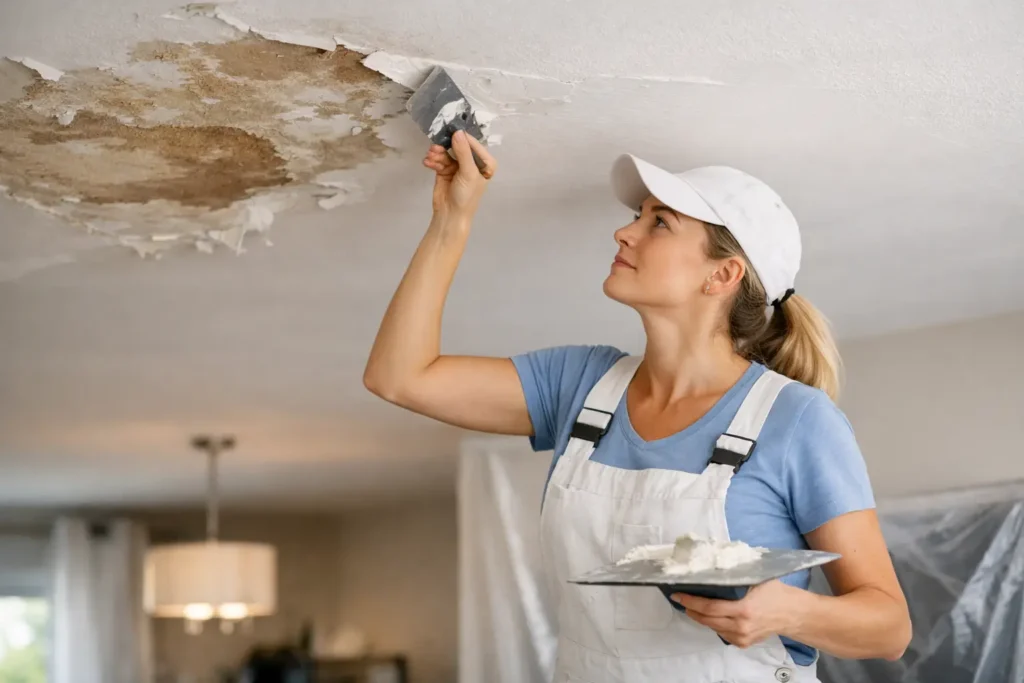
A ceiling stain, sagging drywall, or cracked joint line can make an otherwise clean room feel neglected fast. This guide to ceiling resurfacing after damage helps homeowners, property managers, and contractors understand what needs to happen before a fresh finish can last. The visible damage matters, but the cause behind it matters more.
A quality ceiling repair is not simply a matter of covering a stain with paint or applying compound over a crack. Moisture, movement, poor previous finishing, and age can all affect the surface. The right approach restores a flat, clean appearance while reducing the risk of the same problem returning.
Start by finding the source of the damage
Before resurfacing begins, confirm that the ceiling is dry and stable. If the damage came from a roof leak, plumbing issue, condensation, or an overflowing fixture above, that source must be corrected first. Repairing drywall while moisture is still present can trap problems behind a new finish and lead to staining, mold, soft spots, or peeling paint later.
Look closely at the affected area. Brown or yellow discoloration often points to water exposure, while a soft ceiling, bubbling paper, or visible sagging may mean the drywall has lost its strength. A straight crack along a seam can be caused by normal movement, but recurring cracks may signal framing movement or a poorly secured drywall joint.
For larger water events, inspect beyond the obvious stain. Water can travel along framing and collect in a wider area than expected. If there is any concern about active moisture, electrical fixtures near the damage, or a ceiling that appears ready to fall, keep the area clear and arrange for professional assessment before starting cosmetic work.
Decide whether resurfacing is enough
Ceiling resurfacing works well when the drywall is structurally sound and the damage is limited to the finish layer. Minor dents, shallow cracks, nail pops, old texture, uneven joint lines, and small patches can often be repaired with careful taping, skim coating, sanding, priming, and painting.
Replacement is usually the better choice when drywall is soft, swollen, badly sagging, mold-affected, or broken across a large area. In these cases, adding compound over damaged board may create a temporary improvement, but it will not produce the durable, flat result most homeowners want.
There is a practical middle ground for many repairs. A damaged section can be cut out and replaced, then blended into the surrounding ceiling through professional taping and finishing. This avoids removing an entire ceiling when the rest of the board is dry, secure, and in good condition.
Consider the age and texture of the ceiling
Older ceilings may have popcorn texture, multiple paint layers, or repairs that were never properly feathered. Resurfacing can modernize the room with a smooth ceiling, but texture removal and full skim coating require more preparation than a simple patch.
If a textured ceiling was installed before the mid-1980s, testing may be appropriate before disturbing it. Some older materials can contain asbestos. Do not sand, scrape, or demolish a potentially hazardous texture until it has been assessed by qualified professionals.
Prepare the surface for a repair that blends in
The preparation stage determines whether the finished ceiling disappears into the room or remains visible from every angle. Loose paint, damaged paper facing, weak joint compound, and unstable drywall must be removed or repaired before new material is applied.
The affected area is then cleaned and sealed as needed. Water stains require a stain-blocking primer after the ceiling has fully dried. Without this step, discoloration can bleed through new paint even when the drywall repair itself looks perfect.
For a patch, the new drywall should be secured to solid backing. Joints are taped, then finished with compound in progressively wider coats. Each coat is feathered beyond the previous one so there is no abrupt edge where new work meets the existing ceiling.
This is where ceiling work demands real attention to detail. Overhead light reveals ridges, shallow depressions, and sanding scratches that may not be noticeable on a wall. A smooth ceiling must be checked from several viewing angles, especially near windows, recessed lights, and fixtures.
Choose the right finish level for the room
Not every ceiling needs the same level of finish. A standard smooth ceiling in a typical bedroom, hallway, or rental unit may perform well with a properly completed Level 4 finish. This includes taped joints and multiple coats of compound, sanded smooth and ready for flat ceiling paint.
A Level 5 finish adds a thin skim coat across the entire surface. It is often the best choice for spaces with strong natural light, glossy finishes, dark colors, or critical viewing conditions. High-end living areas, commercial interiors, and renovated open-concept rooms often benefit from this added step because it helps create a more uniform appearance.
The trade-off is cost and labor. A Level 5 ceiling takes more preparation and skilled finishing, but it can prevent the patchy look that shows up when light moves across the surface. For a small isolated repair, a full Level 5 finish may not be necessary. For a ceiling with widespread imperfections or an upgraded room design, it can be a worthwhile investment.
Prime and paint without hiding defects
Once the compound is dry and sanded, the ceiling should be primed before painting. Primer helps equalize porosity between the repaired areas and the existing surface. Skipping it can leave dull patches known as flashing, even after two coats of paint.
Flat ceiling paint is common because it minimizes glare and helps hide minor irregularities. However, paint is not a substitute for surface preparation. A thick roller nap or extra coat of paint will not correct ridges, poorly blended patches, or uneven skim coating.
For the cleanest result, paint the full ceiling plane rather than touching up only the repaired spot. Spot painting often leaves a noticeable difference in sheen or color, particularly on ceilings exposed to daylight. If the ceiling color is older or unknown, repainting the complete surface is usually the more reliable choice.
When a professional ceiling finisher makes sense
Small nail pops and tiny cosmetic marks can be manageable for an experienced DIY homeowner. Water damage, large cracks, textured ceiling removal, and broad resurfacing projects are different. They involve dust control, material matching, drying times, safe access, and the finishing skill needed to make repairs disappear.
Professional drywall taping and finishing is especially valuable when the ceiling is part of a visible renovation, a property turnover, or a commercial space where appearance affects the final impression. A properly repaired ceiling should look intentional and consistent, not like a patched area that was painted over quickly.
For homeowners and property managers in Niagara Region, St. Catharines, and Hamilton, TH Taping can assess damaged ceilings, complete repairs or replacement where needed, and deliver smooth Level 4 or Level 5 finishes suited to the space. Clear communication at the start helps determine the practical scope of work, whether the job is one damaged section or a complete ceiling refresh.
A damaged ceiling does not have to remain a reminder of a leak, an old repair, or an outdated finish. Once the underlying issue is resolved, careful resurfacing can return the room to a clean, even look that holds up under everyday light and close inspection.






