
Popcorn Ceiling Removal St Catharines Done Right

How to Prepare Walls for Taping the Right Way
16 julio, 2026
How to Fix Drywall Nail Pops That Keep Returning
21 julio, 2026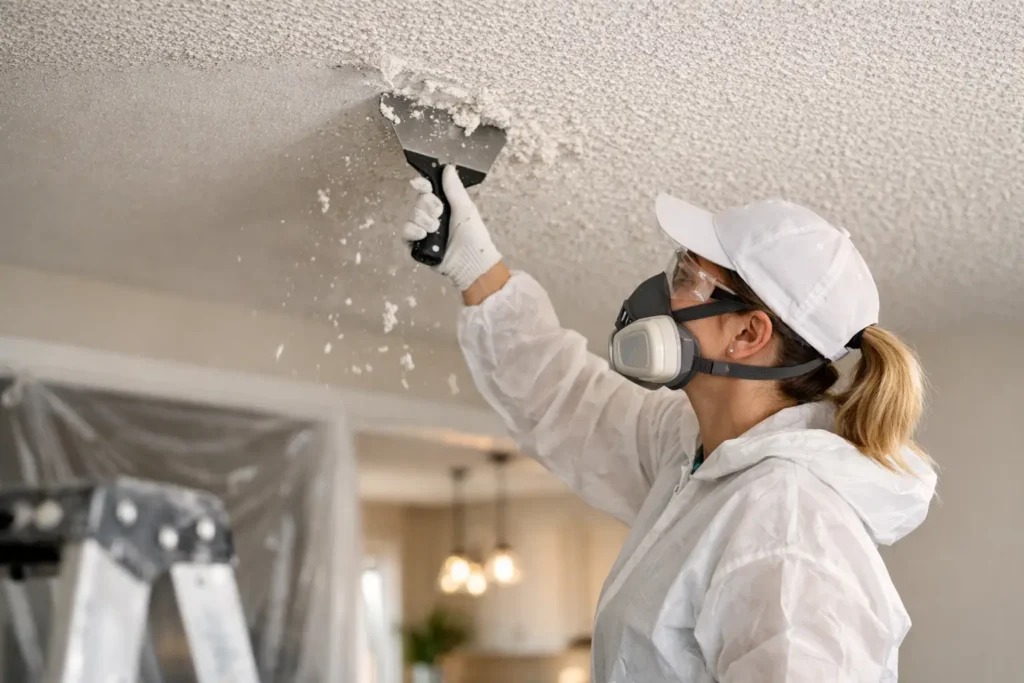
A popcorn ceiling can make an otherwise updated room feel stuck in another decade. It also catches shadows, holds dust, and makes repairs harder to hide. For homeowners planning popcorn ceiling removal St Catharines, the goal is not simply to get rid of texture. The goal is a clean, even ceiling that looks right under natural light, pot lights, and fresh paint.
Removing popcorn texture is detail-driven work. A ceiling may look acceptable from the floor, then reveal waves, damaged drywall paper, old patches, or uneven joints once the texture is gone. Proper preparation and finishing make the difference between a ceiling that looks smooth at first glance and one that stays visually clean when the room is fully finished.
Why Remove a Popcorn Ceiling?
Many homeowners remove popcorn ceilings during a kitchen renovation, basement update, whole-home repaint, or before listing a property. The texture can visually lower a room, especially in homes with standard-height ceilings. A smooth ceiling reflects light more evenly and gives walls, trim, flooring, and new fixtures a more finished appearance.
There are practical reasons as well. Textured ceilings are difficult to patch without creating a noticeable repair area. They can collect dust and cobwebs, and painted texture can become brittle over time. If there has been a leak, staining or damaged sections may be harder to repair cleanly than on a smooth surface.
That said, removal is not always the only option. If the ceiling is structurally sound but heavily painted, or if the texture is over a surface with significant imperfections, a skim coat or drywall overlay may be the better route. The right approach depends on the existing ceiling, the age of the home, the desired finish level, and the condition of the drywall underneath.
Start With the Right Safety Plan
Before any popcorn ceiling is scraped, the material and the home should be assessed. Some older ceiling textures may contain asbestos. Disturbing suspect material without proper testing and containment can create a serious health concern. A professional plan begins with identifying that risk, arranging testing when appropriate, and following the correct next steps before removal work starts.
This is not a place to guess based on appearance alone. A textured ceiling can look identical to one installed in a different era with very different materials. If testing identifies asbestos, specialized abatement procedures are required before drywall finishing can move forward.
Even when asbestos is not present, good containment matters. Ceiling removal creates fine dust, loose texture, and debris that can travel into nearby rooms. Floors, walls, furniture, vents, doorways, and fixtures need to be protected. Careful prep keeps the project focused on improving the ceiling rather than creating an unnecessary cleanup problem throughout the home.
What Professional Popcorn Ceiling Removal Looks Like
A clean result comes from a sequence of controlled steps, not aggressive scraping. First, the area is protected and the ceiling is evaluated for prior repairs, moisture damage, loose tape, cracks, and visible seams. The removal method is then chosen based on whether the texture is unpainted, painted, thin, thick, or applied over a damaged surface.
Removal Is Only the First Stage
Once the texture is removed, the real condition of the ceiling becomes visible. Scraping may expose torn drywall paper, old nail pops, uneven joints, and patchwork from earlier electrical or plumbing work. These issues need to be repaired before the ceiling can receive its final finish.
A professional drywall finisher repairs damaged areas, secures loose material, tapes and patches where needed, and applies joint compound in controlled coats. Each coat must dry properly and be sanded with care. Rushing this stage often leaves ridges, flashing, or shallow depressions that become obvious after painting.
Smooth Ceilings Need the Right Finish Level
Ceilings do not all need the same level of finishing. In many rooms, a properly completed Level 4 finish provides a clean, paint-ready surface. In areas with strong side lighting, large windows, glossy paint, or carefully placed recessed lighting, a Level 5 finish may be worth considering.
A Level 5 finish includes an additional skim coat that helps reduce visible texture differences across the surface. It is especially valuable when a ceiling will be viewed under critical lighting conditions. The best recommendation depends on the room, lighting, paint sheen, and the standard of finish you expect. A contractor should explain the trade-off clearly rather than treating every ceiling as the same job.
Common Problems That Affect Cost and Timing
No two popcorn ceiling projects are identical. The square footage matters, but the condition of the ceiling usually has a bigger effect on labor. A small ceiling with heavy paint, water damage, multiple patches, and difficult access can require more work than a larger, clean, unpainted ceiling.
Ceiling height also matters. Vaulted ceilings, stairwells, large open-concept rooms, and rooms filled with furniture require additional setup and protection. Existing lighting, ceiling fans, vents, smoke detectors, and crown molding can add detail work. If removal reveals damaged drywall or failing tape, those repairs should be handled before the finishing coats begin.
Paint choice affects the final appearance too. Flat ceiling paint is generally forgiving, while higher sheens show more surface variation. Good lighting can elevate a room, but it also exposes imperfections. This is why smooth ceiling work should be planned around the finished room, not just the removal day.
Why DIY Removal Can Create More Work
Some homeowners consider wetting and scraping the ceiling themselves. While the idea sounds simple, it can quickly lead to gouged drywall, damaged seams, widespread dust, and a ceiling that needs extensive repair afterward. If the texture has been painted, it may not soften evenly at all.
The biggest issue is often what happens after the scraping. A ceiling that looks bare is not necessarily ready for primer and paint. It may need patching, taping, skimming, sanding, and careful inspection under proper lighting. Skipping those steps can leave visible lines and uneven areas that are difficult to ignore once the room is complete.
For small areas, such as a damaged section around a repair, localized work may be possible. For a full room or multiple connected spaces, professional removal and finishing are usually the more efficient way to protect the home and achieve a consistent result.
Choosing a Contractor for Popcorn Ceiling Removal St Catharines
Look for a contractor who understands both removal and drywall finishing. Removing texture is one skill. Delivering a straight, smooth, paint-ready ceiling is another. Ask how the room will be protected, how potential asbestos concerns are addressed, what repair work is included, and what finish level is recommended for your lighting conditions.
A clear quote should reflect the actual scope of work. It should account for preparation, removal method, repairs, skim coating if needed, sanding, cleanup, and the intended final surface. Be cautious of a low price that only covers scraping, because the ceiling may still need the most important part of the job: professional finishing.
TH Taping helps homeowners, property managers, renovators, and contractors with popcorn ceiling removal, drywall repairs, smooth ceilings, and high-quality finishing work. Whether the project is one room, a damaged ceiling after a leak, or part of a larger renovation, the focus stays on a durable, visually clean result.
A smooth ceiling changes how an entire room feels, but only when the surface is properly prepared beneath the paint. If your ceiling is dated, damaged, or holding back a renovation, a free quote can give you a clear path from rough texture to a finish you will be proud to see every day.






