Level 5 Drywall Finish Review: Worth the Cost?

How to Patch Anchor Holes in Drywall Cleanly
18 octubre, 2026
Best Drywall Finish for Bright Rooms Explained
22 octubre, 2026
A wall can look perfectly acceptable until morning light hits it from the side or a new coat of satin paint goes on. Then every joint, fastener line, and slight ripple has a way of showing up. That is the real question behind a level 5 drywall finish review: does the added finishing work create a visible difference worth paying for?
For many projects, the answer is yes. A Level 5 finish is designed for spaces where appearance matters most, especially under strong natural light, recessed lighting, dark paint, or glossy finishes. It is not automatically necessary for every room, but in the right setting, it is the best defense against surface imperfections that can distract from an otherwise beautiful renovation.
Level 5 Drywall Finish Review: What It Really Means
Drywall finish levels describe the amount of taping, compound work, sanding, and surface preparation completed before paint or wall covering is applied. Level 4 is the common standard for most finished residential walls. Joints and fasteners are properly taped and coated, then sanded smooth for a paint-ready surface.
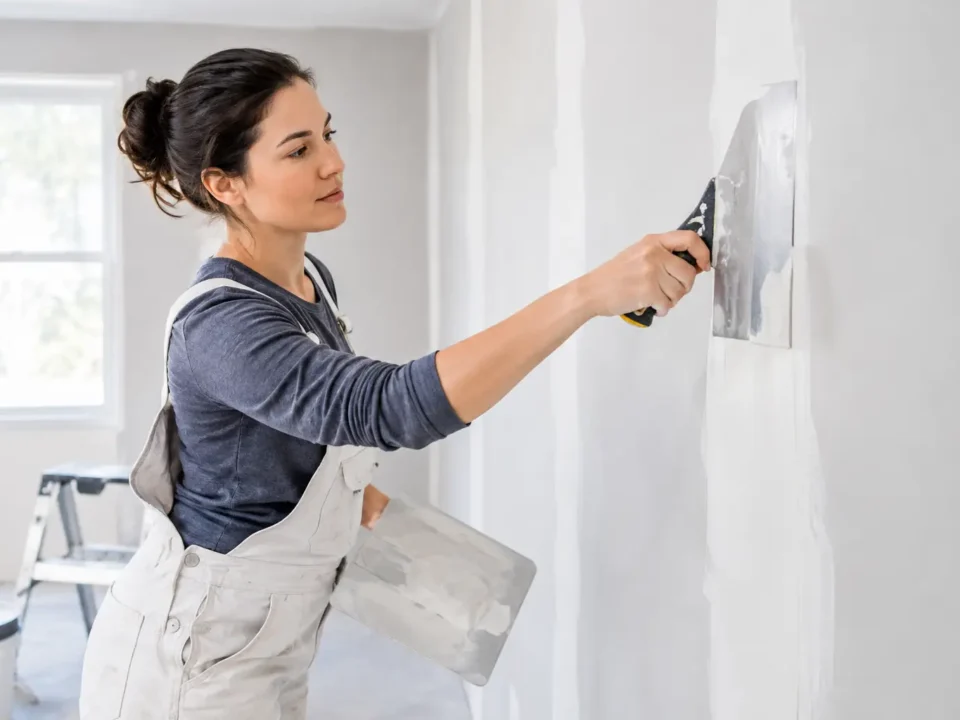
Level 5 goes one step further. After the standard Level 4 work is complete, the entire drywall surface receives a thin skim coat of joint compound or a specialized surface treatment. This final coat helps create a more uniform texture across the wall or ceiling.
That distinction matters because drywall paper, joint compound, and repaired areas absorb paint differently. Even when Level 4 taping is done correctly, these subtle differences can become visible under certain lighting conditions. A Level 5 finish reduces that risk by giving the full surface a consistent base before priming and painting.
A true Level 5 finish is not simply extra sanding. Sanding can smooth ridges and tool marks, but it cannot fully equalize the texture and porosity between drywall paper and finished joints. The skim coat is what separates a Level 5 result from a well-executed Level 4 job.
The finished look depends on more than drywall work
Level 5 provides the strongest possible starting point, but it does not make every future issue disappear. Paint quality, primer selection, wall color, sheen, lighting placement, and the condition of the framing all influence the final appearance.
For example, a dark navy wall with a satin sheen can reveal minor surface variation that would be nearly invisible under flat, light-colored paint. Likewise, a wall that is not framed straight may still look uneven in raking light, even after expert finishing. Good drywall work improves the surface substantially, but it cannot correct structural movement or poor framing without addressing those issues first.
Where a Level 5 Finish Makes the Most Sense
The value of Level 5 is closely tied to the room, lighting, and design choices. It is often a smart investment in primary living spaces, open-concept areas, renovated kitchens, entryways, stairwells, and rooms with large windows. Smooth ceilings also benefit because light often travels across them at a shallow angle, making flaws easier to notice.
It is especially worth considering when a project includes:
- Large windows or sliding doors that create strong side lighting
- Recessed lights, wall washers, or track lighting close to a wall
- Dark, saturated, or high-contrast paint colors
- Satin, semi-gloss, or gloss paint finishes
- Long uninterrupted walls or ceilings in premium residential or commercial spaces
A Level 5 finish can also be the right choice after popcorn ceiling removal. Once a textured ceiling is removed, the newly exposed surface is often less forgiving than homeowners expect. A properly skimmed smooth ceiling gives the room a cleaner, more current appearance and helps prevent old repairs or joint lines from becoming the new focal point.
When Level 4 is usually enough
Level 4 remains an excellent finish level for many rooms. Bedrooms with standard lighting, closets, utility areas, garages, rental turnovers, and spaces painted with flat or matte light colors may not need the extra cost of a full skim coat.
The goal is not to sell Level 5 where it offers little practical return. The right finish level should match the space. If the wall will be covered by tile, cabinetry, heavy wall treatments, or textured finishes, the priority may be a sound and properly prepared substrate rather than a premium paint-grade skim coat.
Level 5 vs. Level 4: The Difference You Will See
A Level 4 finish can look excellent, particularly when it is completed by a skilled taper and paired with the right primer and paint. For typical interior walls, it is often the most sensible balance of quality, time, and budget.
A Level 5 finish is for clients who want a more refined visual result and fewer surprises after painting. It minimizes the chance of flashing, which occurs when joints and fastener areas reflect light differently from the surrounding drywall. It also reduces visible texture changes between the paper face of the board and the taped areas.
Think of Level 4 as a high-quality standard finish. Think of Level 5 as a finish selected specifically for visual consistency under demanding conditions. Neither level is universally better. The better option is the one that fits the planned lighting, paint, and expectations for the room.
What Affects Level 5 Cost and Timing?
A Level 5 finish requires more labor and material than Level 4. The contractor must prepare the room carefully, apply the skim coat evenly, allow it to dry, sand as needed, and inspect the surface under proper lighting. Ceilings, high walls, detailed layouts, and occupied homes can all add time.
The condition of the existing drywall also matters. New construction is often more predictable, while renovation work may involve patches, old joint repairs, water damage, uneven framing, or surfaces affected by wallpaper removal. These issues should be addressed before the final skim coat goes on.
Drying conditions are another factor. Joint compound needs appropriate time to dry between coats. Rushing the process can lead to sanding problems, shrinkage, or a finish that looks uneven once painted. A professional schedule should account for the actual condition of the walls and the humidity inside the property, rather than promising a finish date that sacrifices quality.
The most useful way to compare quotes is not just by the final price. Ask what preparation is included, whether ceilings are included, how repairs are handled, and whether the quote covers a full skim coat or only additional touch-ups. Two estimates can use the same phrase, but the scope of work may be very different.
How to Review the Work Before Painting
Drywall should be inspected before the primer goes on, not after the final paint color makes repairs more difficult. A careful contractor will check the walls in more than one lighting condition and address visible imperfections while the surface is still accessible.
Look along the wall from an angle rather than standing directly in front of it. Turn on recessed lights, open window coverings during the day, and use a portable work light if needed. You are checking for raised joint lines, uneven corners, sanding scratches, ridges, pinholes, and visible patch edges.
Do not expect raw drywall to look polished like painted plaster. Some variation can be visible before primer, especially when light hits the surface at an extreme angle. What matters is that the surface is smooth, consistent, properly feathered, and ready for the selected paint system.
A good finishing crew also keeps the work area under control. Dust containment, careful masking, protection for floors and nearby surfaces, and thorough cleanup are part of a professional result. Fine drywall dust can travel far beyond the room being worked on, particularly during ceiling repairs or full skim-coat projects.
Is a Level 5 Finish Worth It for Your Project?
If you are investing in a high-end remodel, a smooth ceiling, statement paint colors, or lighting designed to highlight architectural details, Level 5 is usually money well spent. It helps protect the visual quality of the finished space after painters, furniture, and final lighting are in place.
If the room is functional, lightly used, or planned around flat light-colored paint, Level 4 may provide the result you need without adding unnecessary expense. An honest recommendation should begin with how the space will look and perform, not with the highest finish level on a price sheet.
For homeowners, property managers, and contractors in Niagara Region, St. Catharines, or Hamilton, TH Taping can assess the wall condition, lighting, and project goals before recommending the right approach. A free quote should make the scope clear, whether the job is a complete Level 5 finish, a smooth ceiling after popcorn removal, or a focused repair that needs to disappear into the surrounding wall.
The best time to choose a finish level is before paint colors and fixtures make every wall more demanding. Give the surface the preparation its final look deserves, and the room will keep looking right long after the project is finished.