How to Patch Anchor Holes in Drywall Cleanly

St Catharines Drywall Reviews: What to Look For
16 octubre, 2026
Level 5 Drywall Finish Review: Worth the Cost?
20 octubre, 2026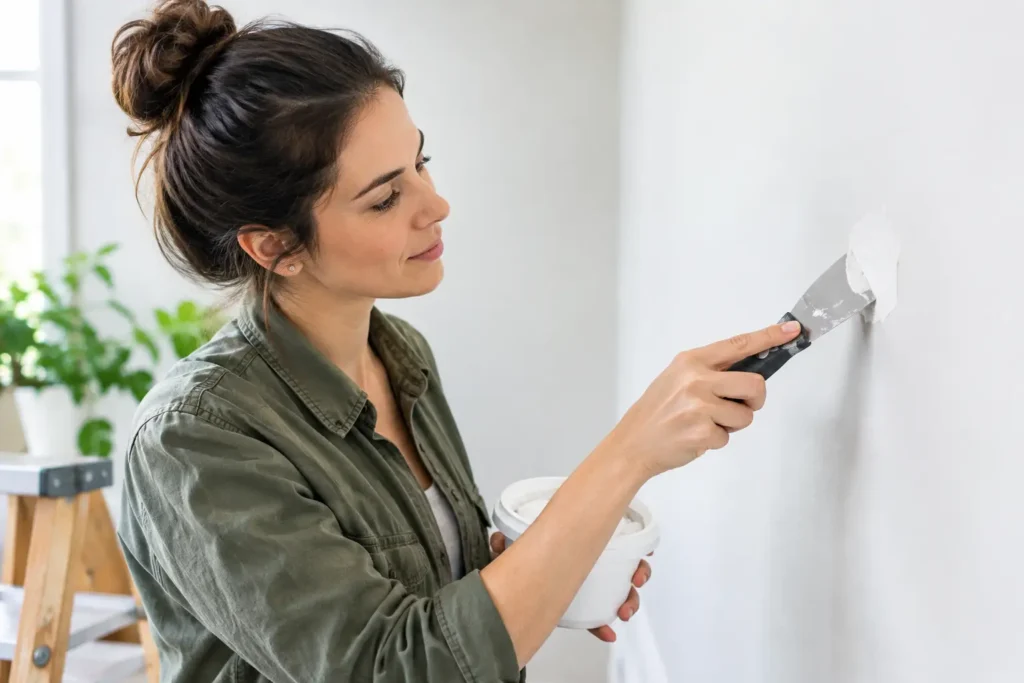
A wall anchor can hold a shelf, mirror, curtain rod, or TV mount securely. The problem usually appears after it comes out: a small hole with torn paper, loose gypsum, or a raised edge that shows through fresh paint. Knowing how to patch anchor holes correctly keeps a simple wall repair from turning into a visible spot on an otherwise clean wall.
The right repair depends on the anchor type and the condition of the drywall around it. A tiny plastic anchor may need only a light skim coat. A larger toggle anchor, or an anchor that ripped out under weight, often needs more preparation before any compound goes on. The goal is not just to fill the opening. It is to rebuild a flat, stable surface that disappears after painting.
Start by Removing the Anchor Without Damaging More Drywall
Remove the screw first, then inspect the anchor. If a plastic expansion anchor is still sitting firmly in the wall, do not pull hard on it. That can tear the drywall face paper and widen the repair area.
For a small plastic anchor, gently tap it slightly below the wall surface with a screwdriver and hammer. If it will not move or the opening is already damaged, use needle-nose pliers to pull it out slowly. Some anchors can also be pushed into the wall cavity if removing them would cause more damage. Once they are behind the wall, there is no structural concern for a small, non-load-bearing repair.
Metal threaded anchors should usually be unscrewed counterclockwise. Toggle bolts are different: remove the bolt, then let the metal toggle fall behind the drywall. Trying to pull a toggle through the hole will enlarge it immediately.
After the anchor is out of the way, use a utility knife to trim loose paper, crumbling gypsum, and lifted edges. This step matters. Joint compound adheres best to a sound surface, not to damaged paper that may bubble or peel later.
How to Patch Anchor Holes Based on Their Size
Most anchor holes fall into one of three repair categories. Choosing the right method prevents shrinking, cracking, and unnecessary sanding.
Small holes from light-duty anchors
For holes up to about 1/4 inch, lightweight spackling or premixed joint compound is usually enough. Press the material firmly into the hole with a flexible putty knife, then scrape away the excess so the patch sits nearly flush with the wall.
Let it dry fully. Fast-drying products are convenient, but they can dry before you have properly worked the material into the opening. For a cleaner result, take a minute to press the compound in from more than one direction. That helps eliminate tiny air pockets that can leave a pinhole after sanding.
Apply a second thin coat if the patch shrinks below the wall surface. Two thin coats are usually cleaner than one thick coat.
Medium anchor holes with torn paper
A hole between 1/4 inch and roughly 1/2 inch may still be repairable with compound alone, especially if the drywall itself is solid. However, torn face paper needs attention before mud is applied.
Seal exposed brown drywall paper with a drywall sealer or a stain-blocking primer designed for damaged drywall. Unsealed paper can absorb moisture from joint compound and form bubbles. Let the sealer dry, then fill the hole with setting-type joint compound or a quality patching compound.
Setting-type compound is a good choice here because it hardens with a chemical set rather than simply drying in the air. It is less likely to shrink in a deeper hole, although it does set quickly, so only mix what you can use within the working time.
Large holes from toggles or pulled-out anchors
When a heavy anchor has torn through the drywall, the repair often needs reinforcement. If the hole is closer to 1 inch, irregular, or surrounded by crushed drywall, use a self-adhesive mesh patch or a small drywall repair patch.
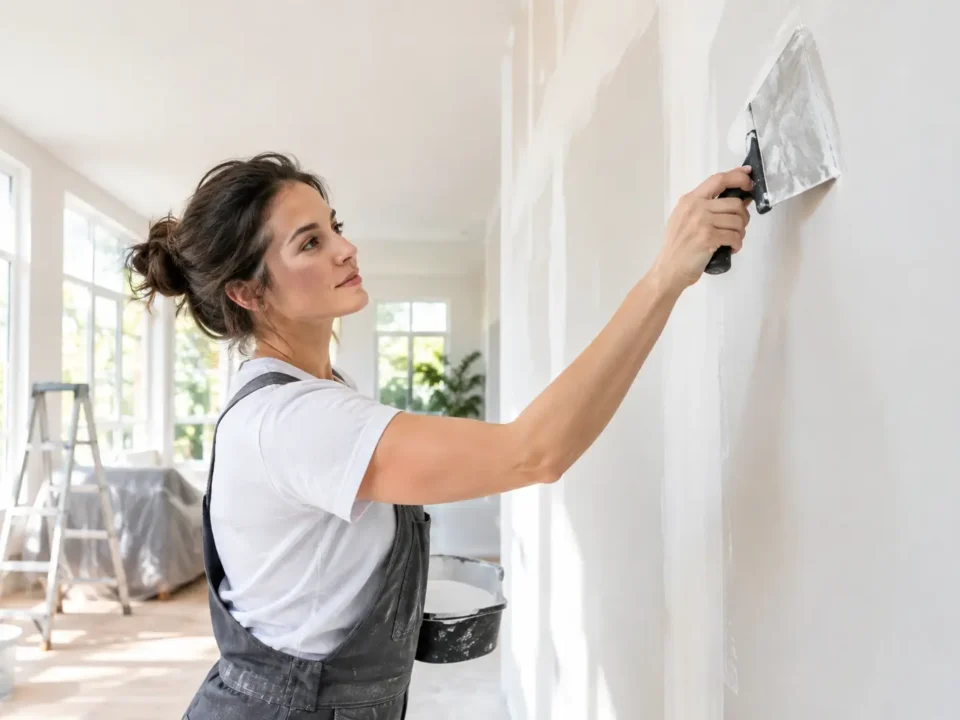
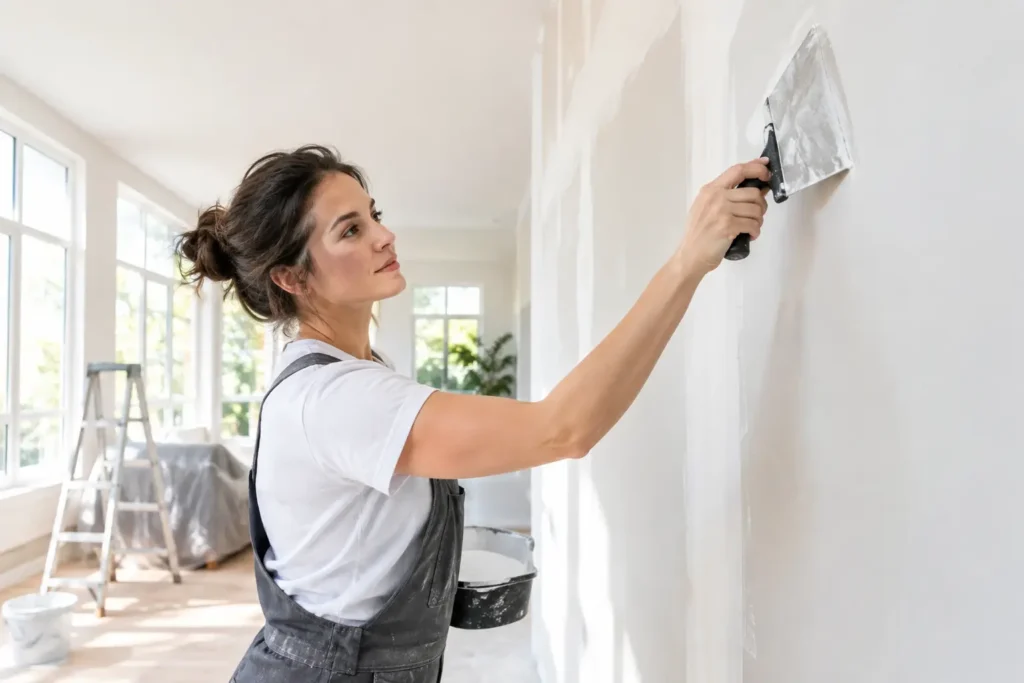
Cover the damaged area with the patch, then apply joint compound over it using a wide taping knife. The key is to feather the compound well beyond the patch edges. Start with a coat that covers the mesh, then apply two or more wider coats as needed.
A narrow patch with sharp edges can look fine before paint but become obvious under side lighting. Feathering spreads the transition gradually, which is what gives the wall a smooth, professional appearance.
Apply Compound in Thin, Controlled Coats
The most common mistake in drywall patching is applying too much compound at once. Thick material takes longer to dry, often shrinks, and creates more sanding than necessary.
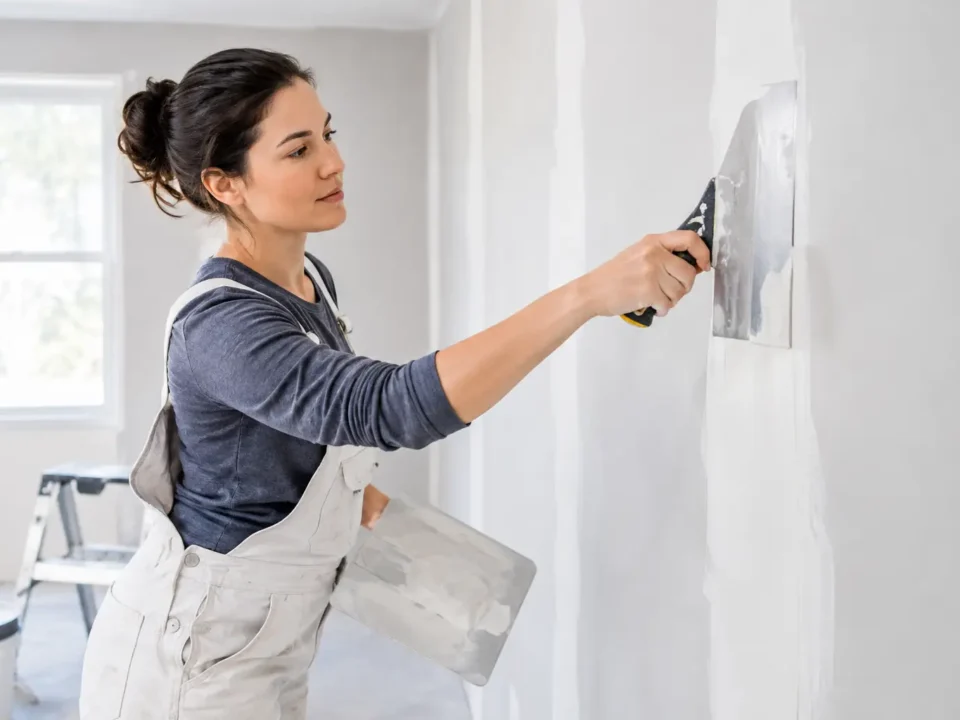
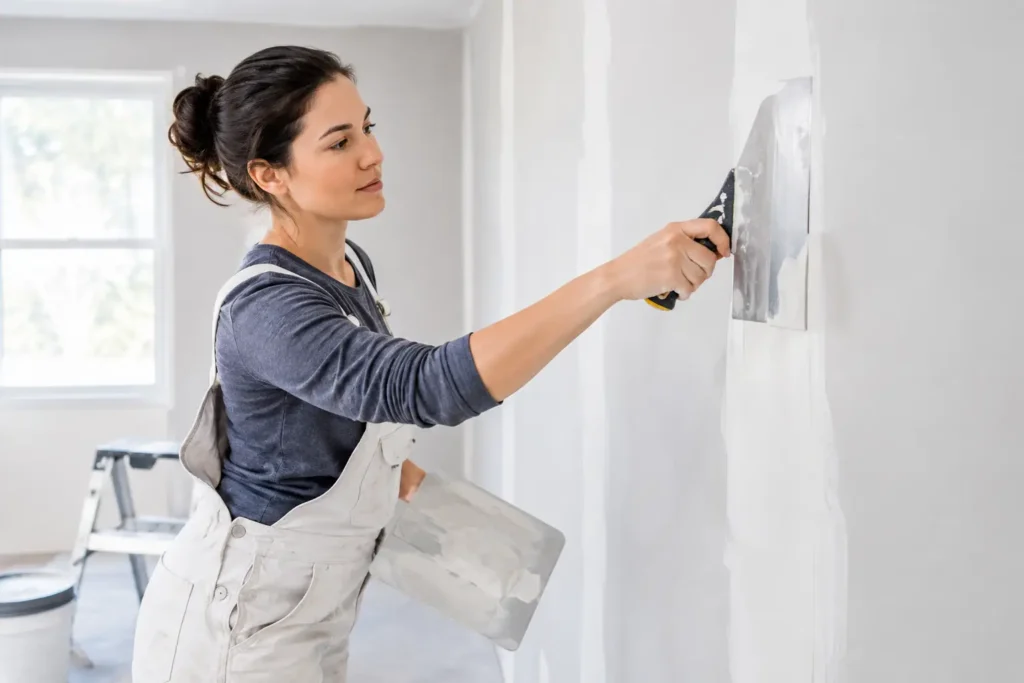
Use a 4- to 6-inch putty knife for a small anchor hole. Load a small amount of compound onto the knife, press it across the hole, then pull the knife in the opposite direction to remove excess material. The first coat is for filling. The next coat is for leveling the surface.
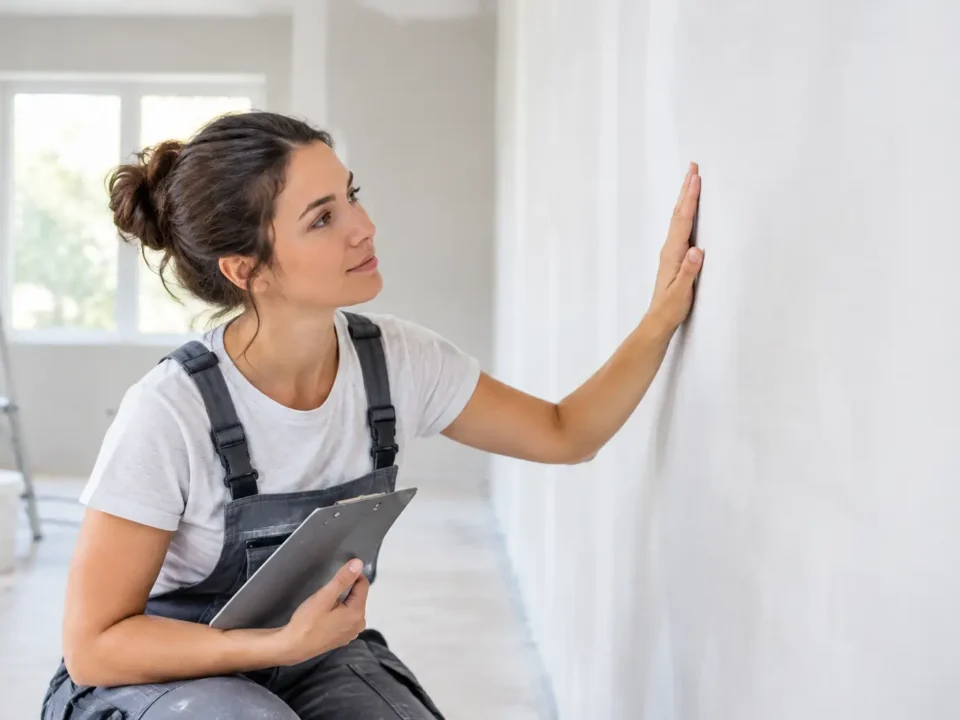
For a wider repair, switch to an 8- or 10-inch taping knife on the final coat. Keep the center of the patch full enough to remain flush, while thinning the edges into the existing wall. Run your hand lightly across the dry patch before sanding. If you can feel a ridge, it may still show after paint.
Drying time depends on the product, coat thickness, indoor temperature, and humidity. Do not sand compound that feels cool or soft. It may look dry on the surface while remaining damp underneath.
Sand for a Smooth Wall, Not a Hollow Spot
Once the compound has dried, sand lightly with 150- to 220-grit sandpaper or a sanding sponge. Use broad, gentle strokes rather than concentrating pressure in one small area. Aggressive sanding can create a shallow depression around the patch, which will show under flat, satin, or semi-gloss paint.
Hold a work light at an angle against the wall after sanding. Side lighting reveals ridges, edges, and low spots that normal room lighting can hide. If the area is not flat, apply another thin skim coat instead of trying to sand the problem away.
Wipe away dust with a dry microfiber cloth or vacuum it using a soft brush attachment. Dust left on the wall can interfere with primer and leave a rough painted finish.
Prime Before You Paint
Primer is not optional if you want the patch to blend in. New joint compound absorbs paint differently than painted drywall, and skipping primer can leave a dull or flashing spot even when the surface is perfectly smooth.
Apply a thin coat of drywall primer or a quality wall primer over the repair, extending slightly past its edges. Once dry, inspect the area again under angled light. This is the best time to catch a remaining ridge or pinhole before the finish coat goes on.
For small repairs, use the same wall paint and sheen whenever possible. Matching the color is only part of the job. A flat paint touch-up may blend easily, while eggshell, satin, and semi-gloss finishes can show a difference in sheen if the repaired spot is painted too narrowly. In those cases, feather the paint outward or repaint the entire wall section for the most uniform result.
When a Simple Anchor Hole Repair Needs a Professional
Most small anchor holes are manageable for a homeowner. But it is worth calling a drywall professional when there are several damaged spots, the wall has textured finishes, the anchor pulled out a large section of drywall, or the repair sits in a highly visible area with strong natural light.
The same applies to level 4 and level 5 finished walls. These surfaces are designed to look exceptionally smooth, so even a small repair can stand out if the compound is not feathered, sanded, primed, and painted with care. A professional repair is often the better value when the wall needs to look untouched, not merely filled.
For homeowners and property managers in Niagara Region, St. Catharines, or Hamilton, TH Taping can handle small drywall patches as well as larger finishing repairs. A clean patch protects the look of the whole room – and lets the wall be ready for whatever comes next.