
Drywall Patch Repair Done Right

How to Remove Popcorn Ceiling Safely
14 mayo, 2026
Small Drywall Repair Services That Last
16 mayo, 2026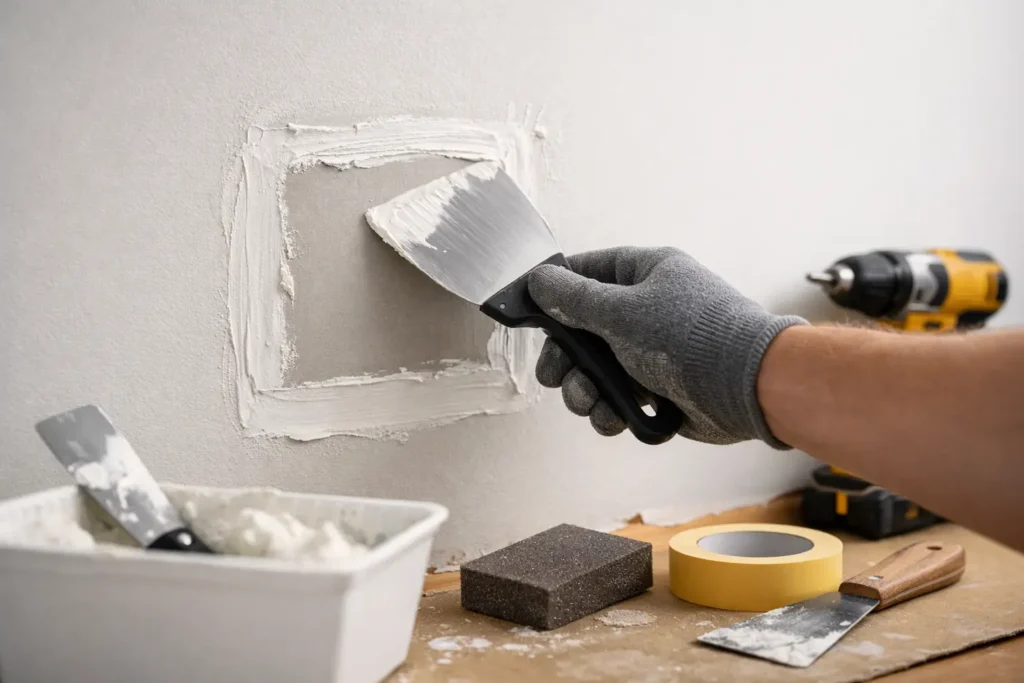
A bad wall patch stands out for all the wrong reasons. You paint the room, step back, and there it is – a dull spot, a raised edge, or a visible square that catches every bit of light. That is why drywall patch repair is not just about filling a hole. It is about restoring the surface so the repair disappears into the rest of the wall or ceiling.
Small damage can come from door handles, plumbing access, moving furniture, electrical work, or everyday wear in high-traffic areas. In commercial spaces, it can also come from tenant turnover, maintenance work, or quick changes made by other trades. The size of the damage matters, but the final appearance depends even more on how the patch is cut, secured, taped, coated, sanded, and blended.
What drywall patch repair really involves
A proper repair starts with understanding the type of damage. A nail pop, hairline crack, dent, and full hole do not get the same treatment. Some areas need a light fill and finish coat. Others need the damaged drywall cut back to a solid edge, a backing support installed, new drywall fitted, then taped and finished to match the surrounding surface.
That distinction matters because the wrong repair method usually shows up later. A quick fill on unstable drywall can crack again. A patch without proper support can shift. Too much compound can leave a hump. Too little feathering can create a visible outline after painting.
Good patch work also has to match the wall texture and finish level around it. A smooth wall under direct light is less forgiving than a textured hallway. A ceiling patch often needs even more care because light rakes across it from windows and fixtures, making flaws easier to spot.
The difference between a quick fix and a clean finish
Many patch jobs look acceptable when they are first done. The problem appears after primer and paint. That is when surface imperfections become obvious. Joint lines, uneven sanding, flashing, and poor blending tend to show more once the finish coat goes on.
This is where professional drywall patch repair earns its value. The goal is not simply to close the hole. The goal is to leave a surface ready for paint, with the repair integrated into the surrounding area. On better interiors, especially where clients want a cleaner visual result, the finish quality matters as much as the structural repair itself.
For homeowners, that often means avoiding a patch that draws attention every time the sun hits the wall. For property managers, it means getting units ready without visible repair marks that make the space feel poorly maintained. For contractors and remodelers, it means handing over a finished job without one patched area ruining the look of the room.
Common situations that call for drywall patch repair
Some repairs are simple and local. Others point to a larger issue that should be addressed before the finish work begins. A clean patch can fail if the underlying cause is still active.
Holes from impact damage are straightforward if the surrounding drywall is solid. Cracks near doors and windows can be trickier because movement may be involved. Water-damaged sections often need more than patching if the drywall has softened, stained, or begun to crumble. Ceiling repairs need extra attention to support, seam control, and blending because they are harder to hide.
Older homes and commercial interiors can also present mismatched textures, layered paint, or previous repairs done poorly. In those cases, the repair process may include widening the work area slightly to create a smoother transition. It is more work up front, but usually the only way to get a cleaner result.
How a professional drywall patch repair is done
The process starts by removing loose or damaged material and cutting the area to a clean, workable shape if needed. That gives the patch stable edges and helps prevent weak spots. If the hole is larger, backing is installed behind the drywall so the new piece has something solid to fasten to.
Once the patch is in place, seams are taped and coated with joint compound in multiple passes. This stage is where patience matters. Trying to finish everything in one heavy coat usually leads to shrinkage, cracking, or excessive sanding. A better result comes from building the area gradually and feathering each coat wider so the repair blends into the existing surface.
After drying and sanding, the patch should feel flat and look consistent under changing light. On smooth walls and ceilings, this is especially important. A repair can seem fine head-on and still show badly from an angle. That is why detail work and surface checks matter before the area is turned over for paint.
When matching the surrounding finish is the hardest part
The patch itself is only part of the job. Matching the rest of the wall or ceiling is often the real challenge. A smooth level 4 finish requires careful feathering and sanding. A higher-end level 5 look calls for even tighter surface uniformity, particularly in rooms with strong natural light or modern flat paint.
If texture is present, the repaired area has to be blended so it does not look isolated. That can be difficult when the existing texture is irregular or dated. Even with a solid patch, texture mismatch can make the repair obvious.
Paint also plays a role. Fresh paint over a repaired area may differ from the existing finish due to aging, sheen variation, or touch-up flashing. Sometimes the patch is done correctly, but the wall still needs broader repainting for the result to look consistent. That is not overkill. It is often the realistic path to a truly clean finish.
DIY drywall patch repair vs hiring a pro
There are situations where a small dent or pinhole can be handled without much trouble. If the damage is minor and the finish expectations are modest, a careful DIY repair may be enough. But once the damage is larger, located on a ceiling, near corners, or in a high-visibility area, the margin for error gets smaller fast.
The biggest issue with DIY patching is usually not the patch itself. It is blending. Many people can fill a hole. Far fewer can make it disappear. Uneven compound, over-sanding, mesh showing through, or poor edge feathering can turn a simple repair into a larger correction later.
For occupied homes, rental turnovers, and active job sites, time also matters. A professional can move the repair along efficiently, keep the area cleaner, and deliver a surface that is ready for the next stage. That is especially useful when the patch is one piece of a bigger painting, remodeling, or finishing schedule.
Why small drywall repairs still deserve careful work
A lot of companies prefer large jobs and pass on minor repair work. The problem is that small patches still affect how a space looks and feels. One bad wall area in an otherwise clean room stands out immediately. The same goes for a ceiling patch in a kitchen, hallway, or office entry.
Smaller repairs also tend to be the most visible because they are often done in finished spaces, not construction zones. Furniture is back in place. Lighting is final. People are close to the wall every day. There is no room to hide rough finishing.
That is why a service-focused approach matters. Whether the job is one damaged section or multiple areas throughout a property, the standard should be the same: secure repair, clean finish, and a surface that is ready to look right once painted.
Choosing the right team for drywall patch repair
If you are hiring out the work, look past the promise of a fast patch. Ask whether the repair will be cut back to solid material if necessary, whether seams will be properly taped, and how the finish will be blended to match the surrounding area. Those details tell you more than a low quote ever will.
It also helps to work with a team that handles both minor repairs and finish-level work. That combination usually means they understand not just how to close damage, but how to deliver a wall or ceiling that meets a higher visual standard. In places like Niagara, St. Catharines, and Hamilton, where both residential and commercial properties often need responsive service, that kind of versatility makes a real difference.
TH Taping is here to help with drywall repairs that need more than a quick cover-up. When the patch has to look clean, hold up well, and fit the rest of the space, careful workmanship is what gets you there.
The best patch repair is the one nobody notices after the paint dries.






